

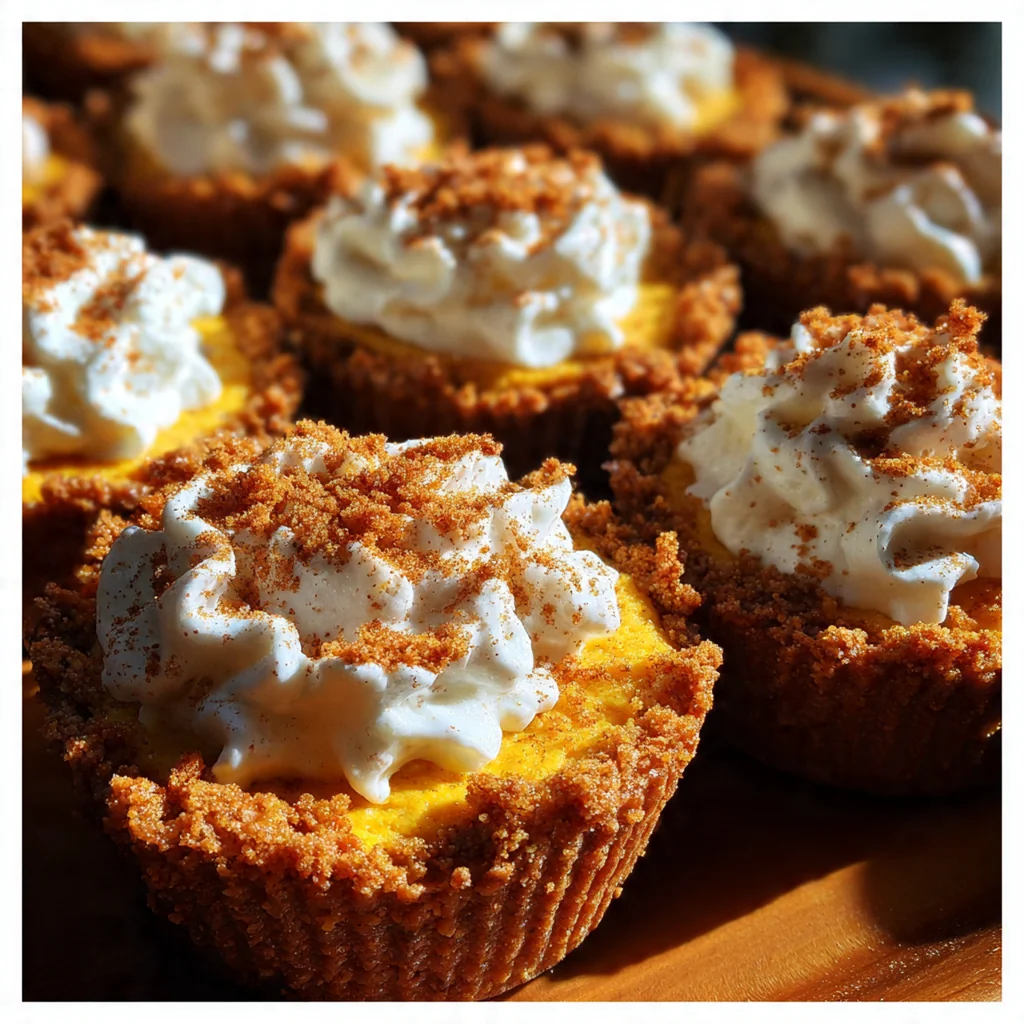
These individual pumpkin pie cups have become my go-to fall dessert because they solve every holiday hosting problem with one adorable, portable bite. They capture the warm spiced soul of a classic American pumpkin pie but ditch the pie plate and messy slicing entirely. Every guest gets their own perfect little cup with the ideal crust-to-filling ratio. I love making them for potlucks and parties where everyone can simply grab one and enjoy.
Why You'll Love This Recipe
- No messy slicing required for easy serving and transport
- Much faster baking time than a whole pie, saving you hours
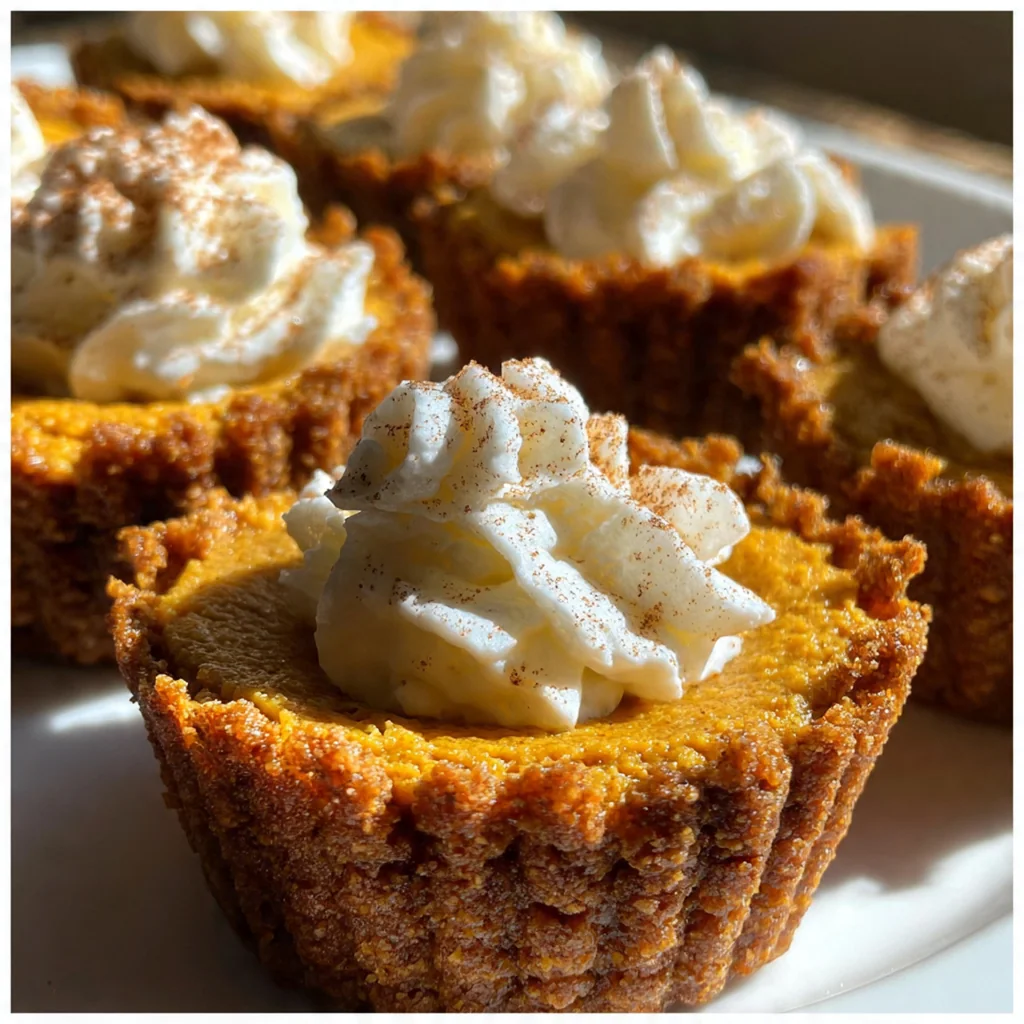
- You get that perfect crust-to-filling balance in every single bite
- Simple pantry ingredients create a classic flavor everyone recognizes
- I make a double batch every year because they disappear so fast
Ingredients You’ll Need
- Graham cracker crumbs: for a sweet, sturdy, and nutty crust you can buy pre-crushed or pulse whole sheets in a food processor for maximum freshness.
- Granulated sugar: blends with the crumbs to create a lightly sweetened base that balances the spiced filling perfectly.
- Unsalted butter: melted butter binds the crust together and gives it a rich, toasty flavor as it bakes.
- Pure pumpkin puree: the star of the show, be sure it’s puree and not the pre-spiced pie filling for total control over flavor.
- Sweetened condensed milk: creates a luxuriously creamy and sweet filling that sets beautifully without being runny.
- Large eggs: they bind the filling and give it structure, letting it puff up slightly and then set firm.
- Ground cinnamon: the essential warm spice that defines pumpkin pie, use a fresh jar for the brightest taste.
- Ground ginger: adds a little spicy kick and depth that plays so well with the sweet pumpkin.
- Ground nutmeg: provides a warm, nutty aroma that makes the whole kitchen smell like the holidays.
- Ground cloves: use just a touch, it’s potent and gives that unmistakable autumnal spiced character.
- Fine sea salt: a pinch is crucial to balance all the sweetness and make the spices pop.
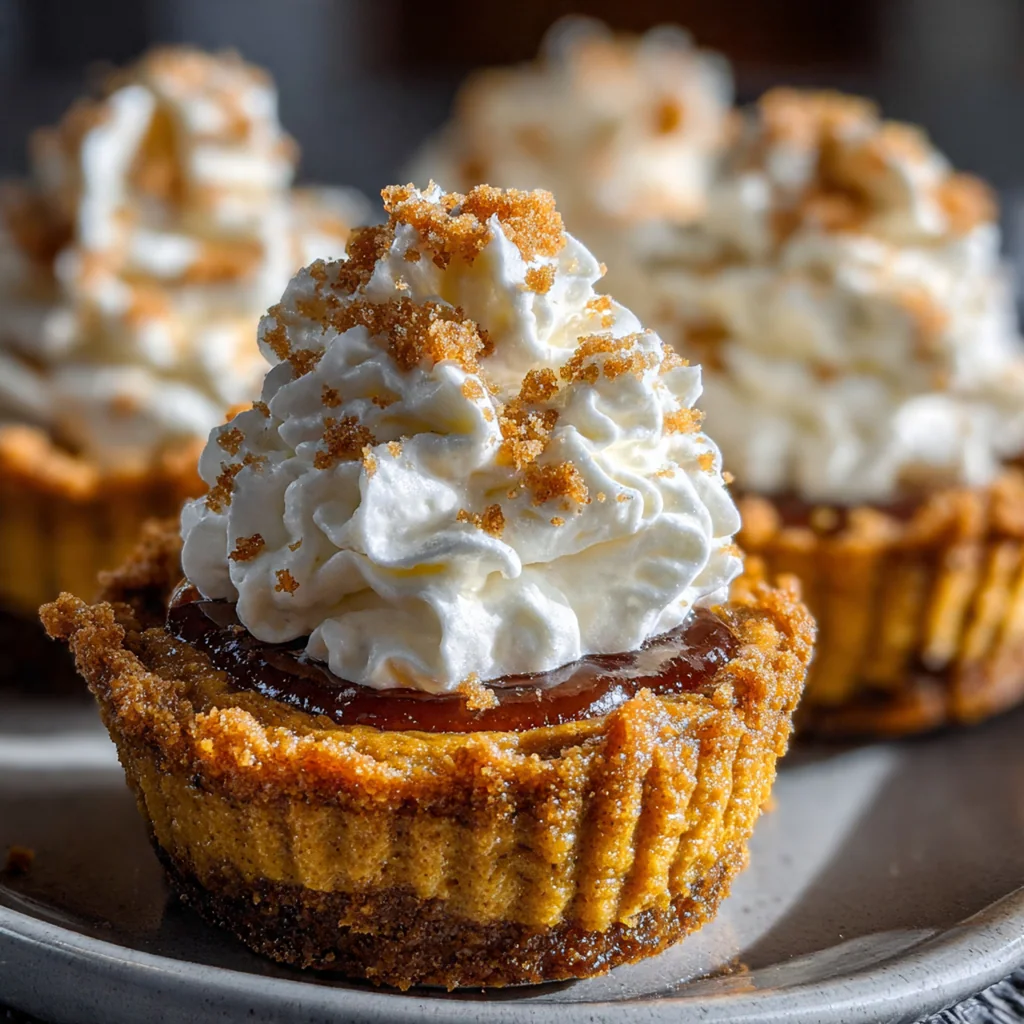
- Whipped cream: the classic topping that adds a cool, creamy contrast to the rich spiced cups.
- Caramel sauce: an optional drizzle adds a buttery, gooey sweetness that takes these over the top.
How to Make It
Preheat and Prep Your Pan:
Start by preheating your oven to 350°F and generously greasing a standard muffin tin. This ensures your pumpkin pie cups release cleanly after baking without any sticking. I always use a non-stick spray with flour for extra insurance.
Form the Graham Cracker Crusts:
Mix the crumbs and sugar, then pour in the melted butter and stir until it looks like wet sand. Spoon about a tablespoon and a half into each cup, then press firmly with a spoon to create a compact, even layer that goes slightly up the sides. This forms your edible cup.
Bake the Crusts Briefly:
Pop the crusts into the oven for just 8 minutes. This pre-bakes them so they stay crisp and don’t get soggy from the wet filling. Let them cool on a rack while you mix the filling, but keep the oven on.
Whisk Together the Filling:
In a large bowl, whisk the pumpkin puree and sweetened condensed milk until completely smooth with no streaks. Then add the eggs, all the spices, and the salt, whisking vigorously until everything is uniform and silky.
Fill the Crusts and Bake:
Carefully ladle the filling into your pre-baked crusts, filling them nearly to the top. Bake for 20 to 25 minutes until the edges look set and the centers have a slight, gentle jiggle when you nudge the pan. They’ll puff up as they bake.
Cool Completely and Chill:
Let the pumpkin pie cups cool in the pan on a wire rack for at least 30 minutes. They’ll deflate as they cool, which is exactly what you want. Then, run a thin knife around each one to loosen and gently lift them out. For the best texture, chill them in the fridge for at least 3 hours to fully set.
You Must Know
- Pure pumpkin puree is not the same as pumpkin pie filling
- Pre-baking the crust keeps it from getting soggy
- The centers should jiggle slightly when they come out of the oven
- Chilling is non-negotiable for the perfect sliceable texture
- My family fights over the last one every time
Storage Tips
Once they’re fully cooled, store your pumpkin pie cups in an airtight container in the refrigerator where they’ll stay perfect for up to four days. I always serve them cold straight from the fridge. For longer storage, you can freeze them in a single layer on a baking sheet until solid, then transfer to a freezer bag for up to two months. Just thaw them overnight in the fridge before you’re ready to serve again.
Ingredient Substitutions
If you need a gluten-free version, simply swap the graham crackers for certified gluten-free ones or use crushed gluten-free gingersnaps for a spicier twist. For the spices, you can use two full teaspoons of pumpkin pie spice blend instead of the individual ones if that’s what you have on hand. In a pinch, you could use a store-bought graham cracker crust that’s been crumbled, though the texture won’t be quite as perfect. I’ve even used maple syrup instead of caramel for drizzling and it’s just as fantastic.
Serving Suggestions
I love setting out a little topping bar so everyone can customize their pumpkin pie cup. Offer a bowl of freshly whipped cream, another of toasted chopped pecans or walnuts, and small pitchers of warm caramel and chocolate sauce. A dusting of cinnamon or a sprinkle of pepitas adds great texture. They’re perfect with a mug of hot coffee or spiced apple cider for the ultimate cozy fall dessert experience.
Cultural Context
The pumpkin pie itself is a deeply ingrained symbol of American fall and Thanksgiving, a tradition dating back to early colonial times when pumpkins were a native and plentiful ingredient. These individual pumpkin pie cups are a modern, playful take on that classic, reflecting our love for handheld, shareable party food. They keep all the nostalgic flavor but in a format perfect for today’s casual gatherings where passing a pie knife isn’t always practical. It’s a fun twist on a tradition that still feels deeply comforting and familiar.
Pro Tips
- Bring your eggs and condensed milk to room temp first for a smoother filling
- Toast your graham cracker crumbs in a dry pan for a deeper, nuttier crust
- Freshly grated nutmeg makes a world of difference in the filling
- Don’t skip the initial crust bake for maximum structural integrity
- I always make an extra batch for the freezer, they’re that good
Frequently Asked Questions
You must use 100% pure pumpkin puree, NOT pumpkin pie filling. The puree is just cooked pumpkin, while the pie filling already has sweeteners and spices added, which would throw off the balance of this recipe and likely make it too sweet.
Absolutely! These pumpkin pie cups are excellent for make-ahead desserts. You can bake them, let them cool completely, and store them covered in the refrigerator for up to 3 days. This makes them perfect for stress-free holiday entertaining.
You can use an equal amount of crushed ginger snap cookies for a spicier crust, or crushed vanilla wafers for a different flavor. For a gluten-free option, certified gluten-free graham crackers or gluten-free cookie crumbs work well.
The pumpkin pie cups are done when the edges of the filling are set, but the very center still has a slight, gentle jiggle when you shake the pan. They’ll continue to set as they cool. Overbaking can cause cracking.
Classic American dessert toppings are perfect! A dollop of freshly whipped cream or a scoop of vanilla ice cream is ideal. For an extra touch, a sprinkle of cinnamon or a drizzle of caramel sauce takes these pumpkin pie cups over the top.