

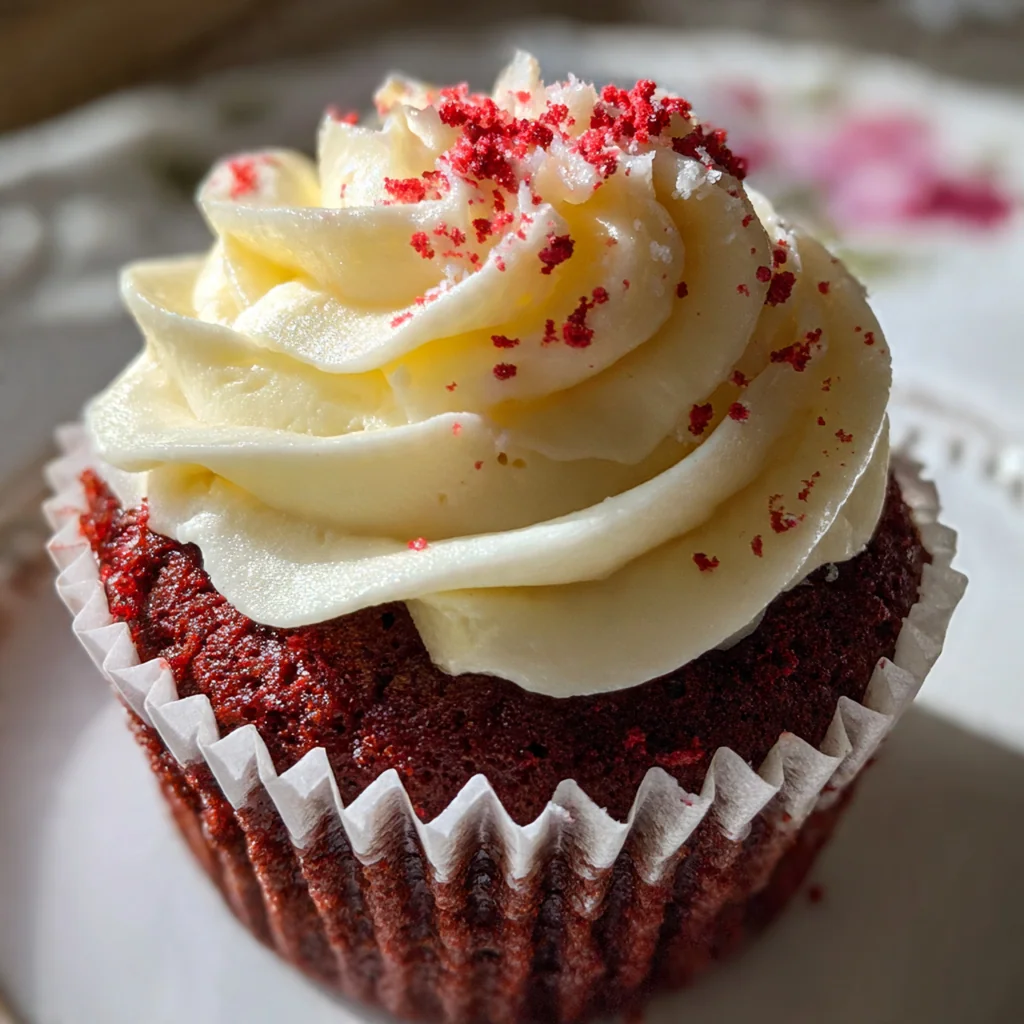
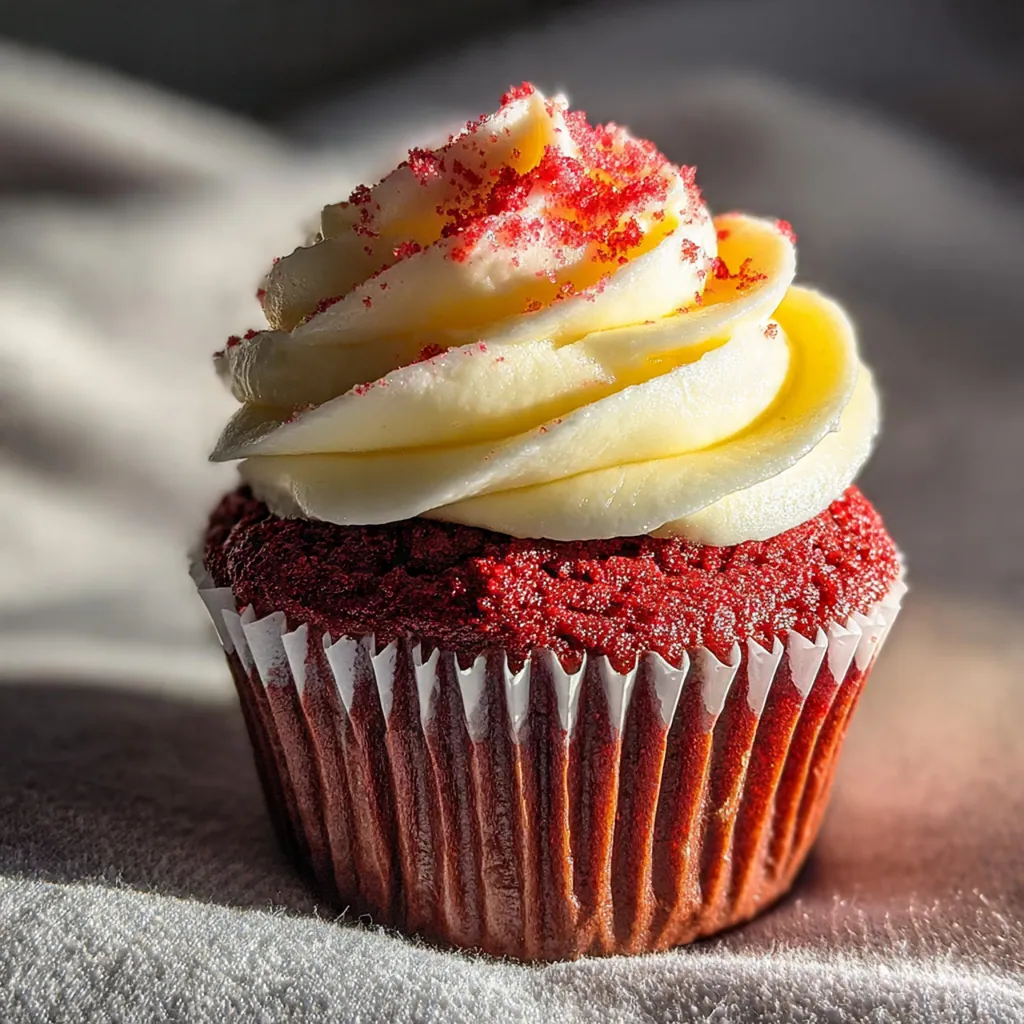
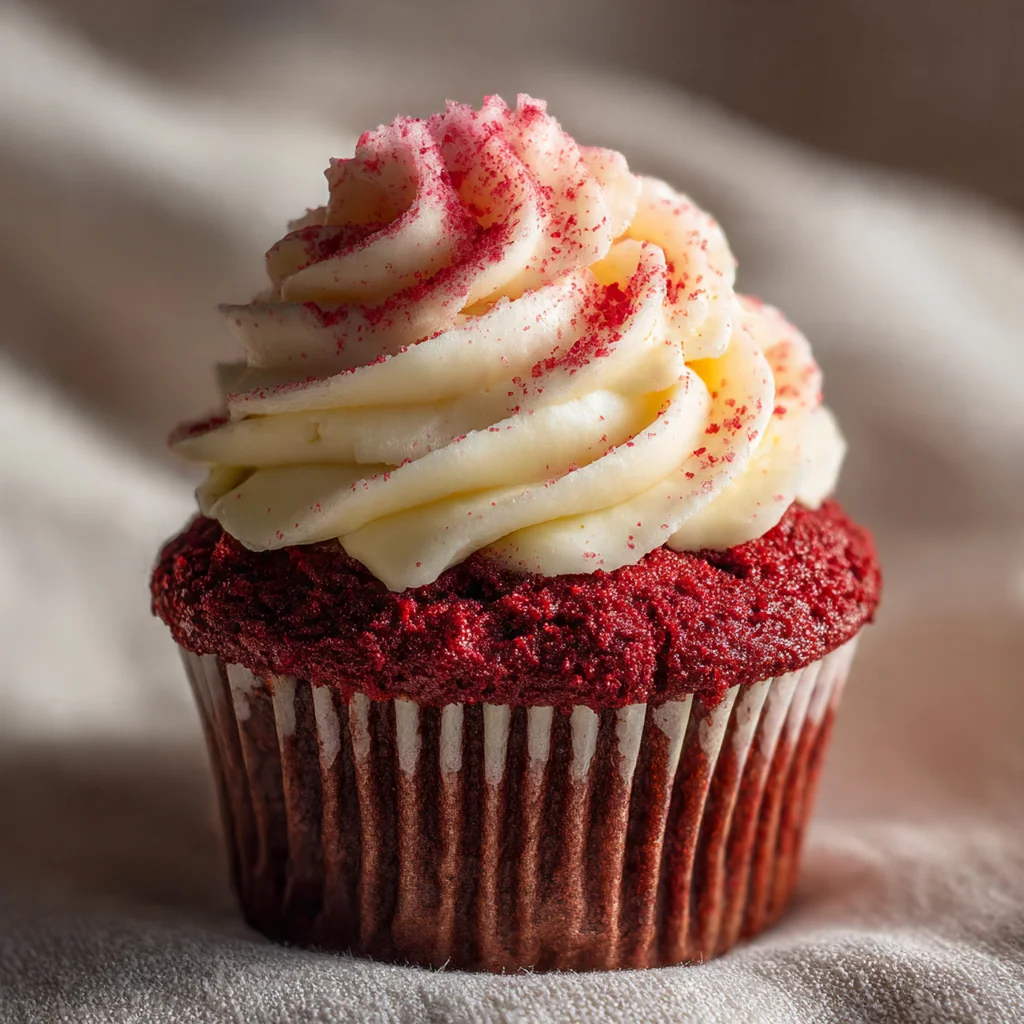
This classic red velvet cupcake recipe is the only one you’ll ever need for a truly authentic, bakery-quality treat. With its origins rooted in American baking, this dessert stands out for its unique flavor profile—a delicate balance of tangy buttermilk, rich vanilla, and a whisper of cocoa. What makes these cupcakes so special is their signature tender, soft crumb that truly feels like velvet. It’s the recipe I turn to for every celebration because it’s foolproof, impressive, and delivers that perfect red velvet experience every single time.
Why You'll Love This Recipe
- Achieves that perfect, tender ‘velvet’ crumb every time
- The classic tangy flavor balances the sweetness perfectly
- The cream cheese frosting is luxuriously smooth and rich
- This recipe produces stunning, bakery-quality results at home
Ingredients You’ll Need
- All-purpose flour: This provides the perfect structure for a moist yet sturdy cupcake crumb that holds up beautifully to the frosting.
- Unsweetened natural cocoa powder: Just a little bit gives red velvet its characteristic subtle chocolate note that isn’t overpowering.
- Baking soda: This is the essential leavening agent that reacts with the acidic ingredients to create a light and fluffy texture.
- Fine sea salt: Don’t skip it as salt is crucial for balancing the sweetness and enhancing the complex flavors of cocoa and vanilla.
- Unsalted butter: Using unsalted butter lets you control the salt level while adding irreplaceable richness and flavor to both the cupcakes and frosting.
- Granulated sugar: This sweetens the cupcakes and is vital in the creaming process to create air pockets for a light, tender crumb.
- Large eggs: They act as a binder for the batter, adding moisture, richness, and structure. Make sure they’re at room temperature.
- Pure vanilla extract: A generous amount adds warmth and depth, complementing the tangy buttermilk and cocoa in this red velvet cupcake recipe.
- Full-fat buttermilk: This is the star ingredient for creating the classic tangy flavor and incredibly tender texture that red velvet is known for.
- White distilled vinegar: It provides an extra acidic boost to react with the baking soda, ensuring a light texture and tender crumb.
- Red liquid food coloring: This gives the cupcakes their iconic, vibrant red hue that makes them such a showstopper for any occasion.
- Full-fat block cream cheese: For the best frosting, always use a full-fat block. It creates a thick, tangy, and stable frosting that tubs can’t match.
- Powdered sugar: Sifting this is key to a silky-smooth, non-gritty cream cheese frosting that pipes beautifully.
How to Make It
Prepare Your Oven and Pan:
First things first, get your oven preheating to 350°F. While it warms up, line a standard 12-cup muffin tin with your favorite paper liners. This simple prep step ensures your cupcakes bake evenly and don’t stick, making cleanup a breeze and getting you closer to that perfect red velvet cupcake recipe.
Combine the Dry Ingredients:
In a medium-sized bowl, grab a whisk and combine the all-purpose flour, unsweetened cocoa powder, baking soda, and fine sea salt. Whisking them together now ensures that the leavening and flavor are evenly distributed throughout the batter, which is key for a consistent texture and rise in every single cupcake. Just set this bowl aside for now.
Cream the Butter and Sugar:
In a large bowl with a stand mixer or a hand mixer, beat the softened butter and granulated sugar together. Start on medium-high speed and let it go for a good 3 to 4 minutes. You’re looking for a light, pale, and fluffy texture. This step is critical because it whips air into the batter, which is the foundation of a tender crumb.
Add the Eggs and Vanilla:
With the mixer still running, add your room temperature eggs one at a time. Make sure you beat well after each addition until it’s fully incorporated. Scrape down the sides of the bowl as needed to make sure everything is mixed evenly. Once the eggs are in, mix in the teaspoon of pure vanilla extract for that essential warm flavor.
Mix the Red Velvet Liquid:
In a separate small bowl or a liquid measuring cup, it’s time to create that iconic red color. Whisk together the room temperature buttermilk, white vinegar, and the red food coloring. Keep whisking until the color is completely uniform and vibrant. This mixture provides the tang, moisture, and color that defines a red velvet cupcake.
Alternate Wet and Dry Mixtures:
Now it’s time to bring it all together. Turn your mixer down to low speed. Add the dry flour mixture in three parts, alternating with the wet buttermilk mixture in two parts. Always start and end with the dry ingredients. Mix only until the last streaks of flour disappear. Be careful not to overmix, as that can lead to tough, dense cupcakes.
Fill Liners and Bake:
Evenly divide the finished batter among the 12 prepared cupcake liners. I find that filling them about two-thirds full is the perfect amount to get a nice dome without overflowing. Pop the pan into your preheated oven and bake for 18 to 22 minutes. You’ll know they’re done when a wooden skewer inserted into the center comes out with just a few moist crumbs attached.
Cool the Cupcakes Completely:
Once baked, let the cupcakes cool in the pan for just 5 minutes. This helps them set up a bit before you move them. After 5 minutes, carefully transfer them to a wire rack to cool completely to room temperature. This step is non-negotiable. Frosting warm cupcakes will only result in a melted, soupy mess, so be patient!
Prepare the Cream Cheese Frosting:
While your cupcakes are cooling, you can make the luscious frosting. In a large bowl, beat the softened cream cheese and softened butter together on medium speed until they are completely smooth and creamy, with no lumps. This is the base for a perfect frosting for our red velvet cupcake recipe.
Finish the Frosting and Decorate:
Gradually add the sifted powdered sugar to the cream cheese mixture with the mixer on low speed. Once it’s combined, turn the speed up to medium-high and beat until the frosting is light, smooth, and fluffy. Mix in the final teaspoon of vanilla. Once the cupcakes are completely cool, you can frost them generously. Use a spatula for a rustic look or a piping bag for beautiful swirls, and garnish if you wish.
You Must Know
- Room temperature ingredients are absolutely essential
- Do not overmix the batter once the flour is added
- Wait until cupcakes are 100% cool before frosting
- This red velvet cupcake recipe is worth the extra care
Storage Tips
To keep your beautiful red velvet cupcakes fresh, store them in an airtight container in the refrigerator. The cream cheese frosting means they need to be kept chilled. They will last this way for up to 4 days. For the absolute best taste and texture, I highly recommend letting them sit at room temperature for about 20 to 30 minutes before serving. This allows the cake to soften and the frosting to lose its chill, bringing back that perfect velvety mouthfeel you worked so hard to create.
Ingredient Substitutions
While this classic red velvet cupcake recipe is best as written, a few swaps are possible in a pinch. If you don’t have buttermilk, you can make your own by adding one tablespoon of white vinegar or lemon juice to a cup of regular milk and letting it sit for 5-10 minutes. For a more intense red color without a chemical aftertaste, gel food coloring is a great substitute for liquid. While all-purpose flour is called for, you could substitute cake flour for an even finer, more delicate crumb, but the results will be slightly different.
Serving Suggestions
These red velvet cupcakes are a showstopper all on their own, but they pair wonderfully with simple beverages that complement their flavor. A cold glass of milk is a classic choice that cuts through the richness of the cream cheese frosting beautifully. For a more grown-up pairing, a simple cup of hot black coffee provides a bitter contrast to the sweet cake. If you’re serving them for a celebration, a glass of bubbly sparkling rosé is a fantastic and festive option that highlights the cupcake’s tangy notes.
Cultural Context
The red velvet cupcake recipe is a beloved American classic with a fascinating history. Though its exact origins are debated, it likely emerged in the Victorian era when ‘velvet’ cakes, known for their soft and tender crumbs, became popular. The reddish hue was originally a result of the chemical reaction between natural cocoa powder and acidic ingredients like buttermilk and vinegar. Its fame skyrocketed in the 20th century, partly thanks to the Adams Extract company in Texas popularizing the use of red food coloring. Now, it’s a staple of Southern bakeries and a celebratory dessert across the country, famous for its striking color and unique, mildly chocolatey, and tangy flavor profile.
Pro Tips
- Use a high-quality gel food coloring for the best color
- Don’t even think about starting with cold ingredients
- Sifting powdered sugar is the key to smooth frosting
- Bake a 13th cupcake just for making decorative crumbs
Frequently Asked Questions
For this red velvet cupcake recipe, it’s best to use unsweetened natural cocoa powder, not Dutch-processed. Natural cocoa is more acidic, which reacts with the baking soda and vinegar to create a light, tender crumb. This reaction also enhances the classic reddish-brown hue of the cake, giving you that authentic, subtle chocolate flavor that’s signature to red velvet.
Absolutely! You can bake the cupcakes for this red velvet cupcake recipe a day in advance. Once they’ve cooled completely, store them in an airtight container at room temperature. For the best results, prepare the cream cheese frosting and frost them the day you plan to serve them. This keeps both the cake and frosting perfectly fresh.
If you don’t have buttermilk, it’s easy to make a substitute for this red velvet cupcake recipe. Just measure one tablespoon of white vinegar or lemon juice into a liquid measuring cup, then add enough whole milk to reach the 1-cup line. Let it sit for 5-10 minutes until it curdles slightly. This DIY version provides the necessary acidity for a tender crumb.
Your cupcakes are perfectly baked when a wooden toothpick inserted into the center comes out clean or with a few moist crumbs attached. This should take about 20 minutes. The tops will also feel firm and spring back when you gently press on them. Be sure not to overbake, as that will make them dry.
These classic American red velvet cupcakes are a delightful treat on their own, often served with a simple glass of cold milk or a hot cup of coffee. For a larger dessert spread, they pair beautifully with a scoop of vanilla bean ice cream or a side of fresh berries, which helps balance the richness of the cupcake and its tangy frosting.