

Making homemade sea salt caramels is a truly rewarding kitchen project that fills your home with the most incredible buttery scent. These classic caramels are a huge step up from anything you can buy, creating perfectly soft and chewy treats that just melt in your mouth. This recipe captures the heart of American confectionery, balancing deep, rich sweetness with a sharp, flaky salt finish. It’s the kind of nostalgic candy that feels both simple and luxurious, and I promise you’ll be so proud of the results.
Why You'll Love This Recipe
- You get that perfect soft, chewy texture
- The ideal balance of sweet and salty flavor
- A fun project that yields impressive results
- These make a wonderful homemade gift
- They’re so much better than store-bought caramels
Ingredients You’ll Need
- Heavy cream: This is the key to a rich, luscious texture. Full-fat heavy cream ensures your caramels are soft and melt-in-your-mouth rather than hard.
- Unsalted butter: Provides that classic buttery flavor and contributes to the smooth, tender bite. Using unsalted gives you full control over the saltiness.
- Granulated sugar: The foundation of our candy. It melts down to create the deep, amber-colored base and sweetness that defines all great caramels.
- Light corn syrup: This is a critical ingredient that prevents the sugar from crystallizing. It guarantees a perfectly smooth texture without any graininess.
- Water: Helps dissolve the sugar evenly at the beginning of the cooking process, ensuring your syrup starts off on the right foot.
- Fine sea salt: This is mixed directly into the caramel base. It enhances the buttery flavor and balances the sweetness from within the candy itself.
- Pure vanilla extract: Stirred in at the very end to preserve its flavor. It adds a layer of aromatic warmth that complements the deep caramel notes beautifully.
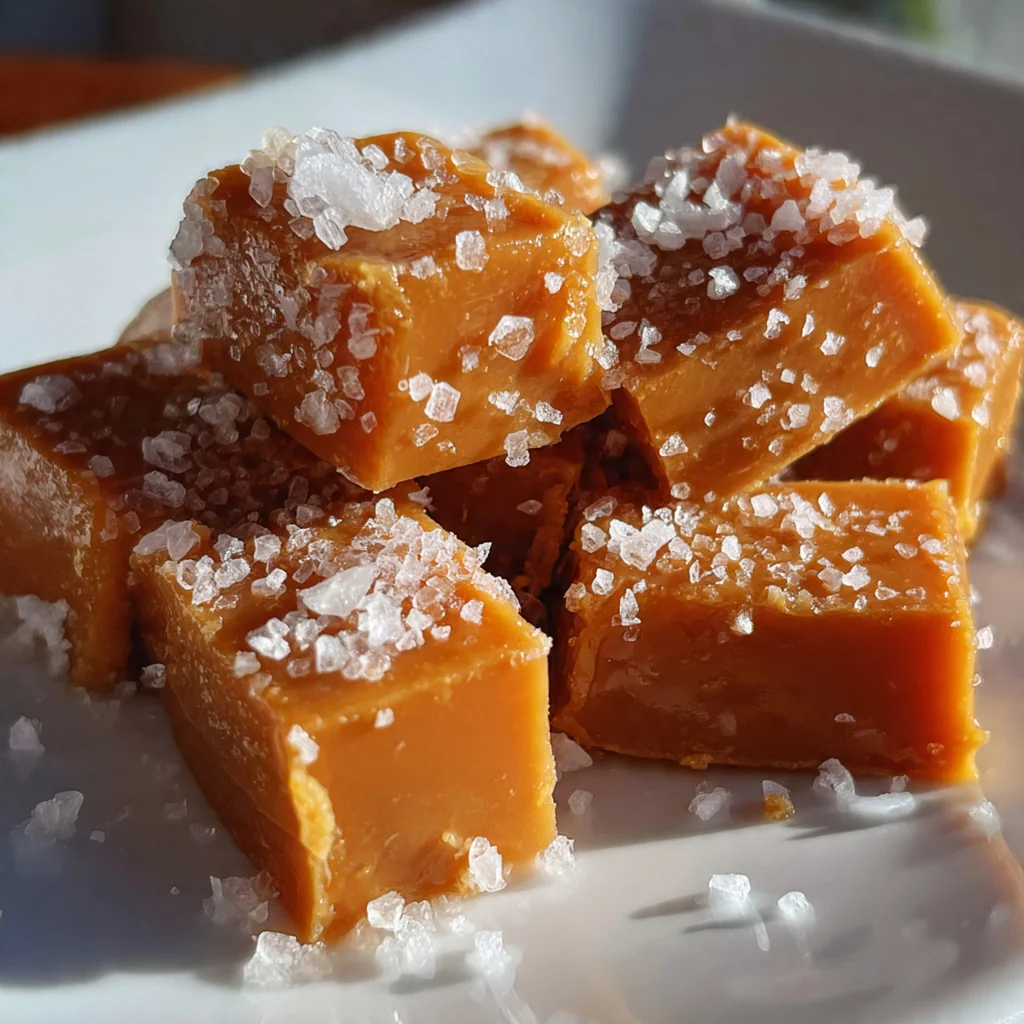
- Flaky sea salt: This is for finishing. A sprinkle on top provides a delightful crunch and a burst of salt that makes these caramels absolutely irresistible.
How to Make It
Prepare Your Pan:
Before you start cooking, get your pan ready. Line an 8×8 inch baking pan with two sheets of parchment paper, leaving some overhang on two opposite sides. These overhangs will work like handles later, making it super easy to lift the whole block of caramel out. Give the parchment a light greasing and set it aside. This simple prep step prevents any sticking disasters.
Warm The Cream and Butter:
In a small saucepan, you’ll gently warm the heavy cream and cubed butter over low heat. The goal here is just to melt the butter completely into the cream. Don’t let it simmer or boil. Once it’s melted, take it off the heat and set it nearby. Having this mixture warm is crucial for the steps ahead, as it prevents the hot sugar from seizing up.
Start The Sugar Base:
Now grab a larger, heavy-bottomed saucepan, at least a 3-quart size. Using a big pot is important because the mixture will bubble up a lot. Combine the granulated sugar, light corn syrup, and water in this pan. Give it a gentle stir just to moisten all the sugar. You want to make sure there are no dry pockets before you turn on the heat.
Cook To The First Stage:
Place the pan over medium-high heat and bring the sugar mixture to a boil. You can stir until the sugar has fully dissolved, but once it reaches a rolling boil, you must stop stirring completely. If you see sugar crystals on the sides of the pan, just dip a pastry brush in water and gently wash them down. Attach your candy thermometer and let it cook, untouched, until it reaches 240°F.
Combine The Mixtures Carefully:
Once the sugar hits 240°F, it’s time for the most exciting part. Very slowly and carefully, begin to stream the warm cream and butter mixture into the bubbling sugar. Be prepared for a show, as the mixture will bubble up quite violently. This is why you need a big pot and why you must pour slowly. Stir constantly with a heatproof spatula as you pour until everything is well combined.
Cook To The Final Temperature:
Now, you’ll continue to cook the caramel mixture, stirring it constantly to keep the bottom from scorching. This stage requires your full attention. Keep cooking and stirring until the candy thermometer reads between 245°F and 248°F, which is the firm-ball stage. This can take about 10 to 15 minutes. Your caramels will transform into a beautiful, deep amber color.
Finish And Pour The Caramels:
As soon as you hit that target temperature, immediately remove the pan from the heat. Carefully stir in the fine sea salt and pure vanilla extract. It will bubble up again for a moment as you stir. Then, pour the molten caramel into your prepared pan. A very important tip is to resist the urge to scrape the sides or bottom of the saucepan. This helps avoid any grainy bits in your final product.
Cool, Sprinkle, and Set:
Let the caramel sit in the pan for just a minute or two to settle slightly. Then, sprinkle the top evenly with that lovely flaky sea salt. Now comes the hard part, the waiting. Let the pan of caramels cool completely at room temperature for at least four hours, but overnight is even better for a perfectly firm set. Don’t put it in the fridge, as that can make the caramels sticky.
Cut And Wrap Your Caramels:
Once your slab of caramel is firm to the touch, use the parchment paper handles to lift it right out of the pan and onto a cutting board. Lightly grease a very sharp knife or a bench scraper. This little bit of oil makes all the difference for clean cuts. Slice the block into 1-inch squares. To keep your beautiful homemade caramels from sticking together, wrap each piece individually in wax or parchment paper.
You Must Know
- A candy thermometer is not optional for this recipe
- Warm the cream and butter to prevent sugar shock
- Don’t scrape the bottom of the pot when you pour
- Room temperature cooling is key for the best texture
- Trust me, wrapping them individually is worth the effort
Storage Tips
To keep your homemade sea salt caramels perfectly fresh, store them in an airtight container at room temperature. When they’re individually wrapped in wax paper, they won’t stick together and will stay soft and chewy for up to two weeks. It’s really important to avoid the refrigerator. The humidity inside a fridge can make the caramels become sticky over time and can even cause that beautiful flaky sea salt on top to dissolve into the surface, which you definitely don’t want. Just keep them on the counter, and they’ll be perfect.
Ingredient Substitutions
For the best classic caramels, I highly recommend sticking to the recipe as written. However, if you’re in a pinch, you can use salted butter, but you’ll want to reduce the fine sea salt added to the mixture to about half a teaspoon. While light corn syrup is best for preventing crystallization, golden syrup can be used, though it will give the caramels a slightly different, more molasses-like flavor. For the finishing salt, any coarse or flaky sea salt works beautifully if you can’t find Maldon. Just don’t substitute the heavy cream, as its fat content is essential for the final texture.
Serving Suggestions
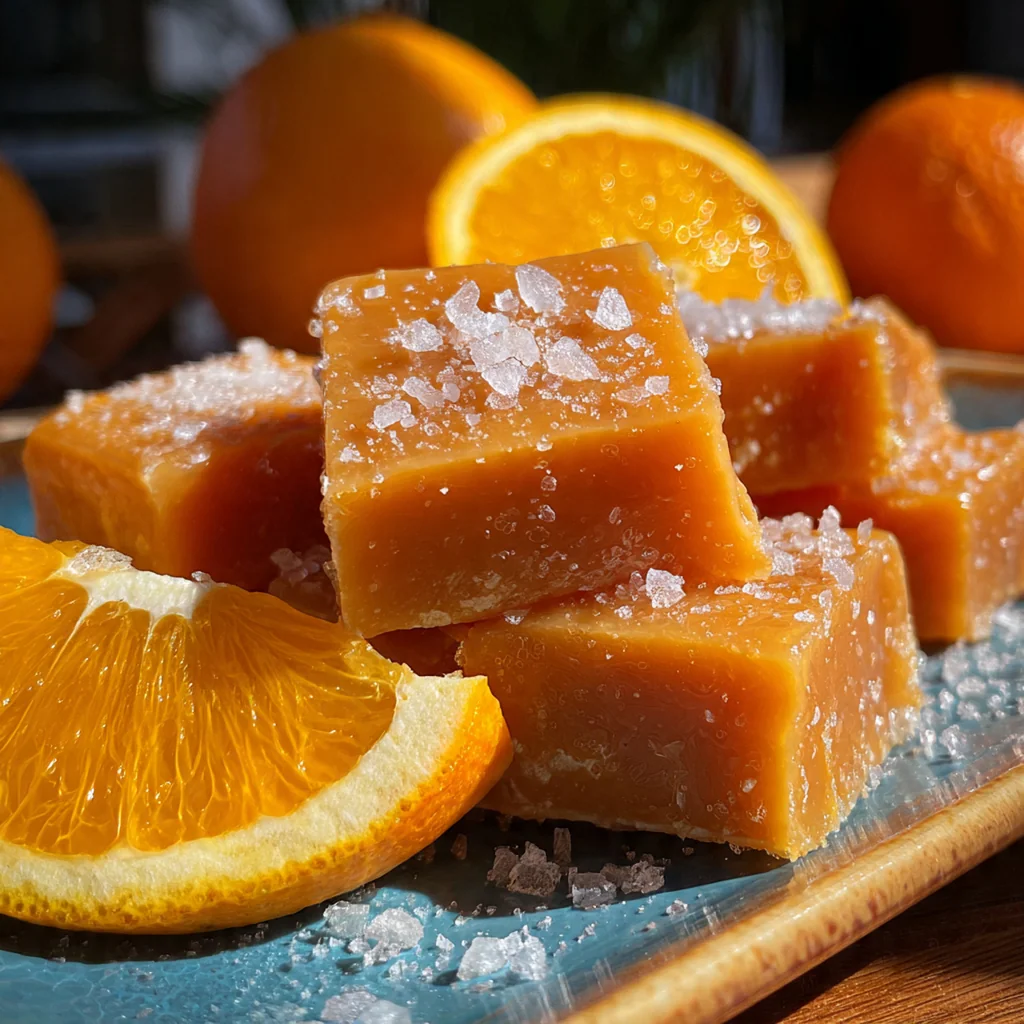
These sea salt caramels are absolutely wonderful all on their own, especially with a hot cup of coffee or tea. If you want to get creative, they are fantastic when chopped up and folded into brownie or cookie batter right before baking for little pockets of gooey caramel. You can also melt a few down with a splash of cream to create a quick, decadent caramel sauce to pour over vanilla ice cream or apple pie. For an extra-special treat, try dipping the cooled caramel squares in melted dark chocolate and letting them set. They look so professional and taste incredible.
Cultural Context
Caramels are a cornerstone of American candy-making, with a history stretching back to the 19th century. Their popularity boomed as sugar became more accessible, and soon, small confectioneries across the country were perfecting their own recipes for this buttery, chewy treat. The addition of sea salt is a more modern twist that transformed the classic, elevating it from a simple sweet to a gourmet confection. Making homemade caramels, especially around the holidays, is a cherished tradition in many families, representing a hands-on craft that produces a far more personal and flavorful result than any mass-produced candy. This recipe honors that simple, rewarding heritage.
Pro Tips
- Always calibrate your candy thermometer first
- Use a saucepan much larger than you think you need
- Warming the cream and butter is a non-negotiable step
- Stop stirring as soon as the sugar mixture boils
- A lightly oiled knife makes cutting so much easier
Frequently Asked Questions
This guide uses two types of salt for the best flavor. Fine sea salt is mixed directly into the caramel mixture to enhance the buttery sweetness. For finishing, a flaky sea salt like Maldon is essential. Sprinkling it on top adds a delightful crunch and a beautiful look to your finished caramels, creating that perfect sweet-and-salty balance.
Absolutely! Homemade caramels are perfect for making ahead. Once they are cut and wrapped individually in wax paper, you can store them in an airtight container at room temperature for up to two weeks. This makes them a great option for holiday gifts or preparing for a party in advance. Avoid refrigerating your caramels as the humidity can make them sticky.
Light corn syrup is important for preventing the sugar from crystallizing, which gives these caramels their smooth texture. If you don’t have it, you can substitute it with golden syrup or brown rice syrup. However, be aware that these substitutes may slightly alter the final flavor and color of your caramels. We recommend sticking with light corn syrup for the most classic result.
The most reliable way to know your caramels are ready is by using a candy thermometer. You’re looking for the mixture to reach the ‘firm-ball stage,’ which is between 244°F and 248°F (118°C to 120°C). If you don’t have a thermometer, you can drop a small amount into ice water; it should form a firm, but pliable, ball. Cooking for about 30 minutes is a good guideline, but temperature is key for perfect caramels.
These sea salt caramels are a wonderful standalone treat, perfect with a hot cup of coffee or tea. As an American dessert classic, they’re also fantastic chopped and stirred into vanilla ice cream, used as a topping for brownies, or drizzled over apple slices. For a decadent dessert platter, serve them alongside dark chocolate squares and toasted nuts.