

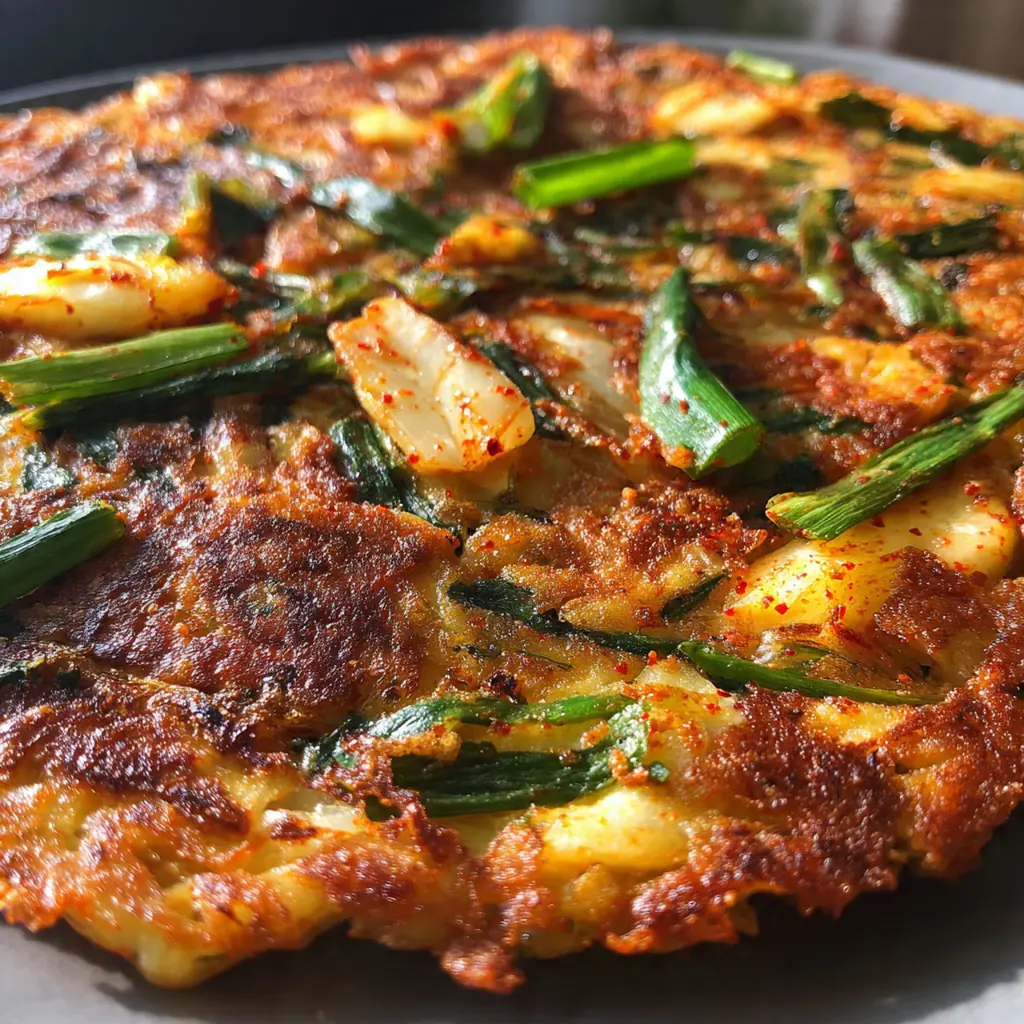
This crispy kimchi pancake is a staple of Korean street food you can now make at home in minutes. It’s the ultimate savory snack, combining a tangy, fermented kick with an incredibly satisfying golden crust. For me, it’s the perfect way to use up that last bit of kimchi in the jar before it gets too funky. You get an appetizer that’s packed with umami and has the most wonderful contrast of textures, all from a simple batter. It’s a taste of Seoul right from your own skillet.
Why You'll Love This Recipe
- That shatteringly crispy edge with a tender, flavorful center is pure magic
- It turns pantry staples and leftover kimchi into a complete meal in one pan
- You’re just 25 minutes away from a seriously impressive appetizer or light dinner
- The tangy umami punch from fermented kimchi is absolutely addictive
- I make this when I need a quick, comforting bite that always hits the spot
Ingredients You’ll Need
- Chopped kimchi: The star of the show, well-fermented kimchi brings that signature tang and deep savory flavor that makes this pancake so special. Look for kimchi that’s nicely sour and still crunchy for the best texture.
- Kimchi juice: Don’t toss it, this liquid gold amps up the fermented flavor throughout the batter without making it soggy. It’s your secret weapon for an extra punch of kimchi essence.
- All-purpose flour: Forms the base of the simple batter that gets wonderfully crispy. A standard scoop from your pantry is all you need for that perfect structure.
- Water: Hydrates the flour to create a smooth, pourable batter consistency. Adjust it slightly if your kimchi was extra juicy.
- Large egg: Binds everything together and contributes to a lovely golden brown color and a tender interior. Room temperature blends in a bit easier.
- Green onions: Add a fresh, sharp bite and a pop of color that cuts through the richness. Use both the white and green parts for maximum flavor.
- Finely chopped onion: Provides a subtle sweetness and extra texture that complements the kimchi perfectly. A yellow or white onion works great here.
- Sugar: Just a touch balances the tangy acidity of the kimchi and helps with browning. It’s a small but crucial flavor harmonizer.
- Salt: Seasons the batter to make all the other ingredients sing. Go easy at first since your kimchi and dipping sauce will add saltiness.
- Vegetable oil: A neutral oil with a high smoke point is key for getting that signature crispy, lacy edge without any off-flavors.
- Soy sauce: Forms the salty, umami backbone of the classic dipping sauce. Use a good-quality one you enjoy.
- Rice vinegar: Adds a bright, clean acidity to the dipping sauce that complements the pancake’s richness.
- Sesame oil: A few drops bring that warm, nutty aroma that makes the sauce taste authentically Korean.
- Toasted sesame seeds: They add a delightful crunch and toasty note to both the sauce and as a finishing garnish.
- Gochugaru: Optional Korean red pepper flakes for a hint of spice and color in your dipping sauce. They have a unique fruity heat.
How to Make It
Prepare Your Kimchi and Juice:
Start by giving your kimchi a rough chop into bite-sized pieces. You want some texture here. Let it drain in a colander or sieve over a bowl, but crucially, save that vibrant red juice. That liquid is packed with flavor you don’t want to waste.
Whisk Together the Batter Base:
In a large mixing bowl, combine the flour, water, egg, that reserved kimchi juice, sugar, and salt. Whisk it until it’s smooth with no dry flour pockets. Letting this batter sit for just five minutes allows the flour to fully hydrate, which gives you a better texture.
Fold In the Goodies:
Now, stir your chopped kimchi, sliced green onions, and finely chopped onion right into the batter. Mix just until everything is evenly distributed. You want every scoop to be packed with those flavorful bits.
Get Your Pan Screaming Hot:
Place a large non-stick or well-seasoned cast-iron skillet over medium-high heat. Add a generous glug of vegetable oil—you need enough to properly shallow fry for maximum crispiness. Let the oil heat until it shimmers; a drop of batter should sizzle immediately.
Cook the First Side to Golden Perfection:
Pour all the batter into the center of the hot pan, then quickly use your spoon or spatula to spread it into an even circle, about a quarter-inch thick. Don’t mess with it now. Let it cook undisturbed for 4-5 minutes until the edges look set and lacy and the bottom is deeply golden and crisp.
The Confident Flip:
Slide your spatula underneath to check that it’s released, then give it a confident flip in one smooth motion. Add another tablespoon of oil around the edges of the pancake now if the pan looks dry. This ensures the second side gets just as crispy.
Finish Cooking and Make the Sauce:
Cook the second side for another 4-5 minutes. While it’s cooking, mix your dipping sauce. Just stir together the soy sauce, rice vinegar, sesame oil, sesame seeds, and any optional extras like sugar or gochugaru in a small bowl until the sugar dissolves.
Slice and Serve Immediately:
Transfer your glorious, crispy kimchi pancake to a cutting board. Slice it into wedges like a pizza while it’s piping hot. This is when the texture is at its absolute peak. Serve it right away with that savory dipping sauce on the side.
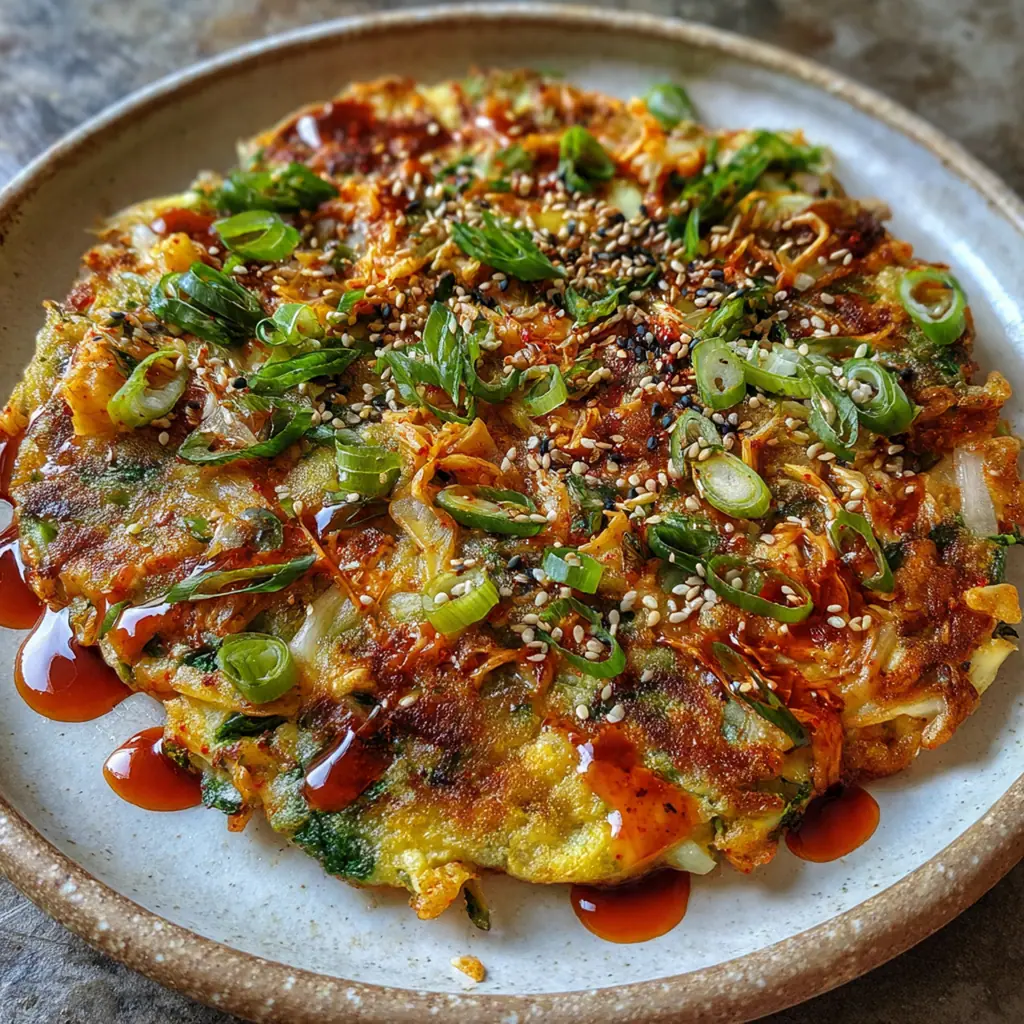
Add the Final Touches:
For a beautiful finish and extra flavor, sprinkle the sliced pancake with a few more sliced green onions and a pinch of toasted sesame seeds. It looks restaurant-worthy and adds that final layer of freshness and crunch.

You Must Know
- Well-fermented, sour kimchi is non-negotiable for the best flavor
- Your oil must be shimmering hot before the batter hits the pan
- A thin, even layer is the secret to that perfect crispness
- Letting the batter rest for five minutes makes a real difference
- That dipping sauce is simple but it completes the whole experience
Storage Tips
If you somehow have leftovers, let the kimchi pancake cool to room temperature before tucking it into an airtight container in the fridge—it’ll keep for up to three days. The dipping sauce can live in a separate jar right next to it for a week. To bring back that magic crisp, reheat wedges in a dry skillet over medium heat for a few minutes per side until they’re hot and crispy again. The microwave will just make it soggy, so I always avoid that route. It won’t be *quite* as perfect as fresh, but it’s still a fantastic next-day snack.
Ingredient Substitutions
For a gluten-free kimchi pancake, swap the all-purpose flour with your favorite 1:1 gluten-free flour blend—just check that your kimchi and soy sauce are certified gluten-free too. If you’re out of eggs, you can simply leave it out and add an extra two tablespoons of water to the batter; the texture will be slightly different but still delicious. Don’t have rice vinegar for the sauce? A splash of white wine vinegar or even a bit of fresh lime juice will work in a pinch. While nothing beats fresh green onion, a tablespoon of finely chopped regular onion or even a pinch of chives can stand in if you’re in a bind.
Serving Suggestions
This kimchi pancake is a fantastic sharable appetizer with a round of cold Korean beers like soju or makgeolli, the slight fizz cutting through the richness perfectly. For a more substantial meal, I love pairing it with other Korean banchan like quick-pickled cucumbers or a simple spinach salad with sesame dressing. It also makes a brilliant brunch item alongside fried eggs and a drizzle of spicy gochujang sauce. Honestly, it’s so versatile that it works just as well as a standalone snack with that dipping sauce as it does as part of a bigger spread.
Cultural Context
Known as kimchijeon in Korea, this pancake is the ultimate comfort food and a beloved anju, which is food specifically meant to be eaten with alcohol. You’ll find it sizzling on griddles at street food stalls and in pubs across Seoul, often shared among friends over drinks. It’s a brilliant example of Korean resourcefulness, transforming leftover, super-fermented kimchi into a crave-worthy dish that celebrates bold, tangy flavors and fantastic texture. Making it at home connects you to that everyday culinary tradition where simple ingredients are treated with respect to create something utterly satisfying and deeply flavorful.
Pro Tips
- For extra crunch, add a tablespoon of rice flour to your batter
- Don’t overcrowd the pan—one large pancake is better than two small ones
- Use the back of a spoon to spread the batter quickly and thinly
- Listen for the sizzle to die down slightly—that’s your cue to flip
- I always make a double batch of the sauce, it’s that good
Frequently Asked Questions
Use well-fermented, sour kimchi for the best flavor. The kimchi should be chopped and drained, but make sure to reserve the tangy juice. The juice adds incredible depth and helps create a crispier, more flavorful pancake batter.
Kimchi pancake is best served immediately for maximum crispiness. You can prepare the batter ahead of time and store it in the fridge for up to a day. Fry just before serving. Leftovers can be reheated in a skillet to regain some crispiness.
For a gluten-free version, you can substitute the all-purpose flour with a 1:1 gluten-free baking flour blend. The batter consistency should be similar to a thin crepe batter. Rice flour can also be used for a slightly different, chewier texture.
The pancake is ready to flip when the edges look set and golden brown, and the top appears mostly cooked through, about 4-5 minutes. The second side cooks faster. Aim for a deep golden brown and crispy exterior on both sides.
Serve it hot with a simple soy-vinegar dipping sauce or sweet chili sauce. It’s perfect as a snack, appetizer, or side dish with Korean BBQ, stews (jjigae), or a bowl of rice. A glass of soju or makgeolli is a classic pairing.