

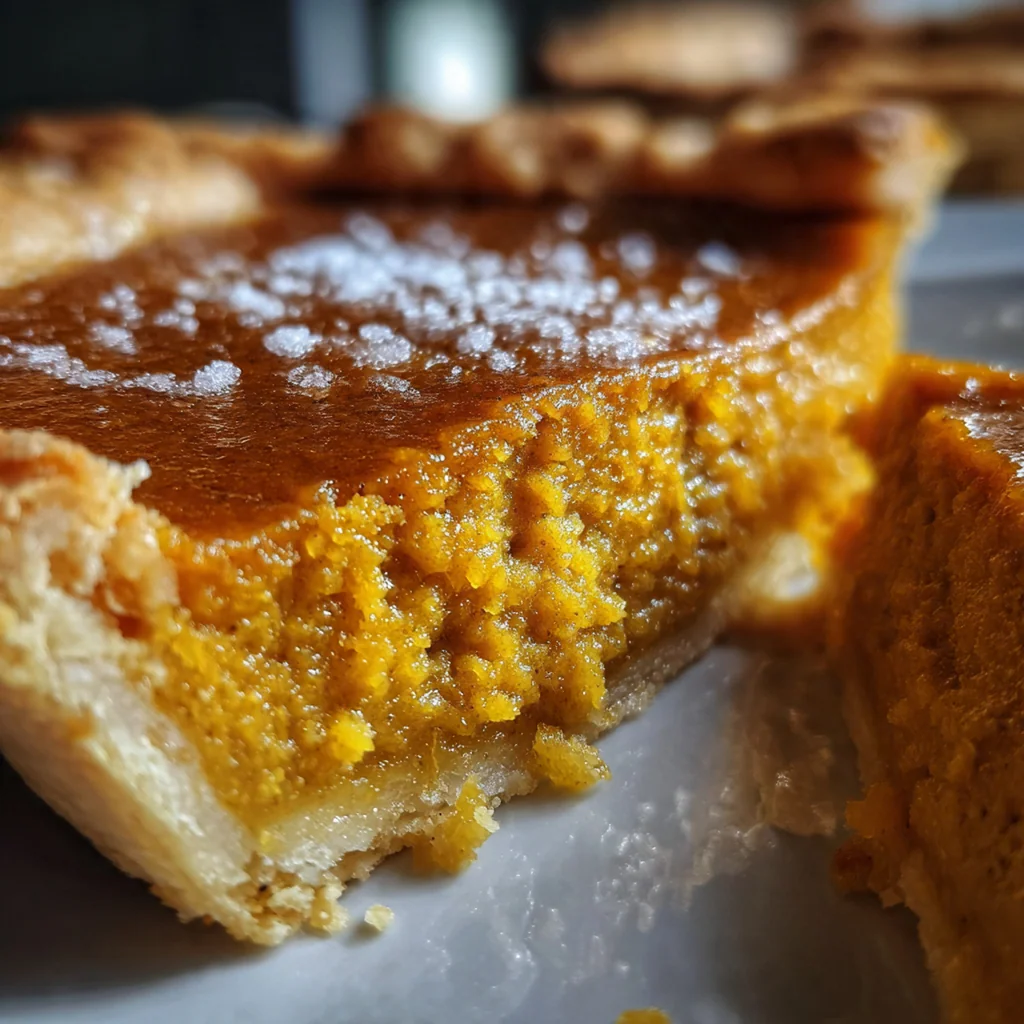
This classic Libby’s pumpkin pie is the one recipe that instantly brings the feeling of autumn and holidays into your home. For generations, this exact recipe has been the centerpiece of Thanksgiving tables, celebrated for its perfectly spiced, rich, and custardy filling. It’s a true American classic that relies on simple pantry staples to create something truly special and nostalgic. Making the perfect Libby’s pumpkin pie is a tradition in itself, and its familiar aroma is the official scent of the season for so many of us.
Why You'll Love This Recipe
- It’s the foolproof recipe that works every single time
- The texture is unbelievably smooth, rich, and creamy
- You only need a few simple pantry ingredients
- It’s the ultimate dessert for any fall gathering
- My family has made this exact pie for over 30 years
Ingredients You’ll Need
- Granulated sugar: Provides the perfect amount of sweetness to balance the earthy pumpkin and warm spices, creating that classic flavor you remember.
- Salt: A small amount makes a huge difference, enhancing all the other flavors in the pie and keeping the sweetness from being one-note.
- Ground cinnamon: The quintessential warm spice for fall baking. It provides a sweet, woody aroma that is central to the pie’s comforting character.
- Ground ginger: Adds a touch of zesty, spicy warmth that cuts through the richness of the filling and brightens up the overall flavor profile.
- Ground cloves: Delivers a deep, pungent, and slightly sweet flavor. A little goes a long way to give the pie its signature nostalgic taste.
- Large eggs: These are the binder that creates the magic. They give the filling its structure and custardy, smooth texture as it bakes.
- Libby’s 100% Pure Pumpkin: This is the non-negotiable star. Its thick, consistent texture is what makes this specific Libby’s pumpkin pie recipe so reliable.
- Carnation Evaporated Milk: This is the secret to an incredibly rich and creamy pie without the heaviness of cream. It provides a silky mouthfeel that is simply unmatched.
- Unbaked deep-dish pie shell: A 9-inch deep-dish crust is essential to hold all of the generous, luscious filling. Use your favorite store-bought or homemade version.
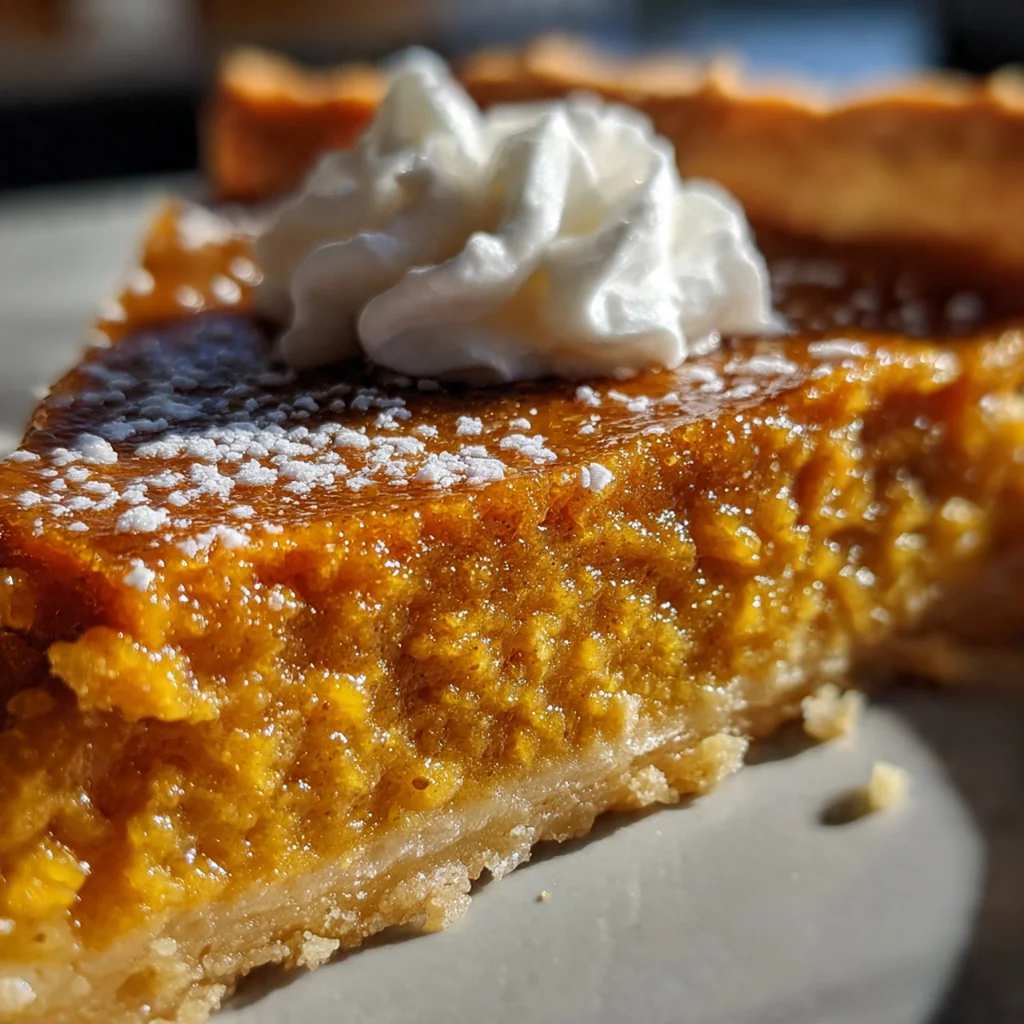
- Sweetened whipped cream: The classic topping that adds a light, airy sweetness. It’s the perfect finishing touch for a slice of Libby’s pumpkin pie.
- A sprinkle of ground cinnamon: A final dusting of cinnamon for garnish not only looks beautiful but also adds an extra layer of warm aroma right before you take a bite.
How to Make It
Prepare Your Oven and Crust:
First things first, get your oven preheating to 425°F. You want it fully heated before the pie goes in. Place your unbaked pie shell on a sturdy baking sheet. This little trick makes it so much easier to move the unbaked pie without spilling the liquid filling, and it catches any potential drips, saving you from cleaning the oven later.
Mix the Dry Ingredients:
In a small bowl, grab your granulated sugar, salt, and all those wonderful spices—the cinnamon, ginger, and cloves. Whisk them together until they’re completely combined. Doing this now ensures that every single bite of your Libby’s pumpkin pie has that perfect, consistent warm spice flavor without any surprise clumps.
Combine the Wet Ingredients:
Now, in a separate large bowl, lightly beat the two large eggs with a whisk. You don’t need to go crazy, just break them up until the yolks and whites are blended. Stir in the can of Libby’s pumpkin until it’s smooth. This is the base of your iconic filling.
Bring the Filling Together:
Add the sugar and spice mixture you prepared earlier to the pumpkin and egg bowl. Stir it all together until everything is evenly incorporated and the color is uniform. You shouldn’t see any streaks of spice. This step ensures every component is perfectly distributed for that signature taste and texture.
Gradually Add the Milk:
Slowly and gradually pour in the can of evaporated milk while you continue to stir. Adding it in a steady stream, rather than all at once, helps create an incredibly smooth and silky filling. Keep mixing just until the filling is smooth and has a consistent, beautiful pale orange color.
Fill the Pie Shell:
Carefully pour the pumpkin filling into your unbaked deep-dish pie shell. The mixture is quite liquid, so pour slowly to avoid splashing. The filling should come up very close to the edge of the crust, which is exactly what you want for a nice, full pie.
The Two-Temperature Bake:
Place the pie (on its baking sheet!) into the preheated 425°F oven and bake for exactly 15 minutes. This initial blast of high heat helps set the pie crust quickly, which is the secret to preventing a soggy bottom. After 15 minutes, reduce the oven temperature down to 350°F but do not open the oven door. Letting the heat out can cause the pie to fall.
Finish Baking and Check for Doneness:
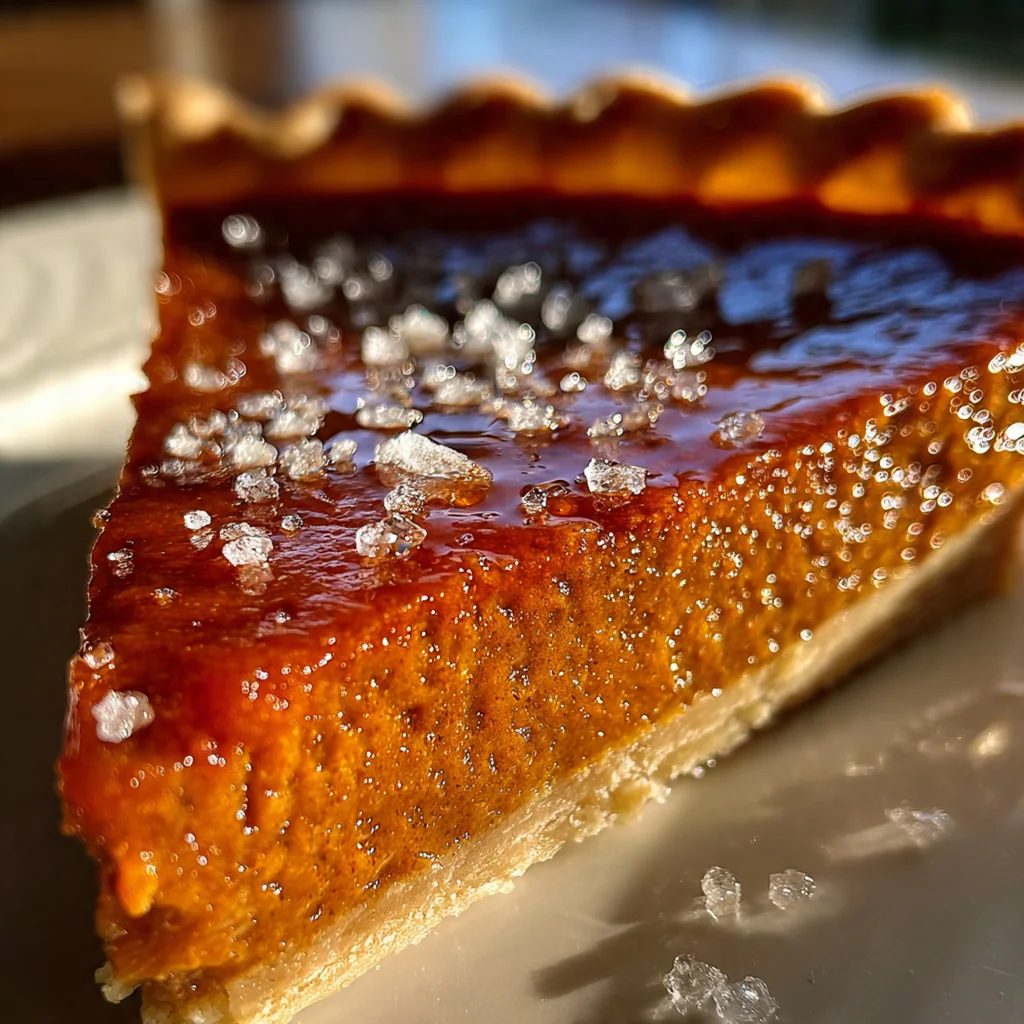
Continue baking at 350°F for another 40 to 50 minutes. The pie is ready when a knife inserted about an inch from the center comes out clean. The very center of the pie should still have a slight jiggle to it; it will finish setting up as it cools. Over-baking can lead to cracks, so keep a close eye on it during the final minutes.
Cool Completely Before Serving:
Remove your beautiful Libby’s pumpkin pie from the oven and place it on a wire rack. Now comes the hardest part: you must let it cool completely, which will take about two hours. Slicing into a warm pumpkin pie will result in a runny filling. Patience is key for those perfect, clean slices. Once it’s cool, you can serve it or transfer it to the refrigerator. Top with whipped cream just before you’re ready to enjoy.
You Must Know
- Let the pie cool for at least two full hours
- The initial high-heat bake prevents a soggy bottom
- Don’t substitute the evaporated milk, ever
- That slight jiggle in the center is perfect
Storage Tips
Once your Libby’s pumpkin pie has cooled completely to room temperature, you’ll want to store it in the refrigerator. Cover it loosely with plastic wrap or aluminum foil to keep it fresh and prevent it from absorbing any other odors from the fridge. Stored this way, the pie will stay perfectly fresh and delicious for up to four days, though it rarely lasts that long in my house! When you’re ready for another slice, you can enjoy it chilled straight from the fridge or let it sit out for a few minutes to come to room temperature.
Ingredient Substitutions
This classic Libby’s pumpkin pie recipe is a finely tuned formula, so substitutions should be minimal for the best results. The one thing you absolutely cannot substitute is the evaporated milk; sweetened condensed milk will make the filling too sweet and ruin the texture. Likewise, for that signature flavor, Libby’s 100% Pure Pumpkin is a must. However, if you have a gluten sensitivity, you can easily swap the standard pie crust for your favorite 9-inch gluten-free pie crust. You can also play with the spices slightly, perhaps adding a tiny pinch of nutmeg or allspice if you like.
Serving Suggestions
The most traditional way to serve a slice of Libby’s pumpkin pie is with a generous dollop of lightly sweetened whipped cream and a final sprinkle of ground cinnamon on top. It’s a classic for a reason! It’s also fantastic served with a scoop of high-quality vanilla bean ice cream, which slowly melts into the cool, creamy filling. I personally love a slice chilled right from the fridge with a hot cup of coffee or a warm mug of apple cider. It’s the perfect pairing to balance the rich, spiced flavor of the pie and complete the cozy experience.
Cultural Context
The Libby’s pumpkin pie is more than just a dessert; it’s a cornerstone of American holiday tradition, particularly for Thanksgiving. Pumpkin pie has been an autumn staple in the United States for centuries, but it was Libby’s that standardized the experience for millions. By printing this simple, reliable recipe on their cans of 100% Pure Pumpkin starting in the 1950s, they made it accessible to everyone. This recipe became the gold standard, passed down through generations and creating a shared culinary memory. For many families, the sight and smell of this specific pie baking in the oven is the official start of the holiday season, a true taste of home.
Pro Tips
- Use a pie shield to protect your crust edges
- Your ground spices should be fresh for the best flavor
- The high-heat bake is the key to a crisp bottom crust
- Let it cool completely for the cleanest slices possible
- I always use a baking sheet to prevent oven messes
Frequently Asked Questions
While you can, the classic Libby’s pumpkin pie is specifically developed for the consistency and moisture content of Libby’s 100% Pure Pumpkin. Using their canned pumpkin ensures you’ll get that signature smooth, custardy texture without any extra water, which can make the pie soggy. For the most authentic and foolproof results, we highly recommend sticking with the can.
Absolutely! This Libby’s pumpkin pie is a fantastic make-ahead dessert. You can bake it up to two days in advance. Just let it cool completely on a wire rack, then cover it loosely and store it in the refrigerator. You can serve it chilled or let it come to room temperature before slicing.
For the creamiest texture in this Libby’s pumpkin pie, Carnation Evaporated Milk is your best bet. If you’re in a pinch, you can substitute an equal amount of heavy cream or half-and-half. Just keep in mind that this might slightly change the final richness and set of the pie filling.
You’ll know the Libby’s pumpkin pie is perfectly baked when a knife inserted near the center comes out clean. The very center of the pie should still have a slight jiggle to it, but it shouldn’t look wet. It will continue to set as it cools down on a wire rack. Be careful not to overbake, as this can cause cracks in the filling.
This classic American dessert is traditionally served with a generous dollop of sweetened whipped cream or a scoop of vanilla bean ice cream. For an extra touch of warmth, you can also add a light dusting of ground cinnamon on top just before serving. It’s the perfect finish to any holiday meal.