

This creamy no-fail peanut butter fudge is the ultimate holiday treat that you can make without any stress. It’s the kind of rich, melt-in-your-mouth sweet I remember from my childhood, but my version is completely foolproof. Based on classic American confectionary traditions, this recipe uses a secret ingredient to guarantee an incredibly smooth texture without a candy thermometer. You’ll find this peanut butter fudge recipe becomes your go-to for gifts, parties, or whenever a craving for something sweet and comforting strikes. It’s truly that simple and that good.
Why You'll Love This Recipe
- No candy thermometer needed, making it truly foolproof
- Achieves an unbelievably creamy and smooth texture
- Ready in under 30 minutes of active time
- It’s the perfect sweet and salty peanut butter treat
- This recipe always gets rave reviews from my family
Ingredients You’ll Need
- Granulated sugar: This is the foundation of the fudge, providing the essential sweetness and structure. It melts down to create the candy base that gives the fudge its form.
- Unsalted butter: Adds incredible richness and a smooth, luxurious mouthfeel. Using unsalted butter lets you control the final saltiness of your peanut butter fudge perfectly.
- Evaporated milk: This is a key ingredient for creaminess. It provides concentrated milk solids without excess water, resulting in a richer, denser fudge than regular milk could achieve.
- Fine sea salt: Just a small amount is crucial for balancing the sweetness. It enhances the deep, roasted flavor of the peanut butter and makes the fudge taste less one-note.
- Creamy peanut butter: The star of the show. Use a commercial brand like Jif or Skippy for the best results, as their consistency prevents the fudge from becoming oily or grainy.
- Marshmallow creme: This is the secret to a no-fail, perfectly smooth texture. It acts as a stabilizer, preventing sugar crystallization and eliminating the need for a candy thermometer.
- Pure vanilla extract: A teaspoon adds a wonderful layer of aromatic warmth. It beautifully complements the peanut butter and elevates the overall flavor profile of the fudge.
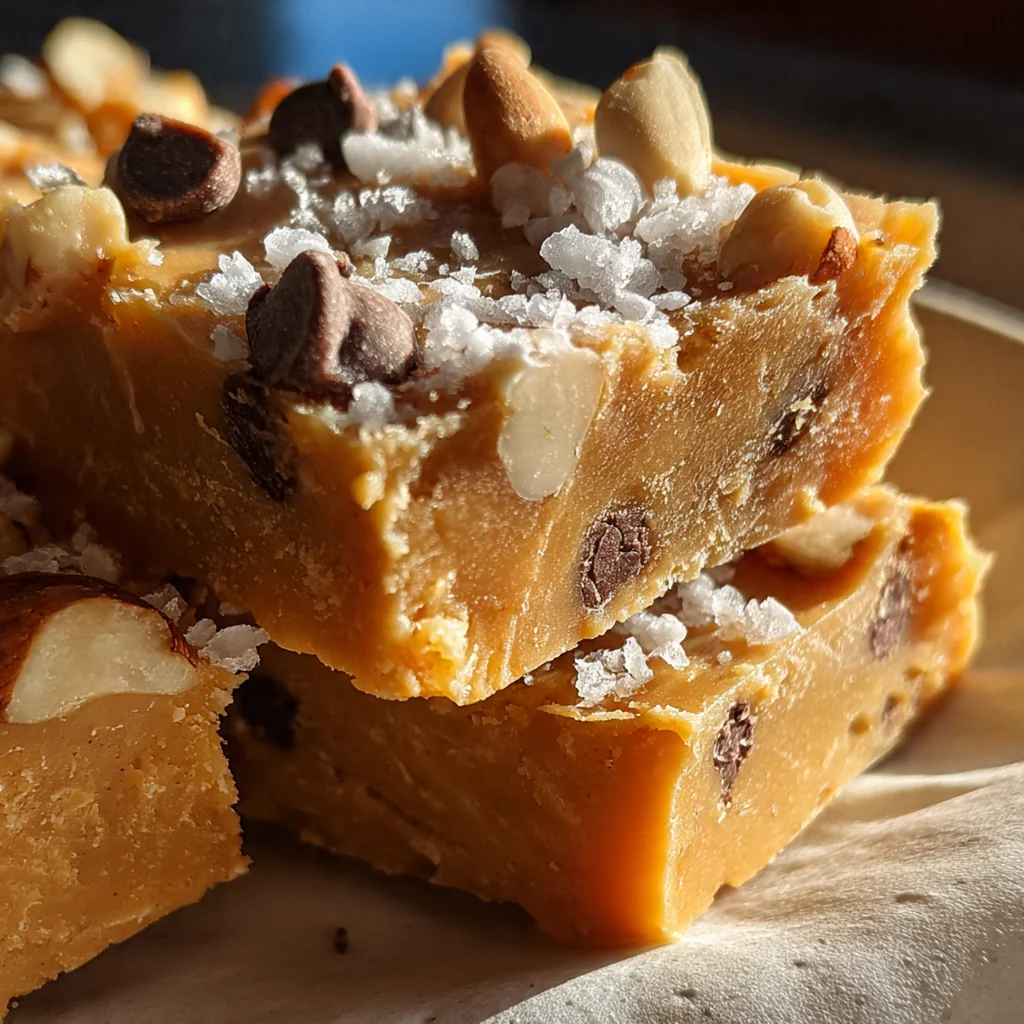
- Flaky sea salt: An optional but highly recommended finish. A light sprinkle on top provides a delightful crunch and a pop of saltiness that cuts through the richness.
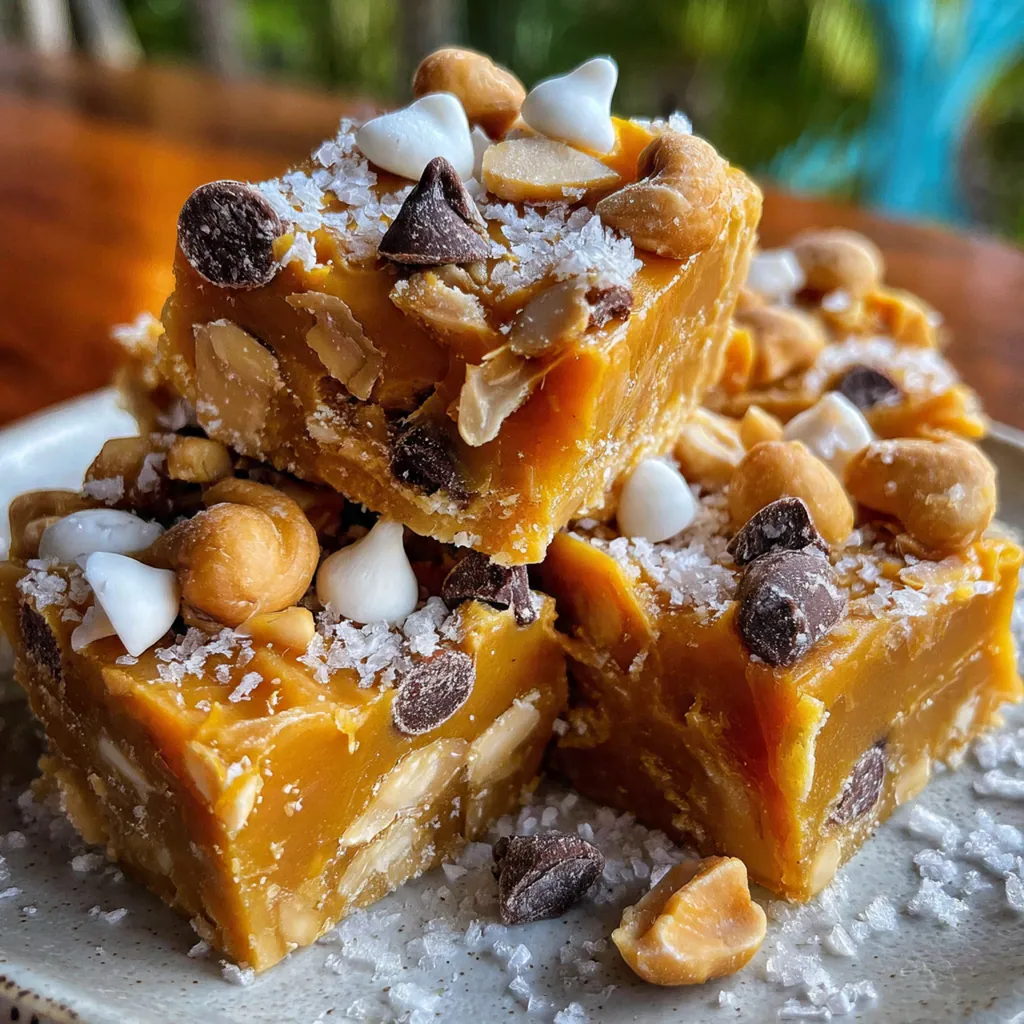
- Chopped roasted peanuts: Also optional, these add a fantastic textural contrast. The extra crunch and nutty flavor make each square of peanut butter fudge even more satisfying.
How to Make It
Prepare Your Pan First:
Before you do anything else, get your pan ready. Line an 8×8 inch square baking pan with parchment paper, making sure to leave some overhang on two opposite sides. These little ‘handles’ will make it incredibly easy to lift the entire block of fudge out later for cutting. A light greasing of the parchment helps ensure nothing sticks.
Measure and Combine Cold Ingredients:
This recipe moves very quickly, so mise en place is your best friend. In a large, heatproof bowl, combine your creamy peanut butter, the entire jar of marshmallow creme, and the pure vanilla extract. Just have them ready and waiting right next to your stove. You’ll be glad you did this when the hot sugar mixture is ready to go.
Create the Sugar Base:
In a medium, heavy-bottomed saucepan, combine the granulated sugar, pieces of unsalted butter, the can of evaporated milk, and the fine sea salt. A heavy-bottomed pan is really helpful here because it distributes heat more evenly, which helps prevent the sugar from scorching on the bottom. Give it a gentle stir to get everything acquainted.
Cook the Mixture Gently:
Place the saucepan over medium heat. You’ll need to stir this constantly with a heatproof spatula. Your main goals in this step are to melt the butter completely and dissolve all the sugar crystals. You can feel the mixture getting smoother as you stir. Keep scraping the bottom and sides of the pan.
Bring to a Five-Minute Boil:
Once the sugar is dissolved, turn the heat up to medium-high. Bring the mixture to a full, rolling boil. This isn’t a gentle simmer; it’s a boil that you can’t stir down. As soon as it hits this point, set a timer for exactly five minutes. Continue stirring constantly the entire time to prevent burning. This step is crucial for the final texture of your peanut butter fudge.
Combine Everything Quickly:
The moment your five-minute timer goes off, immediately pull the saucepan off the heat. Be very careful, as the mixture is extremely hot. Pour the molten sugar mixture directly into the bowl containing the peanut butter, marshmallow creme, and vanilla. Scrape the pan well to get every last drop.
Mix Until Smooth and Glossy:
Now it’s time to work fast. Using your spatula, stir everything together vigorously. You’re aiming to get all the ingredients fully incorporated until the mixture is uniform, smooth, and has a beautiful sheen. This should only take a minute or two. Be careful not to overmix, as that can make the fudge grainy.
Pour and Spread the Fudge:
Quickly scrape the finished peanut butter fudge into your prepared pan. Use the back of your spatula to spread it into an even layer, pushing it into the corners. The fudge begins to set almost immediately as it cools, so don’t delay this step. A smooth top now means pretty squares later.
Add Toppings and Let It Cool:
If you’re using flaky sea salt or chopped peanuts, now is the time to sprinkle them over the top. Gently press them into the surface of the fudge so they stick. Let the fudge cool completely at room temperature until it’s firm, which usually takes about 3 to 4 hours. For a faster set, you can pop it in the fridge for an hour or two.
You Must Know
- Use commercial peanut butter, not the natural kind
- Stir constantly while the sugar mixture is boiling
- Work fast when you combine the hot and cold ingredients
- This peanut butter fudge sets up quickly as it cools
Storage Tips
To keep your peanut butter fudge fresh, store it in an airtight container. It will last perfectly at room temperature for up to one week, which is how I prefer to store it for the best texture. If your kitchen is on the warmer side, you can keep it in the refrigerator for up to two weeks. The fudge will be much firmer when chilled, so I always recommend letting it sit on the counter for about 15 minutes before serving. This allows it to soften slightly and brings out that perfectly creamy, melt-in-your-mouth quality that makes this peanut butter fudge so special.
Ingredient Substitutions
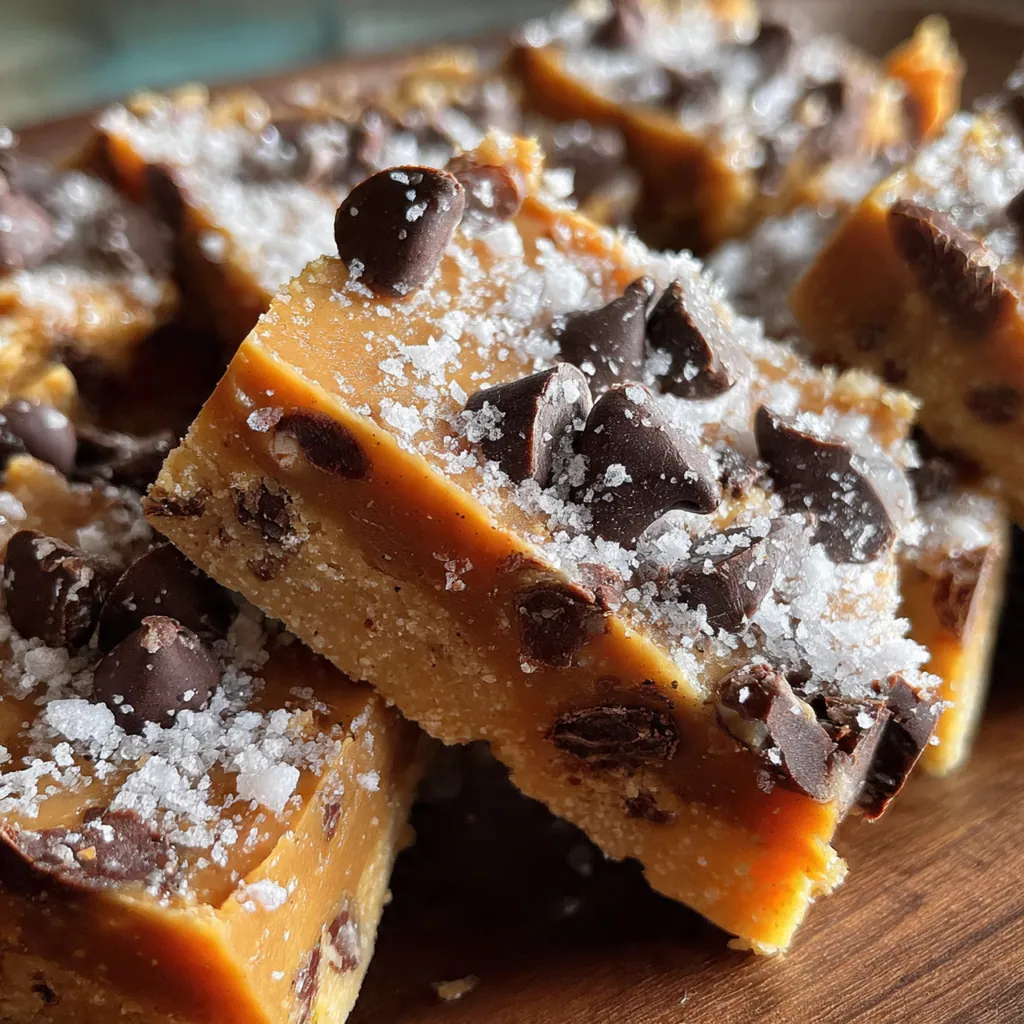
This is one of those recipes where the core ingredients are essential for its foolproof nature, so I don’t recommend many changes. The marshmallow creme, evaporated milk, and commercial-style peanut butter work together to create the perfect texture without a thermometer. Swapping these can lead to grainy or oily results. However, you can easily use crunchy peanut butter in place of creamy for added texture. You can also get creative with the toppings; try mini chocolate chips, sprinkles, or other chopped nuts like pecans or walnuts for a different spin on this classic peanut butter fudge.
Serving Suggestions
This rich peanut butter fudge is a star on its own, but it truly shines on a holiday dessert platter. I love to arrange small squares alongside chocolate crinkle cookies, shortbread, and peppermint bark for a beautiful and festive display. It’s also fantastic with a beverage that can cut through its richness, like a cold glass of milk for the kids or a hot cup of black coffee for the adults. For gifting, package the fudge squares in a decorative tin lined with waxed paper or in small cellophane bags tied with a pretty ribbon. It’s a simple, homemade gift that everyone loves to receive.
Cultural Context
Fudge itself is a uniquely American invention, born from a happy accident at Vassar College in the late 1800s when a batch of caramels was “fudged.” This classic peanut butter fudge is a beloved variation of that tradition. The use of marshmallow creme, a 20th-century innovation, transformed homemade fudge-making by offering a shortcut to the smooth, crystalline structure that was once only achievable through precise temperature control and technique. This recipe represents a modern, accessible take on a nostalgic treat, making it possible for anyone to create perfect, creamy fudge at home. It’s a staple on holiday tables and at bake sales across the United States, celebrated for its comforting, sweet-and-salty flavor.
Pro Tips
- Have every ingredient measured before you start
- Scrape the pan constantly so the sugar doesn’t burn
- Use a sharp knife wiped clean for perfect cuts
- Don’t walk away from the pot during the 5-minute boil
Frequently Asked Questions
For the creamiest peanut butter fudge, it’s essential to use a standard commercial creamy peanut butter like Jif or Skippy. Avoid natural-style peanut butters where the oil separates, as these can make the fudge oily or grainy. The emulsifiers in regular creamy peanut butter help create that signature smooth, melt-in-your-mouth texture.
Absolutely! This peanut butter fudge is perfect for making in advance. Once it’s set and cut into squares, you can store it in an airtight container at room temperature for up to one week. For longer storage, you can keep it in the refrigerator for up to three weeks. It’s a great make-ahead treat for holidays or parties.
The marshmallow creme is the secret to this fudge’s foolproof, creamy texture. While there isn’t a perfect one-to-one substitute, you could try melting 2 cups of mini marshmallows with 2 tablespoons of corn syrup as an alternative. However, for the guaranteed smooth, no-fail results of this specific peanut butter fudge, sticking with the jarred marshmallow creme is highly recommended.
Since you don’t need a candy thermometer, rely on timing. After bringing the sugar, butter, and evaporated milk to a rolling boil, you must stir constantly and boil for a full 5 minutes. Don’t eyeball it; set a timer! This step is crucial for ensuring your peanut butter fudge sets up properly and has the perfect texture.
This peanut butter fudge is a star on its own, but it’s also a great addition to a dessert platter. As a classic American treat, it pairs wonderfully with a cold glass of milk or a hot cup of coffee. For a holiday dessert board, serve it alongside chocolate truffles, sugar cookies, and candied nuts. A small square is also a delicious topping for a scoop of vanilla ice cream.