

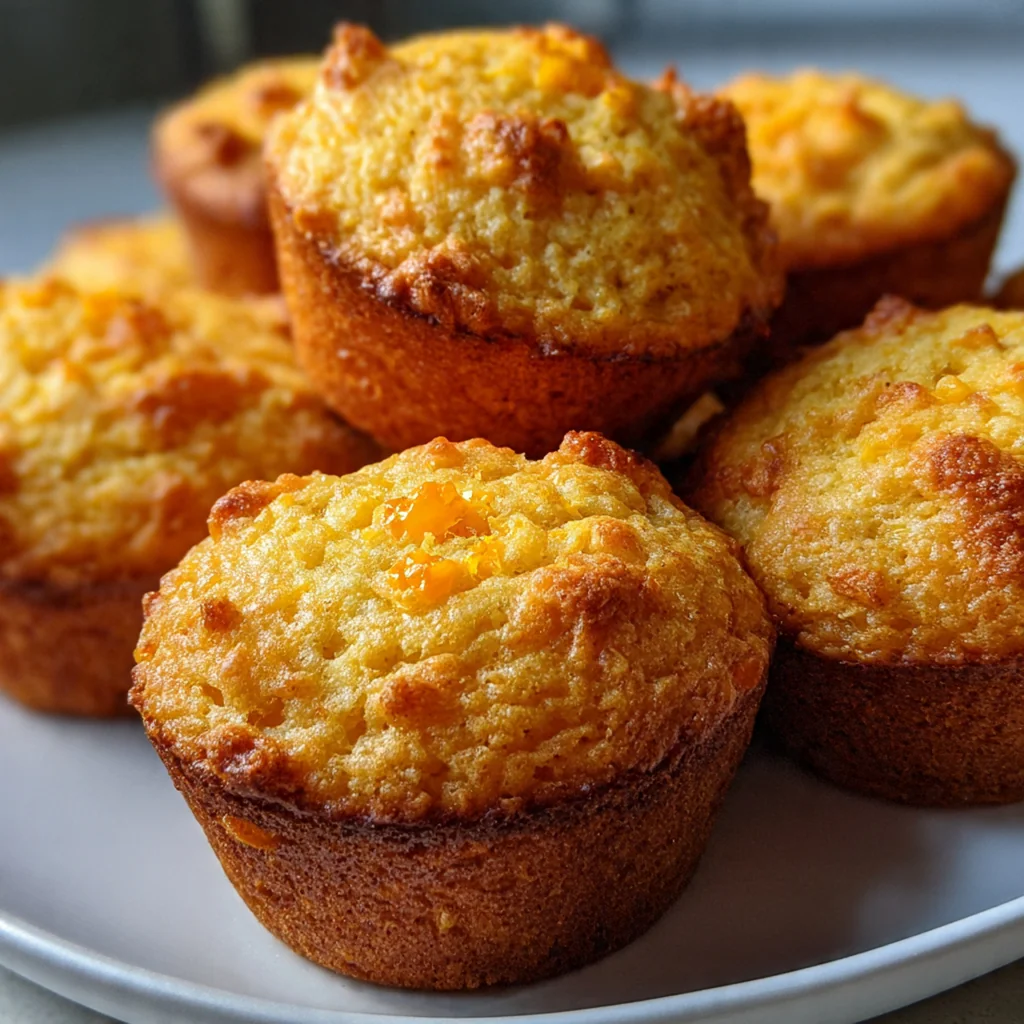
These Basic Corn Muffins are a true American classic that I turn to for an easy, comforting side. They offer a tender crumb and a hint of sweetness that pairs with everything, and they come together in just minutes. This recipe captures the soul of simple home baking, using pantry staples you likely already have. You’ll find their versatility and quick bake time makes them a staple for weeknights and gatherings alike.
Why You'll Love This Recipe
- They use simple pantry ingredients you likely already have
- Ready in under 30 minutes from start to finish
- Perfectly tender with a hint of sweetness that pairs with anything
- Easy to customize with add-ins like cheese or jalapeños
- I make a batch every week for quick snacks
Ingredients You’ll Need
- Yellow cornmeal: This is the soul of the muffin, providing that classic gritty texture and robust corn flavor. Look for a finely ground yellow cornmeal for the best tender crumb.
- All-purpose flour: It gives the muffins structure and a soft, cake-like interior. Use a spoon to lightly fluff and level your flour for accurate measuring.
- Granulated sugar: Just the right amount adds a subtle sweetness that balances the cornmeal’s earthiness. You can adjust it a touch based on your preference.
- Baking powder: This is your leavening agent, responsible for the muffins’ lift and airy texture. Make sure yours is fresh for the best rise.
- Salt: A little bit enhances all the other flavors and keeps the muffins from tasting flat. I always use fine sea salt in my baking.
- Whole milk: It adds moisture and richness for a tender crumb. The fat content in whole milk really makes a difference here.
- Vegetable oil or melted unsalted butter: Oil keeps the muffins extra moist for days, while butter adds a lovely rich flavor. I often use butter when I want that bakery taste.
- Large egg: It binds the batter and contributes to the structure and golden color. Let it come to room temperature for easier mixing.
How to Make It
Preheat and Prepare Your Pan:
Start by heating your oven to 400°F and greasing a 12-cup muffin tin or lining it with papers. A hot oven is key for that initial burst of heat that gives you a nice domed top.
Mix Your Dry Ingredients:
In a large bowl, whisk together the cornmeal, flour, sugar, baking powder, and salt. You want everything evenly distributed so there are no pockets of baking powder in your finished muffins.
Whisk the Wet Ingredients:
In a separate medium bowl, combine the milk, your chosen oil or melted butter, and the egg. Whisk it until it’s completely smooth and the egg is fully incorporated into the mixture.
Combine Wet and Dry:
Pour the wet ingredients into the bowl with the dry ingredients. Use a spatula to gently fold everything together until just combined. It’s okay if the batter is lumpy – overmixing leads to tough muffins.
Fill the Muffin Cups:
Divide the batter evenly among the prepared cups, filling each one about two-thirds of the way full. This leaves the perfect amount of room for them to rise up beautifully without spilling over.
Bake to Golden Perfection:
Bake for 15 to 20 minutes. You’ll know they’re done when the tops spring back lightly to the touch and a toothpick inserted in the center comes out clean or with a few moist crumbs.
Cool and Serve:
Let the muffins cool in the pan for about five minutes, then transfer them to a wire rack. This stops the cooking and prevents soggy bottoms. They’re fantastic served warm.
You Must Know
- Use buttermilk instead of milk for extra tenderness
- Never overmix the batter – lumps are your friend
- Fill cups only 2/3 full for perfect domes
- The toothpick test is the best way to check doneness
- I always eat one straight from the oven
Storage Tips
Once your Basic Corn Muffins are completely cooled, store them in an airtight container at room temperature for up to two days to keep them fresh. For longer storage, you can pop them in the fridge for about five days, or freeze them in a single layer on a baking sheet before transferring to a freezer bag for up to three months. To bring back that just-baked warmth and texture, reheat them in a 350°F oven for five to ten minutes – it works way better than the microwave.
Ingredient Substitutions
If you’re out of whole milk, buttermilk is a fantastic swap that adds a wonderful tang and makes the crumb even more tender; you can also use a 2% milk in a pinch. For a dairy-free version, any unsweetened plant-based milk like almond or oat works well with the vegetable oil. If you want to go gluten-free, use a reliable one-to-one gluten-free flour blend instead of the all-purpose, though the texture might be slightly different. For a less sweet version, you can reduce the sugar by a tablespoon or two, or swap it for maple syrup in the wet ingredients, adjusting the milk slightly.
Serving Suggestions
I love serving these Basic Corn Muffins warm with a generous pat of butter and a drizzle of honey right over the top – it melts into all the nooks and crannies. They’re the absolute best companion to a big bowl of chili, a hearty soup, or a steaming beef stew, perfect for sopping up every last bit. For breakfast or brunch, split one open and pair it with scrambled eggs and crispy bacon for a classic, satisfying plate that everyone loves.
Cultural Context
Corn muffins are a deeply rooted staple in American cuisine, tracing back to Native American traditions of using ground corn. They became a cornerstone of Southern and New England cooking, often served as a simple, filling bread that could be made with humble, readily available ingredients. You’ll find regional variations across the country – some sweeter, some more savory – but this classic version with its balanced texture and slight sweetness captures the essential spirit of the dish. It’s a recipe that speaks to comfort, resourcefulness, and the simple pleasure of home baking, passed down through countless family kitchens.

Pro Tips
- Bring your egg to room temp for smoother batter
- Use an ice cream scoop for even portions
- Let the batter rest 5 minutes before baking for taller muffins
- A hot oven gives you that perfect dome
- I always use butter when I want that bakery flavor
Frequently Asked Questions
Absolutely! Melted unsalted butter is a great substitute for the vegetable oil. It’ll add a richer, more distinct flavor to your Basic Corn Muffins. Just be sure to let it cool slightly after melting so it doesn’t cook the egg when you mix the wet ingredients.
Yes, you can! These muffins are great for make-ahead meals. Let them cool completely, then store in an airtight container at room temperature for up to 2 days. For longer storage, you can freeze them for up to 3 months and thaw at room temperature or reheat gently.
You can use any milk you have on hand—2%, skim, or a dairy-free alternative like almond or oat milk. The muffins might be slightly less rich with lower-fat milks, but they’ll still turn out great. You can even use buttermilk for a delightful tang.
The muffins are done when the tops are golden and spring back lightly when touched. The most reliable test is to insert a toothpick into the center of a muffin—it should come out clean or with just a few moist crumbs attached, usually around the 18-20 minute mark.
Classic Basic Corn Muffins are incredibly versatile! Serve them warm with a drizzle of honey or a smear of butter. They’re the perfect companion to a bowl of chili, hearty stew, barbecue, or a simple weeknight soup. They also make a great breakfast on the go.