

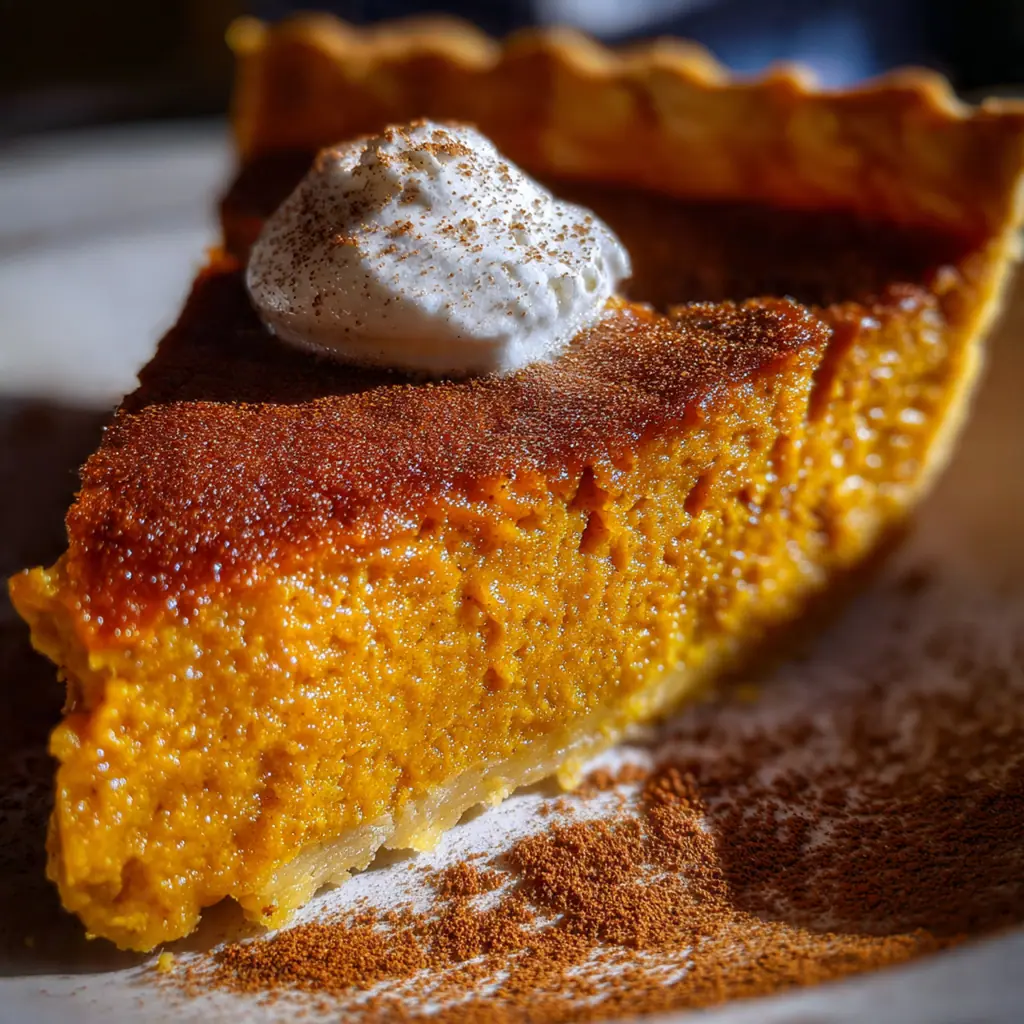
This classic Sally pumpkin pie recipe brings the warm, spiced essence of the holidays right to your table. It’s an American dessert icon, celebrated for its silky smooth filling and tender, flaky crust made entirely from scratch. The secret lies in the careful balance of warm spices and the technique of a blind-baked crust to avoid sogginess. It’s the pie that turns any dinner into a celebration and fills your kitchen with the most comforting aroma you can imagine.
Why You'll Love This Recipe
- A creamy, perfectly spiced filling that’s never eggy or bland
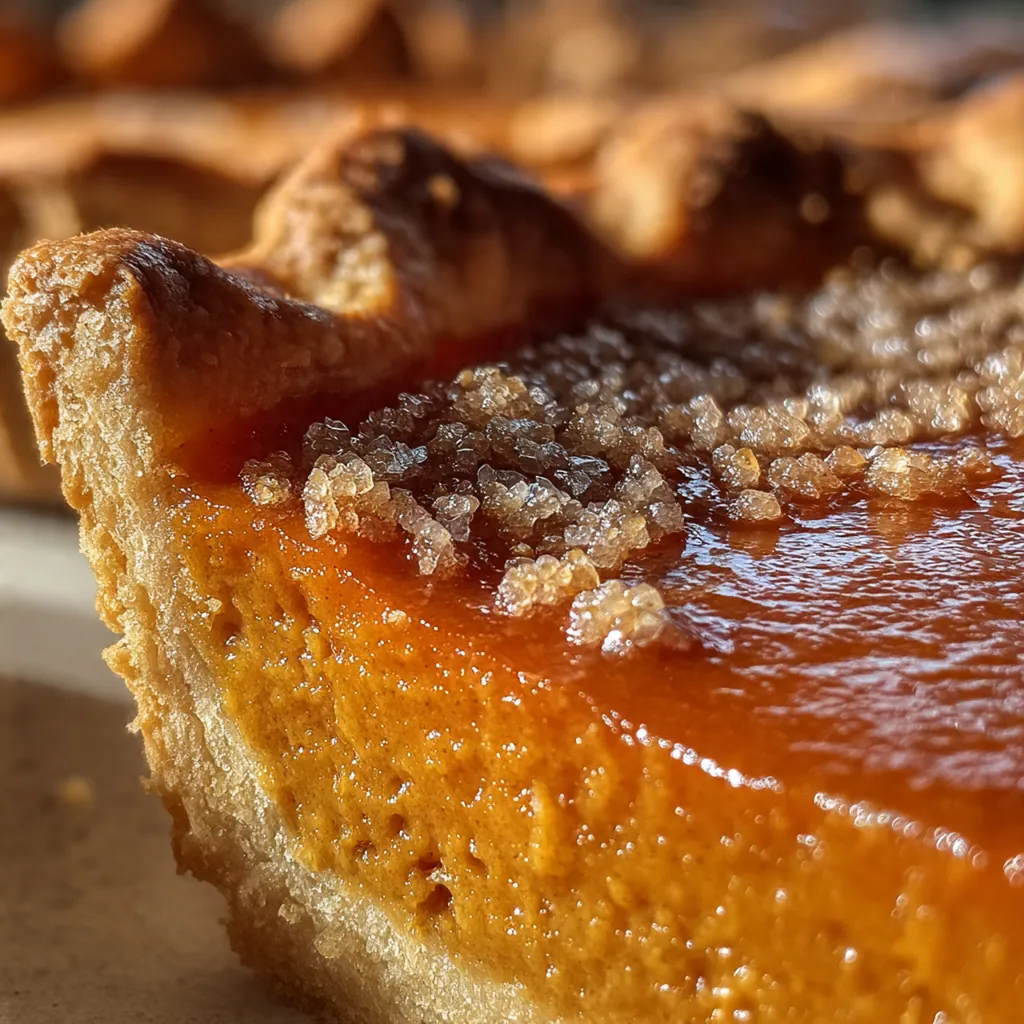
- The flaky, tender homemade crust makes all the difference
- Straightforward steps take the guesswork out of pie-making
- That incredible baking smell is instant holiday coziness
- It’s the kind of dessert that earns you recipe requests
Ingredients You’ll Need
- All-purpose flour: The foundation of your pie crust, providing structure and flakiness. Choose an unbleached variety for the best color and flavor.
- Unsalted butter: Kept cold and cubed for the flakiest, most tender crust. The little solid butter pieces create steam pockets as they melt during baking.
- Ice water: Hydrates the dough without melting the butter. Starting with very cold water keeps your pastry dough chilled and easy to work with.
- Pure pumpkin puree: The star of the show, packed with sweet, earthy flavor. Make sure you grab plain puree, not pumpkin pie filling, which has added sugar and spices.
- Light brown sugar: This gives the filling a deep molasses-like sweetness and beautiful color. Pack it firmly into your measuring cup for accuracy.
- Large eggs: They bind the filling and give it that classic, custardy set. Room temperature eggs blend in more smoothly for a uniform texture.
- Ground cinnamon: The primary warm spice, offering sweet and woody notes that define pumpkin spice. Freshness matters here for the brightest flavor.
- Ground ginger: Adds a warm, slightly peppery kick that balances the sweetness perfectly and complements the other spices beautifully.
- Ground nutmeg: Provides a sweet, nutty warmth that’s essential for that authentic, nostalgic pie flavor. A little goes a very long way.
- Ground cloves: The secret powerhouse spice that adds intense, aromatic depth. Use it sparingly as it’s quite strong and can easily overpower.
- Evaporated milk: This rich, concentrated canned milk creates the signature velvety texture without making the filling too heavy or wet.
- Pure vanilla extract: The finishing touch that rounds out all the flavors with a sweet, fragrant note. Always opt for real extract, not imitation.
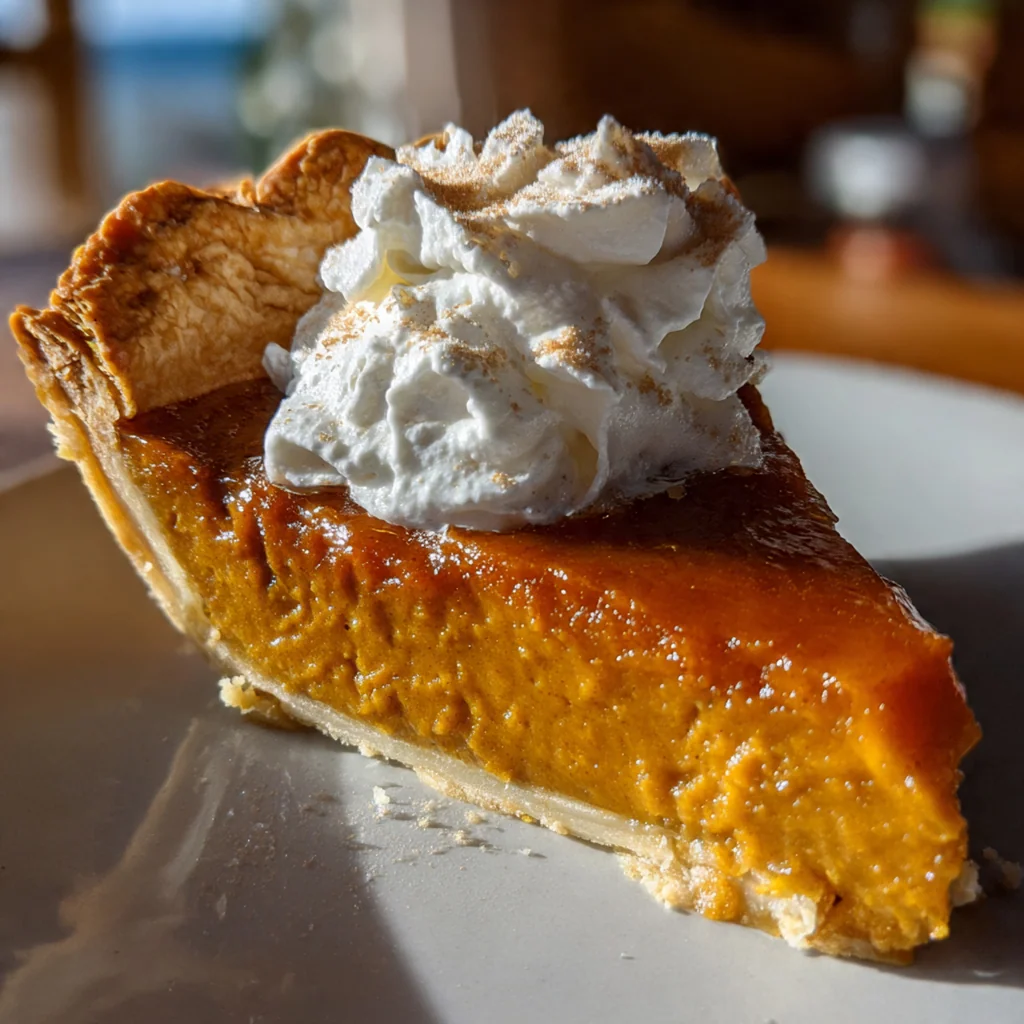
- Sweetened whipped cream: The classic, non-negotiable topping that adds a cloud of cool, creamy contrast to the rich, spiced pie.
How to Make It
Mix Your Dry Crust Ingredients:
Start by whisking the flour and a quarter teaspoon of salt in a medium bowl. This initial mixing ensures the salt is evenly distributed, which seasons the crust and strengthens the gluten just a bit. A simple fork or whisk does the trick here.
Cut In The Cold Butter:
Scatter your cold, cubed butter over the flour mixture. Use a pastry blender or two forks to cut the butter in until you get coarse crumbs with some larger pea-sized pieces of butter remaining. Those solid butter bits are what will create steam and flaky layers as the crust bakes.
Bring The Dough Together:
Sprinkle three tablespoons of ice water over your flour-butter mixture. Gently stir with a fork just until the dough starts to clump together. If it seems too dry and won’t hold when pinched, add more water one teaspoon at a time. Shape the dough into a disk, wrap it tightly, and chill it. This rest relaxes the gluten and firms up the butter, making the dough much easier to roll out later.
Roll and Blind Bake The Crust:
On a lightly floured surface, roll your chilled dough into a twelve-inch circle. Carefully transfer it to your pie plate, trim the edges, and crimp them. Prick the bottom all over with a fork, line it with parchment, and fill it with pie weights. Baking it at 425°F with weights sets the shape, then a quick bake without them dries it out. This step is your secret weapon against a soggy bottom.
Whisk The Spiced Filling:
While the crust bakes, make the filling. In a large bowl, whisk together the pumpkin puree, brown sugar, eggs, all your spices, and the remaining salt. Keep whisking until everything is completely smooth and homogenous with no streaks of egg or sugar. This smooth base is key for that perfect custardy texture.
Incorporate The Milk and Vanilla:
Gradually pour in the evaporated milk and vanilla extract while whisking constantly. Whisk just until the mixture is uniform and creamy, but try not to overdo it. Over-whisking at this stage can incorporate too much air, which might lead to bubbles or cracking in your baked pie.
Fill and Bake:
Place your warm pie crust on a baking sheet for stability, then pour the filling right in. Gently tap the pan on your counter a few times to release any trapped air bubbles. Bake at 375°F until the edges are puffed and the center has a slight jiggle—like set gelatin—when you nudge the pan. A knife inserted near the center should come out clean.
Cool Completely:
This is the hardest but most important step. Transfer the pie to a wire rack and let it cool completely, for at least three hours. The filling continues to set as it cools. If you cut into it too soon, it’ll be a runny mess, but your patience will be rewarded with perfect, clean slices.
You Must Know
- Blind baking the crust prevents a soggy bottom
- Let the pie cool completely before you even think about slicing
- Room temperature ingredients blend smoother for a crack-free top
- That slight jiggle in the center means it’s done
- I never skip the three-hour cooling time
Storage Tips
Once your Sally pumpkin pie has cooled completely, cover it loosely with plastic wrap or slide it into a pie carrier and store it in the refrigerator. It’ll stay fresh and delicious for up to three days. For longer storage, you can freeze the whole baked pie. Wrap it tightly in a couple layers of plastic wrap, then a layer of foil, and freeze for up to one month. Thaw it overnight in the fridge before you plan to serve it. The texture and flavor are remarkably well-preserved, making it a fantastic make-ahead dessert for the holidays.
Ingredient Substitutions
If you need a gluten-free version, a good quality 1:1 gluten-free flour blend works perfectly as a direct substitute for the all-purpose flour in the crust. For a dairy-free pie, swap the cold butter for an equal amount of very cold vegan shortening or a plant-based butter stick, and use full-fat canned coconut milk in place of the evaporated milk—it gives a similar rich, creamy result. Don’t have all the individual spices? You can use two teaspoons of a pre-mixed pumpkin pie spice blend instead of the cinnamon, ginger, nutmeg, and cloves, though I find the individual spices offer a more nuanced flavor.
Serving Suggestions
A generous dollop of freshly whipped cream is the classic and perfect pairing, adding a cool, creamy contrast to the warm spices. For a next-level treat, drizzle each slice with a little salted caramel sauce or add a scoop of high-quality vanilla bean ice cream. This Sally pumpkin pie also pairs wonderfully with a hot cup of black coffee to cut the sweetness or a mug of spiced apple cider to double down on those cozy fall flavors. It’s rich enough to stand alone but always welcomes a simple, elegant garnish.
Cultural Context
Pumpkin pie is deeply woven into the fabric of American holiday tradition, particularly Thanksgiving, where it often serves as the grand finale to the feast. Its roots trace back to early colonial times when settlers adapted European pie-making techniques to native ingredients like pumpkins. The evolution from savory pumpkin pies to the sweet, spiced custard we know today was cemented in the 19th century, thanks in part to canned pumpkin making the ingredient available year-round. This Sally pumpkin pie recipe honors that tradition, focusing on a from-scratch approach that highlights the humble pumpkin transformed into a celebratory dessert.
Pro Tips
- Use a pie shield or foil strips to protect the crust edges from burning
- Dip your knife in hot water for the cleanest possible slices
- For deeper flavor, try roasting your own sugar pumpkin
- Let all your filling ingredients sit out before mixing
- I always bake my pie on a sheet pan to catch any drips
Frequently Asked Questions
Using room-temperature eggs is key for a smooth, silky Sally pumpkin pie filling. Cold eggs can cause the mixture to curdle or not fully incorporate with the pumpkin and evaporated milk, potentially leading to a lumpy texture instead of that classic, velvety consistency.
Absolutely! You can bake your Sally pumpkin pie a day in advance. Once it’s completely cooled, cover it loosely and refrigerate. Let it sit at room temperature for about an hour before serving to take the chill off for the best texture and flavor.
For a similar rich result, you can use an equal amount of heavy cream or half-and-half. While the texture will be slightly different, it’ll still be delicious. Avoid regular milk, as it’s too thin and can make the filling watery and less creamy.
The classic test for doneness is to insert a knife near the center. Your Sally pumpkin pie is ready when the knife comes out clean. The filling should also be set around the edges but still have a slight jiggle in the very center when you gently shake the pan.
A dollop of freshly whipped cream is the traditional and perfect pairing for Sally pumpkin pie. For a decadent twist, a scoop of vanilla bean ice cream or a drizzle of salted caramel sauce complements the warm spices beautifully, making it an unforgettable dessert.