

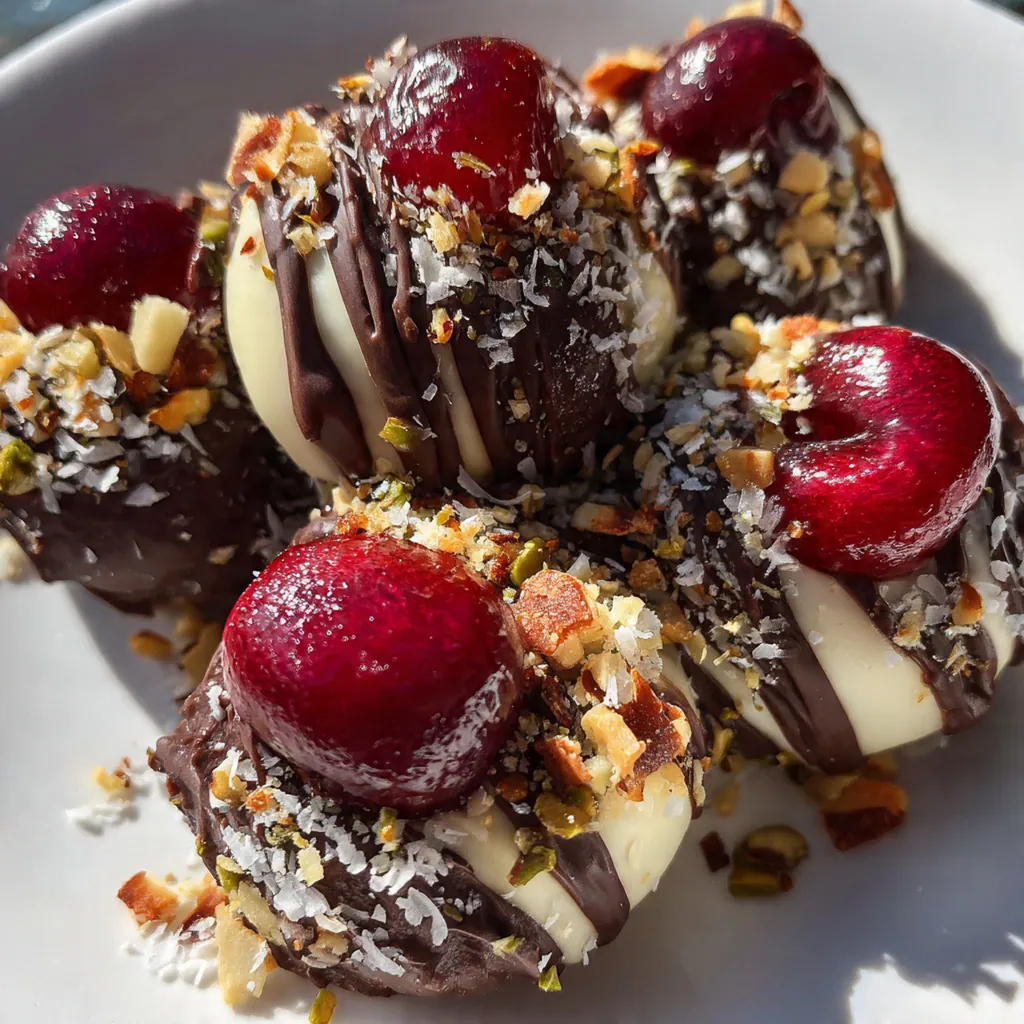
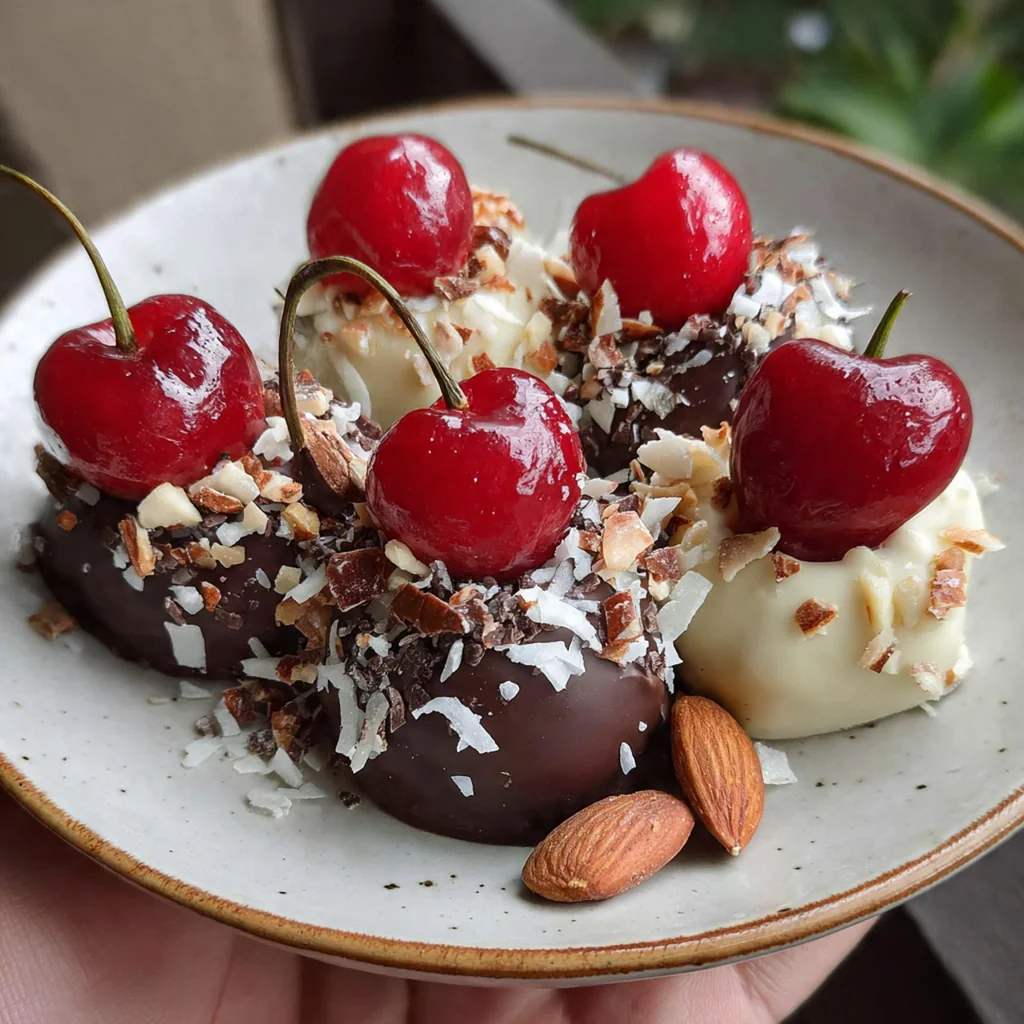
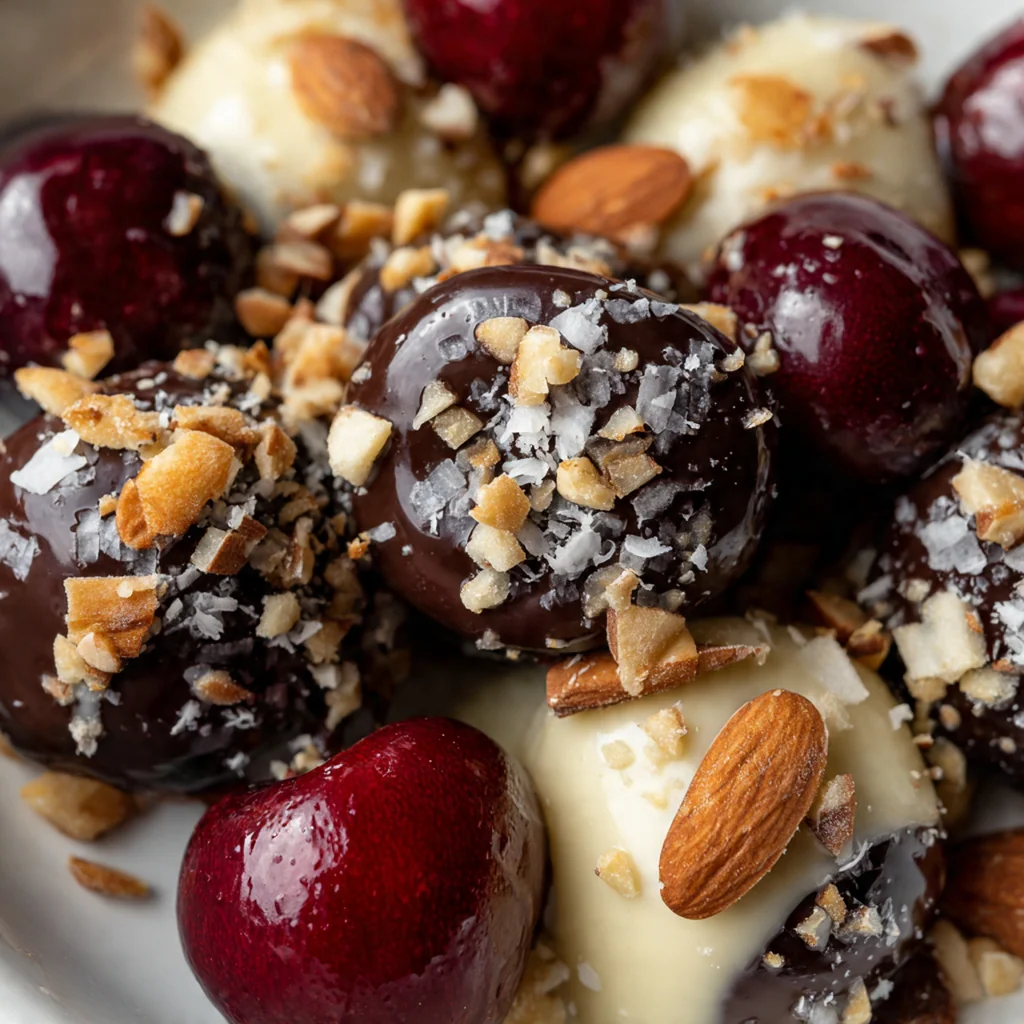
Making your own decadent Chocolate Covered Cherries is a classic candy-making project that’s more than worth the effort. Forget the waxy, overly sweet versions from the store; this recipe creates an elegant confection with a truly magical secret. Inside a crisp, dark chocolate shell lies a sweet maraschino cherry floating in a creamy, liquid fondant center that forms over time. This American classic is the ultimate homemade treat, perfect for holidays, gifts, or a personal indulgence you can be proud of creating from scratch.
Why You'll Love This Recipe
- The fondant center magically liquefies over time
- You control the ingredients, using high-quality chocolate
- They taste infinitely better than any store-bought box
- It’s a fun project that creates truly impressive results
Ingredients You’ll Need
- Maraschino cherries with stems: These are the heart of the recipe. The stems are your built-in handles for easy dipping and an elegant presentation.
- Unsalted butter: Use good quality, softened butter as it forms the rich, creamy base of your fondant filling and gives it a wonderful flavor.
- Light corn syrup: This is the secret to a perfectly smooth fondant. It prevents the sugar from crystallizing, ensuring a silky, not grainy, liquid center later on.
- Almond extract: A classic pairing for cherries, this adds a subtle, warm, nutty aroma that complements the fruit and chocolate perfectly.
- Salt: Just a pinch is all you need to balance the intense sweetness of the sugar and cherries, making all the flavors pop.
- Confectioners’ sugar: Also known as powdered sugar, this dissolves easily to create the stiff but pliable fondant dough that wraps around each cherry.
- High-quality semi-sweet or bittersweet chocolate: This is not the place to skimp. A good quality chocolate with a higher cacao percentage provides a deep, rich flavor and a satisfying snap.
- Coconut oil or vegetable shortening: This optional ingredient is a pro trick. A tiny amount stirred into the melted chocolate gives you a shinier finish and a slightly thinner coating.
- White chocolate: Purely for looks, but a fine drizzle of melted white chocolate gives your finished candies a professional, bakery-style appearance.
- Flaky sea salt: A final, optional sprinkle on top of the wet chocolate adds a touch of sophisticated crunch and a salty counterpoint to the sweetness.
How to Make It
Prepare and Dry the Cherries:
Your first step is the most important one for success. You need to drain the maraschino cherries extremely well. Spread them out in a single layer on a tray lined with a few paper towels. Gently pat each one dry with more paper towels, then let them air-dry for at least 30 minutes. Any lingering moisture will make the fondant slide right off, so be patient here; bone-dry is the goal.
Make the Creamy Fondant Filling:
In a medium bowl, combine your softened butter, light corn syrup, almond extract, and salt. Using an electric mixer on medium speed, beat these ingredients together for a minute or two. You’re looking for a mixture that is completely smooth, creamy, and well combined, creating the flavorful base for your fondant.
Form the Pliable Fondant Dough:
Now it’s time to build the dough. Gradually add the sifted confectioners’ sugar to your butter mixture with the mixer on low speed. Keep mixing until a stiff, yet workable, dough forms. The perfect texture is just like play-doh, it shouldn’t be sticky. If it feels too wet, add a touch more sugar; if it’s crumbly, add a single drop of water.
Carefully Wrap the Cherries:
This is the fun, hands-on part of making Chocolate Covered Cherries. Take about a teaspoon of the fondant dough and flatten it into a small, thin circle in the palm of your hand. Place one of your super-dry cherries in the middle. Carefully fold the fondant up and around the cherry, enclosing it completely. Gently roll it between your palms to create a smooth ball, leaving the stem poking out at the top. Place the finished ball on a baking sheet lined with parchment paper and repeat with the rest.
Chill the Fondant-Wrapped Cherries:
Once all your cherries are wrapped, place the baking sheet into the refrigerator for at least 30 minutes or the freezer for 15 minutes. Don’t skip this step! Chilling makes the fondant firm, which is absolutely crucial for preventing a melty mess when you dip them into the warm chocolate. This simple pause makes the next step so much easier.
Melt the Chocolate to Perfection:
While the cherries are chilling, you can prepare your chocolate. You have two easy options for melting. For the double boiler method, place the chopped chocolate in a heatproof bowl over a saucepan of simmering water, stirring until smooth. Alternatively, use a microwave-safe bowl and heat the chocolate in 30-second bursts, stirring well after each one until it’s fully melted. Once smooth, stir in the optional coconut oil for extra gloss and fluidity.
Dip Each Cherry for a Flawless Coat:
It’s time for the final assembly. Remove the chilled cherries from the fridge. Holding one by its stem, dip it straight down into the melted chocolate, swirling it gently to ensure it’s completely coated. Lift it up, allowing any excess chocolate to drip back into the bowl for a clean finish. Place the dipped cherry back onto your parchment-lined baking sheet to set.
The Final Magic Step (Ripening):
Let the dipped cherries sit at room temperature for about an hour, or until the chocolate shell is completely hard and set. Once they’re firm, transfer your beautiful Chocolate Covered Cherries to an airtight container. Store them in a cool, dark place like a pantry for one to two weeks. During this resting period, a natural enzyme in the cherries works its magic on the fondant, slowly liquefying the center into that signature sweet syrup. Your patience will be rewarded!
You Must Know
- The cherries must be completely bone-dry
- Chilling the fondant is a non-negotiable step
- Patience is required for the center to liquefy
- It’s so worth it when you finally bite into one
Storage Tips
Storing your Chocolate Covered Cherries correctly is the key to achieving that perfect liquid center. Once the chocolate shell is completely set, place them in a single layer inside an airtight container. Keep the container in a cool, dark place, like a cellar or pantry, for one to two weeks. Do not put them in the refrigerator during this critical ‘ripening’ time, as the cold can hinder the liquefying process. After the center has turned to syrup, you can then transfer them to the refrigerator, where they will keep for up to a month.
Ingredient Substitutions
This classic recipe is quite straightforward, but you do have a few options for simple swaps. If you have a nut allergy or simply prefer a different flavor, you can easily substitute the almond extract with an equal amount of pure vanilla extract for a more classic vanilla-creme taste. Be sure to use a certified nut-free chocolate if needed. For the chocolate shell, feel free to use high-quality milk chocolate or even white chocolate instead of dark, depending on your preference. Just remember that the quality of your chocolate will directly impact the final flavor of your homemade candy.
Serving Suggestions
These homemade Chocolate Covered Cherries are an elegant treat perfect for any special occasion. Serve them after dinner with a hot cup of coffee or espresso to cut through the richness. They also pair wonderfully with a small glass of dessert wine or an after-dinner liqueur. During the holidays, they are a stunning addition to any cookie or candy platter, and they always stand out. For a truly thoughtful present, pack them carefully into a beautiful candy box; a box of homemade Chocolate Covered Cherries is the ultimate gift for friends, family, or neighbors.
Cultural Context
Chocolate Covered Cherries are a beloved and nostalgic piece of American confectionery. They rose to popularity in the early 20th century, becoming a staple in candy shops and boxed chocolate assortments across the country, especially around holidays like Valentine’s Day and Christmas. The magic of the liquid center, a result of the enzyme invertase, was a marvel of candy making that captured the public’s imagination. Making them at home is a throwback to a time when creating special sweets from scratch was a cherished tradition. This recipe honors that heritage, allowing you to recreate an iconic American treat that feels both timeless and deeply personal. It’s more than just a candy; it’s a taste of sweet history.
Pro Tips
- Your cherries must be absolutely, completely dry
- If the fondant feels too soft, just chill the dough
- A toothpick is great for perfecting the chocolate coat
- Don’t skip the ripening, that’s where the magic is
- I always use the best chocolate I can find
Frequently Asked Questions
For the best results with these Chocolate Covered Cherries, we recommend using a high-quality semi-sweet or bittersweet chocolate with 60-70% cacao. A finely chopped bar or high-quality chocolate wafers will melt more smoothly than standard chocolate chips, giving you a beautiful, crisp shell that perfectly complements the sweet cherry and fondant center.
Absolutely! In fact, these Chocolate Covered Cherries need to be made ahead of time. For the fondant center to liquefy properly, you should store the finished candies in an airtight container at room temperature for at least 1-2 weeks before serving. This aging process is essential for achieving the classic liquid center.
If you don’t have almond extract or have a nut allergy, you can easily substitute it with an equal amount of pure vanilla extract. While almond extract provides a classic flavor profile for these Chocolate Covered Cherries, vanilla will still create a delicious and creamy fondant center that pairs wonderfully with the cherry and chocolate.
The optional coconut oil helps the chocolate set with a nice shine and snap. You’ll know the chocolate is ready for dipping when it’s completely smooth and glossy after melting. It should coat the back of a spoon evenly. Be sure to work quickly with your Chocolate Covered Cherries before it starts to cool and thicken.
Chocolate Covered Cherries are a decadent, standalone American confection, perfect for holiday platters or as a homemade gift. They pair beautifully with a glass of red wine, like a Cabernet Sauvignon, or a cup of dark roast coffee or espresso. For a dessert spread, consider serving them alongside simple shortbread cookies.