

Learning how to can peaches is one of the most satisfying ways to capture the essence of summer in a jar. This classic American method transforms fresh, juicy peaches into a pantry staple you can enjoy any time of year. It’s a project that yields a reward far sweeter than anything you can buy at the store. With this safe, clear guide, you’ll preserve that perfect, sun-ripened flavor to brighten up even the darkest winter day.
Why You'll Love This Recipe
- Capture summer’s incredible flavor to enjoy for months
- Fill your pantry with homemade goodness that feels so rewarding
- Tailor each batch with simple spices like cinnamon or vanilla
- Much more economical and flavorful than anything from a store shelf
- I always feel a deep sense of pride when I see those jars lined up
Ingredients You’ll Need
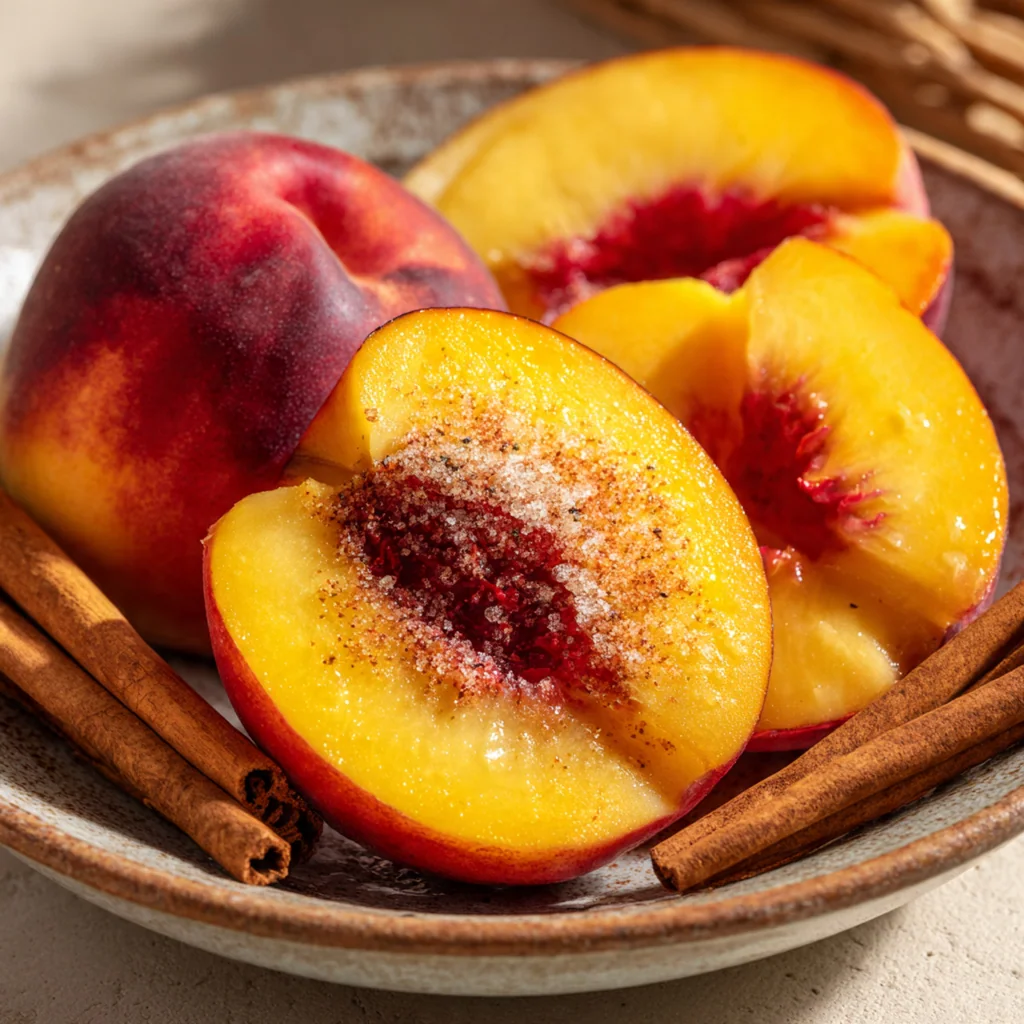
- Fresh, firm freestone peaches: their flesh separates easily from the pit, making your prep work a total breeze, always choose fruit that yields just slightly to gentle pressure.
- Granulated sugar: dissolves perfectly to create a clear, lightly sweet syrup that preserves the fruit’s natural flavor without overpowering it.
- Bottled lemon juice: provides the consistent acidity that’s absolutely critical for safe canning, fresh juice can vary too much in pH.
- Water: forms the base of your light syrup, always use fresh, clean water for the best tasting final product.
- Ascorbic acid powder: an optional but brilliant helper that keeps your peaches looking bright and fresh by preventing oxidation.
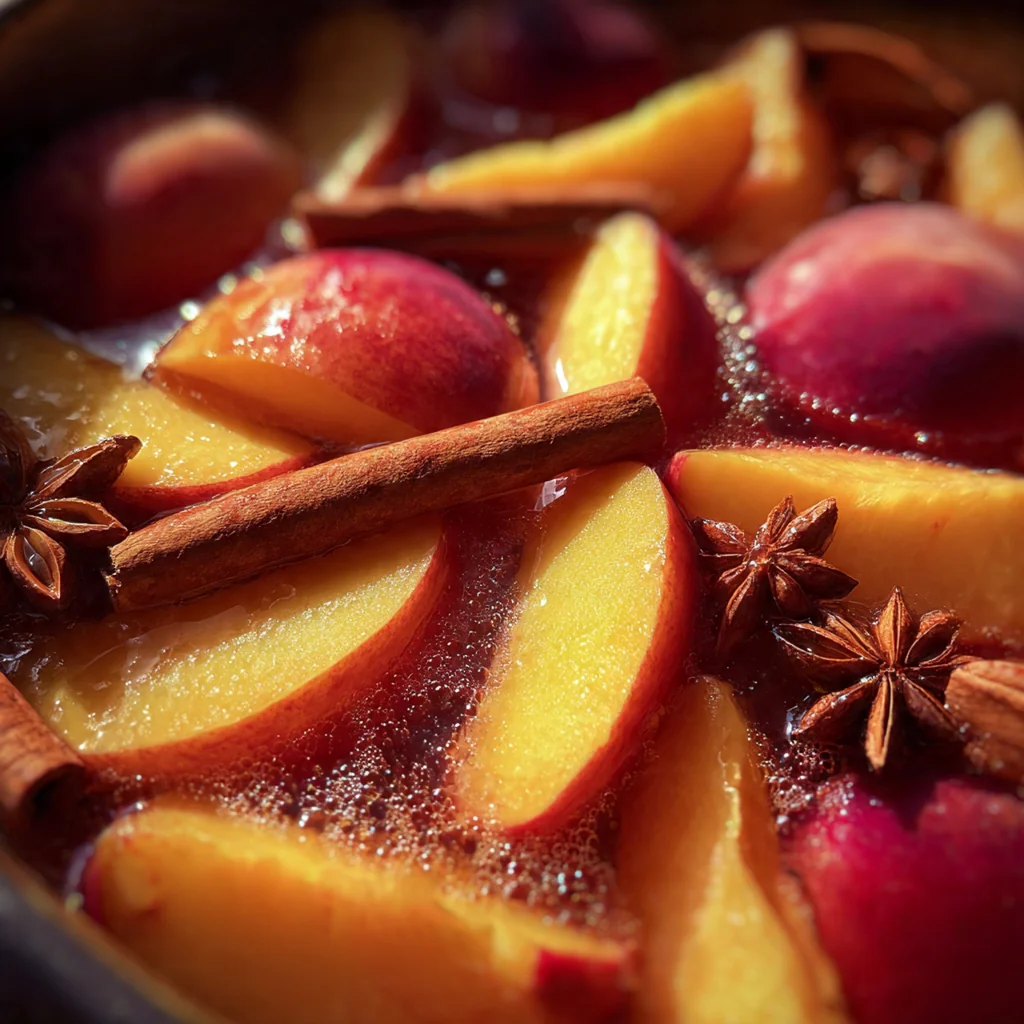
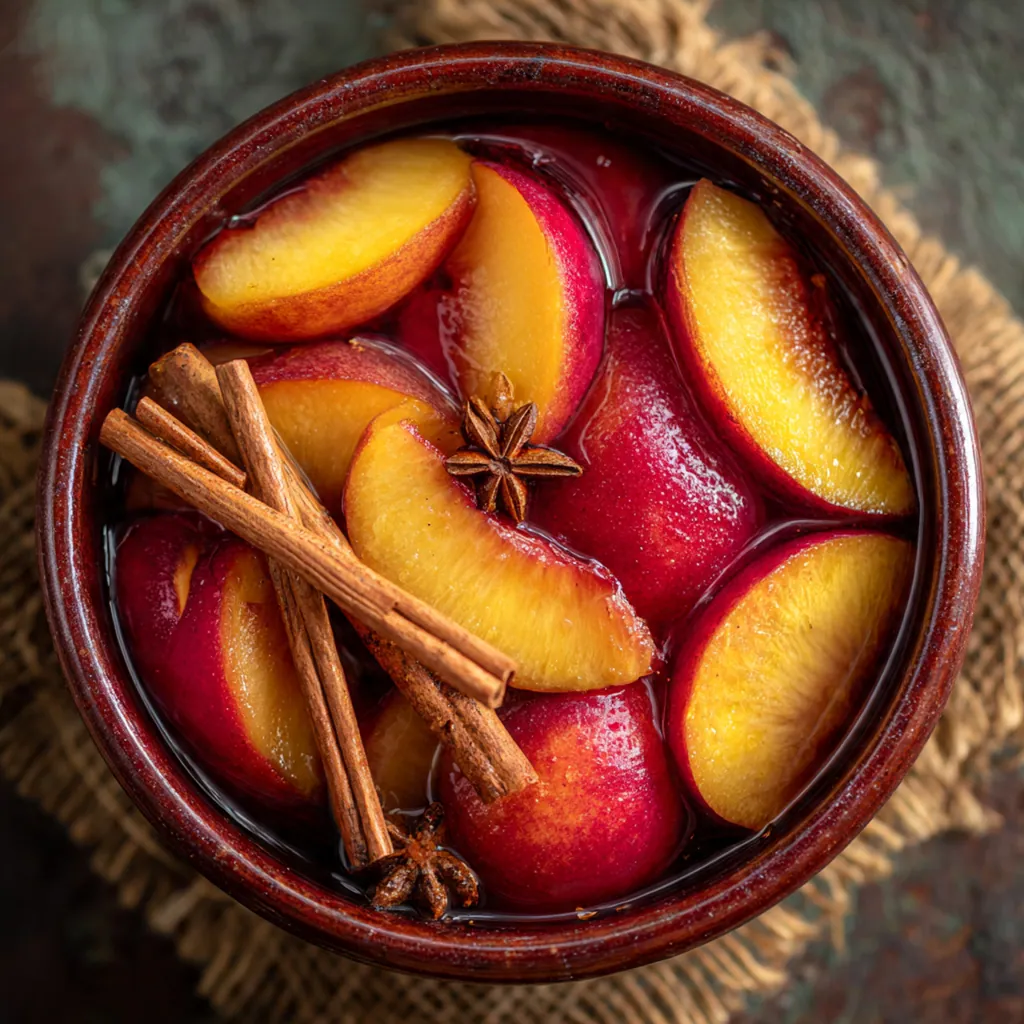
- Cinnamon sticks: a classic, warming spice that infuses the syrup with a cozy, familiar aroma as the jars sit on the shelf.
- Vanilla bean: splits open to release hundreds of tiny seeds that create a complex, sweet fragrance throughout the entire jar.
- Lemon slices: add a subtle, bright citrus note that complements the peaches’ sweetness in a wonderfully refreshing way.
How to Make It
Prepare Your Canning Equipment:
Begin by washing your jars, lids, and bands in hot, soapy water to ensure everything is impeccably clean. Sterilize the jars by submerging them in a large pot of boiling water for a full ten minutes. You’ll want to keep them hot in the water until you’re ready to fill them, as this prevents thermal shock.
Blanch and Peel the Peaches:
Score a small X on the bottom of each peach and work in batches. Briefly blanch them in boiling water for 30 to 60 seconds until you see the skins start to loosen. Immediately shock them in a bowl of ice water to stop the cooking, then the peels will slip right off.
Slice and Prevent Browning:
After peeling, cut each peach in half, remove the pit, and slice them to your preferred size. To keep that beautiful color, place the slices in a large bowl and cover them with water mixed with a portion of the lemon juice or the optional ascorbic acid powder.
Create the Light Syrup:
Combine the water, sugar, and remaining lemon juice in a large pot. Bring it to a boil over medium-high heat, stirring just until every grain of sugar dissolves completely. Once clear, reduce the heat to low to keep the syrup hot while you pack your jars.
Pack the Jars Tightly:
Using your jar lifter, carefully remove a hot jar from the canning pot. Drain the peach slices and pack them into the jar as snugly as you can without crushing them. If you’re using any optional flavorings, tuck them in now, leaving that crucial half-inch of headspace at the top.
Add Syrup and Remove Bubbles:
Slowly pour the hot syrup over the peaches, maintaining that same half-inch headspace. Take a non-metallic utensil and gently slide it around the inside of the jar to release any trapped air bubbles. Wipe the rim clean with a damp cloth to ensure a perfect seal.
Apply Lids and Process:
Place a lid on each jar and screw the band on until it’s just fingertip-tight, you don’t want to force it. Lower the filled jars onto the rack in your canning pot, ensuring they’re covered by at least one to two inches of water. Bring to a full, rolling boil and process quart jars for 25 minutes.
Cool and Check Seals:
After processing, turn off the heat and let the jars sit in the water for five minutes to stabilize. Then, lift them out and place them on a towel-lined counter to cool completely, undisturbed, for 12 to 24 hours. Once cool, press the center of each lid to test the seal.
Store Your Bounty:
Remove the bands from any properly sealed jars, wipe them down, and label them with the date. Store your beautiful canned peaches in a cool, dark place where they’ll be perfect for up to a full year.
You Must Know
- Freestone peaches make pitting infinitely easier
- Consistent acidity from bottled lemon juice is non-negotiable for safety
- That half-inch headspace prevents syrup from siphoning out during processing
- The jar’s seal is your ultimate indicator of success
- My first successful batch gave me the confidence to can anything
Storage Tips
Once your jars are completely cool and the seals are confirmed, store them without the bands in a cool, dark cupboard or pantry for up to one year. The absence of light helps preserve the peaches’ vibrant color and flavor. After you open a jar, transfer any leftovers to an airtight container and keep it in the refrigerator, where they’ll stay fresh for about a week. Always inspect a jar before opening – if the lid is bulging or the contents look or smell off, it’s safest to discard it.
Ingredient Substitutions
If you can’t find ascorbic acid powder, simply use an extra quarter cup of bottled lemon juice in the anti-browning soak – it won’t affect the final syrup acidity. For a different flavor profile, swap the cinnamon stick for a couple of whole cloves or a star anise pod, but use a light hand as these are potent. In a pinch, you can use white granulated sugar for the syrup, but avoid brown sugar as it will muddy the peaches’ beautiful color and delicate taste. While fresh peaches are ideal, this method is designed for peak-season fruit, so frozen or previously canned peaches aren’t suitable substitutes here.
Serving Suggestions
I love serving these peaches chilled straight from the jar with a scoop of vanilla ice cream or a dollop of thick Greek yogurt for a simple, elegant dessert. The syrup is liquid gold, so save it to sweeten iced tea, stir into sparkling water, or use as the base for a fantastic peach vinaigrette. For baking, they’re perfect in a classic cobbler or pie, and you can even chop them up for muffins or quick breads. Don’t forget they make a wonderful gift, too – just tie a ribbon around the jar and share a taste of summer.
Cultural Context
Home canning peaches in light syrup is a deeply rooted tradition in American food preservation, especially in the agricultural regions where peach orchards thrive. This practice emerged as a practical way for families to extend the harvest’s bounty through the leaner months, turning a seasonal luxury into a year-round staple. It connects to a broader ethos of self-sufficiency and pantry pride that defines much of the country’s culinary heritage. Each jar represents not just fruit, but a continuation of the knowledge passed down through generations, capturing a specific time and place in a beautifully simple way.
Pro Tips
- Start with perfectly ripe but still firm peaches for the best texture
- Keep your syrup hot and your jars hot until the moment you fill them
- Process the jars immediately after filling to maintain temperature and ensure a good vacuum
- Always test seals by lifting the jar by the lid alone after it’s cooled
- This method is my go-to for putting up an entire bushel from the farmer’s market
Frequently Asked Questions
You must use bottled lemon juice for canning peaches, not fresh. Bottled juice has a standardized, predictable acidity level that’s critical for creating a safe pH environment to prevent spoilage in your jars during storage.
Absolutely! That’s the entire point. Properly canned peaches, processed correctly in a water bath canner and stored in a cool, dark place, are shelf-stable and can be enjoyed for up to 12-18 months. Once opened, refrigerate and use within a week.
While optional, ascorbic acid powder (or commercial fruit fresh) prevents browning for a brighter color. If you don’t have it, you can use a stronger solution of 1/4 cup bottled lemon juice mixed with 4 cups cold water as a soak for peeled peaches before canning.
After processing in the boiling water bath canner, you’ll know your jars are sealed correctly when the lids are concave and don’t flex when pressed. Always wait 12-24 hours after processing before checking the seal. Unsealed jars must be refrigerated and used immediately.
Home-canned peaches are incredibly versatile. Serve them over ice cream, yogurt, or pancakes, chop them into fruit salads or oatmeal, use them in cobblers and crisps, or enjoy them straight from the jar as a sweet, simple dessert.