

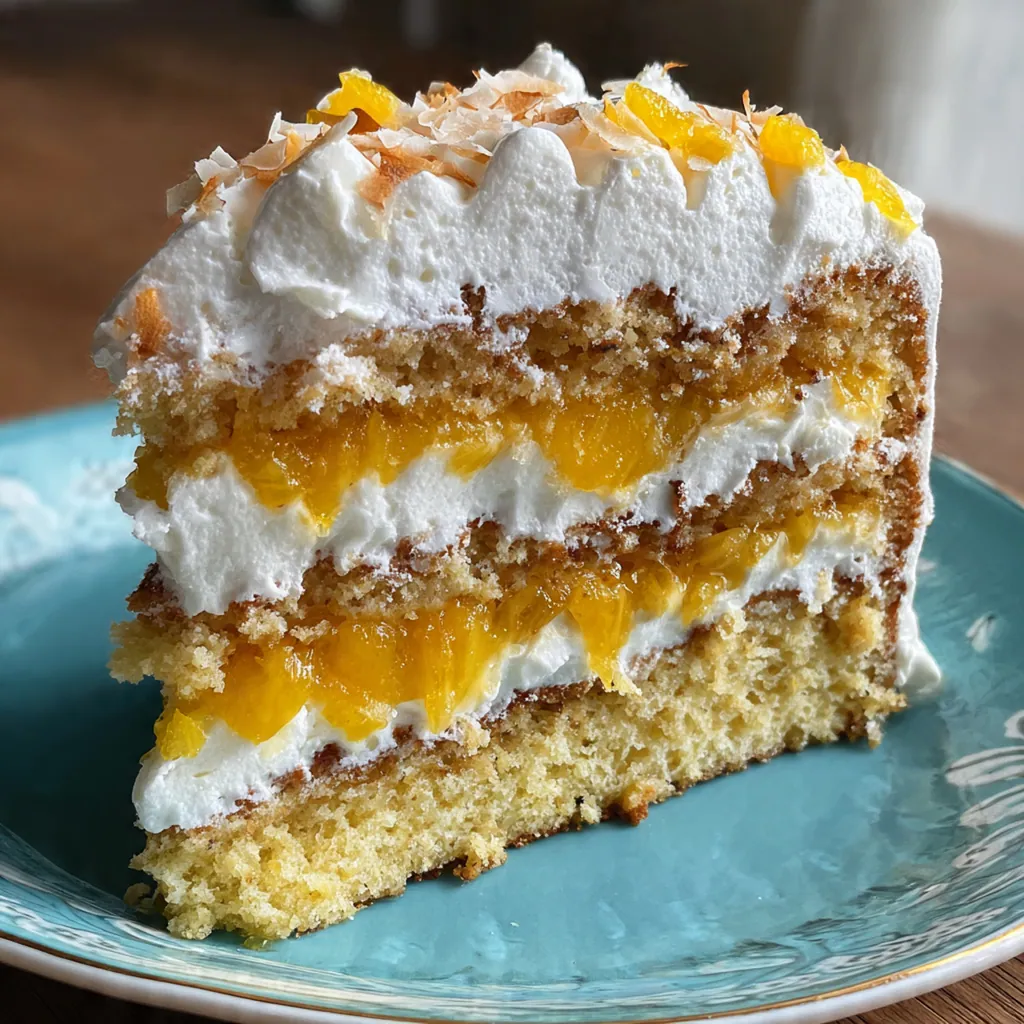
A perfect vanilla cake is the cornerstone of home baking, and this classic recipe delivers a soft, tender crumb with rich, aromatic flavor every time. This American staple is perfect for birthdays or any day you want a sweet, homemade treat that relies on simple ingredients. I’ve found it’s the recipe everyone asks for because it’s so versatile and reliably wonderful. You’ll love how it fills your kitchen with that comforting, nostalgic scent of pure vanilla.
Why You'll Love This Recipe
- It uses basic pantry ingredients you likely already have
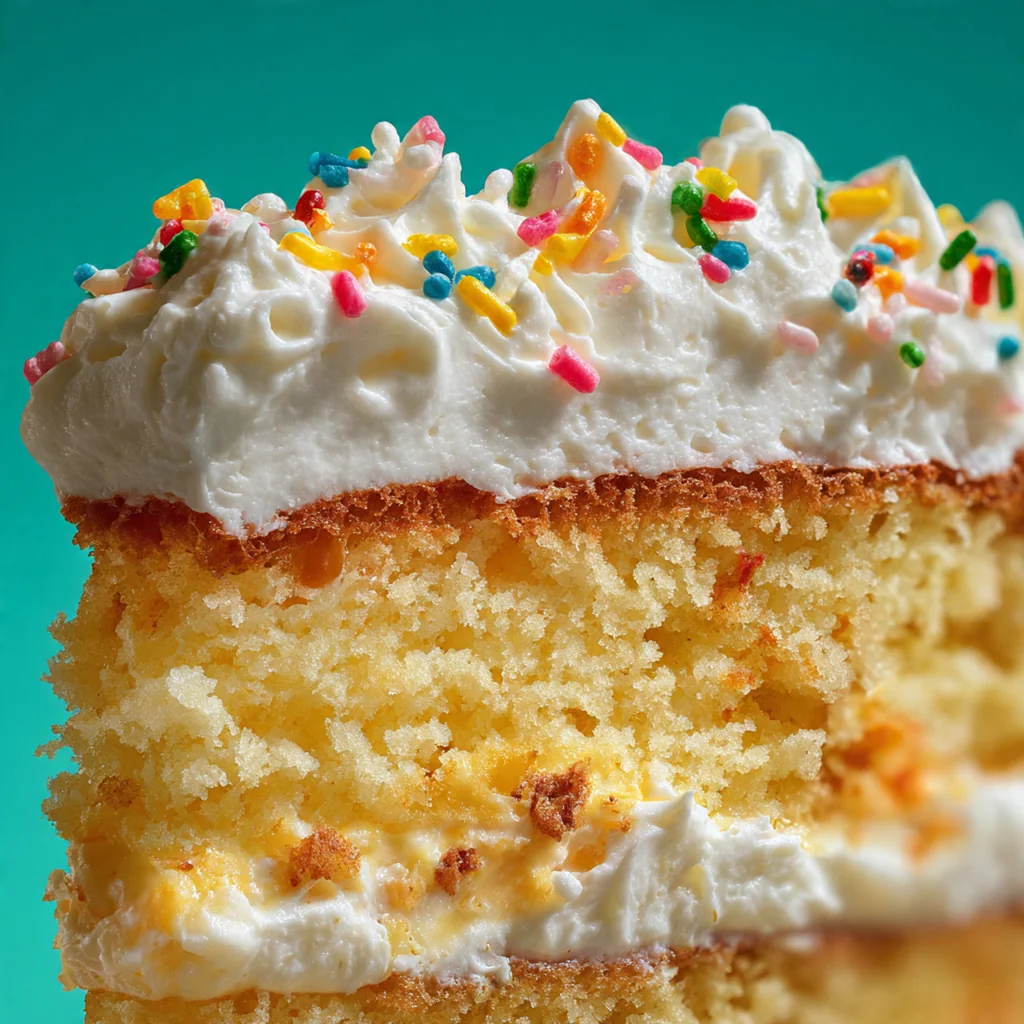
- The texture comes out incredibly moist and fluffy every single time
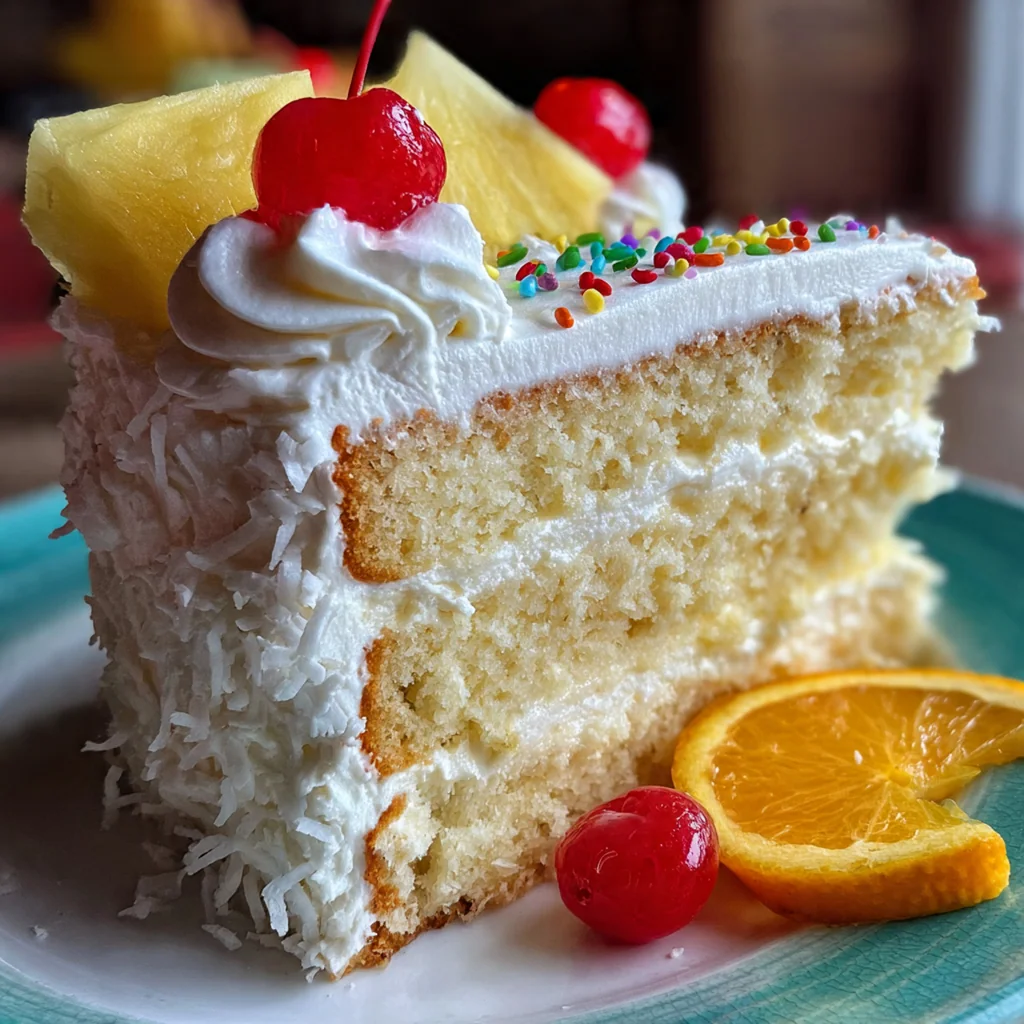
- It’s a blank canvas for endless frosting and topping variations
- This is my go-to recipe for celebrations because it never lets me down
Ingredients You’ll Need
- All-purpose flour: provides the structure for your cake; spoon it into your measuring cup and level it off for accuracy to avoid a dense texture.
- Baking powder: this is your leavening agent that gives the cake its beautiful rise and light, airy crumb.
- Salt: a little bit enhances all the other flavors and balances the sweetness perfectly.
- Unsalted butter: softened butter creams with sugar to create tiny air pockets which is the secret to that fluffy texture.
- Granulated sugar: not only sweetens the cake but also helps tenderize the crumb and keep everything moist.
- Large eggs: they bind everything together and add richness and structure; room temperature eggs mix in more smoothly.
- Pure vanilla extract: this is where the magic happens and using a high-quality one makes a dramatic flavor difference.
- Whole milk: room temperature milk incorporates easily into the batter for a smooth, uniform consistency and tender cake.
- Powdered sugar: the base for a silky buttercream or a simple, elegant dusting right before serving.
- Fresh berries: adding strawberries or raspberries on top gives a pop of color and a lovely fresh, fruity contrast.
How to Make It
Prep Your Pans and Oven:
Begin by preheating your oven to 350°F and greasing then flouring two round cake pans. Lining the bottoms with parchment paper guarantees your cakes will release without a single crumb left behind.
Combine Dry Ingredients:
In a medium bowl, whisk together your flour, baking powder, and salt until they’re thoroughly combined. This step distributes the leavening evenly so your cake rises uniformly without any bitter spots.
Cream Butter and Sugar:
Use an electric mixer on medium speed to beat the softened butter and granulated sugar together until the mixture is pale, light, and fluffy. This usually takes about four full minutes and it’s the most critical step for creating that perfect cake texture.
Incorporate Eggs and Vanilla:
Add the eggs one at a time, making sure each is fully mixed in before adding the next. Then beat in your vanilla extract just until you smell that wonderful aroma throughout the batter.
Alternate Dry and Wet Ingredients:
With your mixer on low, add a third of the dry ingredients and mix until just combined. Pour in half the milk, then another third of the dry, the rest of the milk, and finish with the remaining dry ingredients. Mix only until you see no more streaks of flour.
Divide and Smooth Batter:
Divide the batter equally between your prepared pans using a kitchen scale or a careful eye. Gently smooth the tops with a spatula so they bake into lovely, even layers.
Bake Until Golden:
Bake for 25 to 30 minutes until the tops are golden and a toothpick inserted into the center comes out completely clean. Ovens vary, so start checking at the 25-minute mark.
Cool Completely:
Let the cakes cool in their pans for exactly ten minutes before running a knife around the edges. Then turn them out onto a wire rack, peel off the parchment, and let them cool fully before you even think about frosting.
Frost and Garnish:
Once the layers are completely cool, frost them with your vanilla buttercream if you’re using it. Finish with fresh berries or a delicate shower of powdered sugar for a simple, stunning presentation.
You Must Know
- Room temperature ingredients are non-negotiable for a smooth batter
- Never overmix once you add the flour to keep the cake tender
- Let the cakes cool completely before frosting or it will melt
- Trimming the domed tops gives you perfectly flat, professional layers
- This recipe is the one I trust for every special occasion
Storage Tips
You can store unfrosted cake layers tightly wrapped in plastic wrap right on your counter for up to two days. If you’ve frosted the cake, cover it well and keep it in the fridge where it will stay fresh for about five days. For longer storage, wrap the cooled, unfrosted layers individually in plastic and then foil before freezing them for up to three months. Just thaw them overnight in the fridge before you’re ready to decorate and serve.
Ingredient Substitutions
If you need a dairy-free version, simply swap the butter for a plant-based stick butter and use your favorite unsweetened non-dairy milk like oat or almond. For a gluten-free vanilla cake, a good quality one-to-one gluten-free flour blend works beautifully as a direct substitute for the all-purpose flour. In a pinch, you can use two teaspoons of vanilla bean paste instead of extract for those pretty little specks, though the flavor will be a bit more intense. While whole milk is ideal, any milk you have on hand will work, though the fat content in whole milk does contribute to that superior tenderness.
Serving Suggestions
A slice of this vanilla cake is heavenly all on its own, but it’s even better with a scoop of vanilla bean ice cream melting on the side. You could also drizzle it with a warm chocolate or caramel sauce, or serve it alongside a bowl of macerated berries for a more elegant dessert. For a simple afternoon treat, a dusting of powdered sugar and a hot cup of coffee or tea makes it absolutely perfect. It’s that versatile kind of cake that fits any moment, from a casual family dinner to a decorated birthday centerpiece.
Cultural Context
This style of simple, butter-based vanilla cake is deeply rooted in American home baking traditions, often called a ‘yellow cake’ for its rich color from the butter and egg yolks. It became a staple in twentieth-century cookbooks and community recipe swaps because it uses affordable, everyday ingredients to create something truly celebratory. The act of baking a layer cake from scratch, especially for a birthday, is a cherished ritual in many households, symbolizing care and celebration. Its simplicity is its strength, offering a blank canvas that reflects the baker’s personal touch through frosting choices and decorations, much like a classic white shirt in your wardrobe that you can dress up or down.
Pro Tips
- Use a kitchen scale to divide batter for perfectly even layers
- A toothpick test is the best way to check for doneness
- High-quality vanilla extract is worth the splurge here
- Let the cakes cool in the pan for only ten minutes, no longer
- I always use pure vanilla extract, never imitation, for the best flavor
Frequently Asked Questions
Using room temperature butter, eggs, and milk is crucial because they emulsify together much more easily, creating a smoother, more uniform batter. This leads to a finer crumb and a cake that bakes evenly, preventing a dense or heavy texture. Cold ingredients can cause the batter to separate or curdle.
Absolutely! This vanilla cake keeps wonderfully. Once completely cooled, you can wrap the un-frosted layers tightly in plastic wrap and store at room temperature for a day, or freeze for up to 3 months. Frost it the day you plan to serve it for the freshest taste and texture.
You can successfully use other milk varieties like 2%, 1%, or even a plain, unsweetened non-dairy milk such as almond or oat milk. The cake might be slightly less rich with lower-fat milks, but it will still be delicious. Avoid flavored or sweetened non-dairy milks.
The cake is done when the edges pull away from the pan slightly and the top is a light golden brown. The most reliable test is inserting a toothpick into the center – it should come out clean or with a few moist crumbs, but no wet batter. It typically takes 30-35 minutes.
This classic American vanilla cake is delicious on its own, but it pairs beautifully with fresh berries, a dollop of whipped cream, or a scoop of vanilla ice cream. For frosting, a simple vanilla buttercream, chocolate ganache, or a cream cheese frosting are all fantastic choices.