

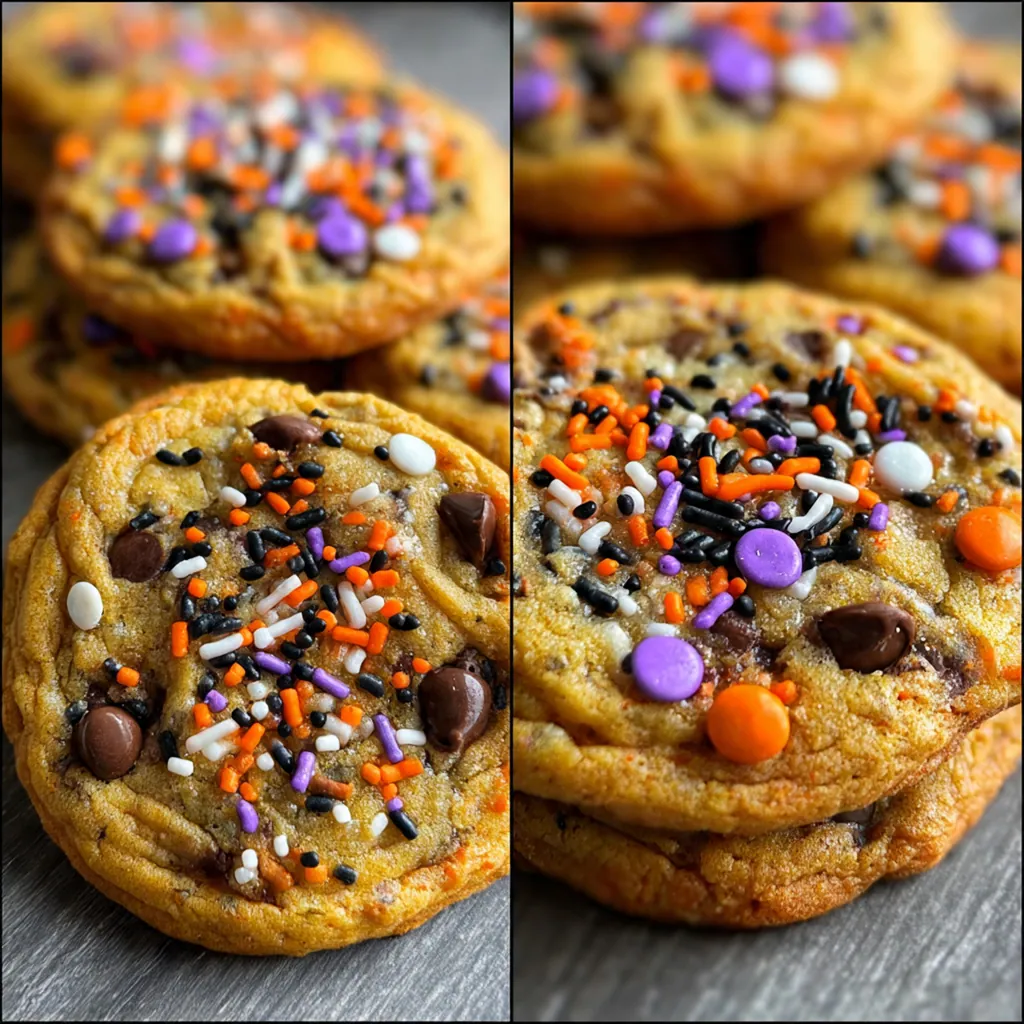
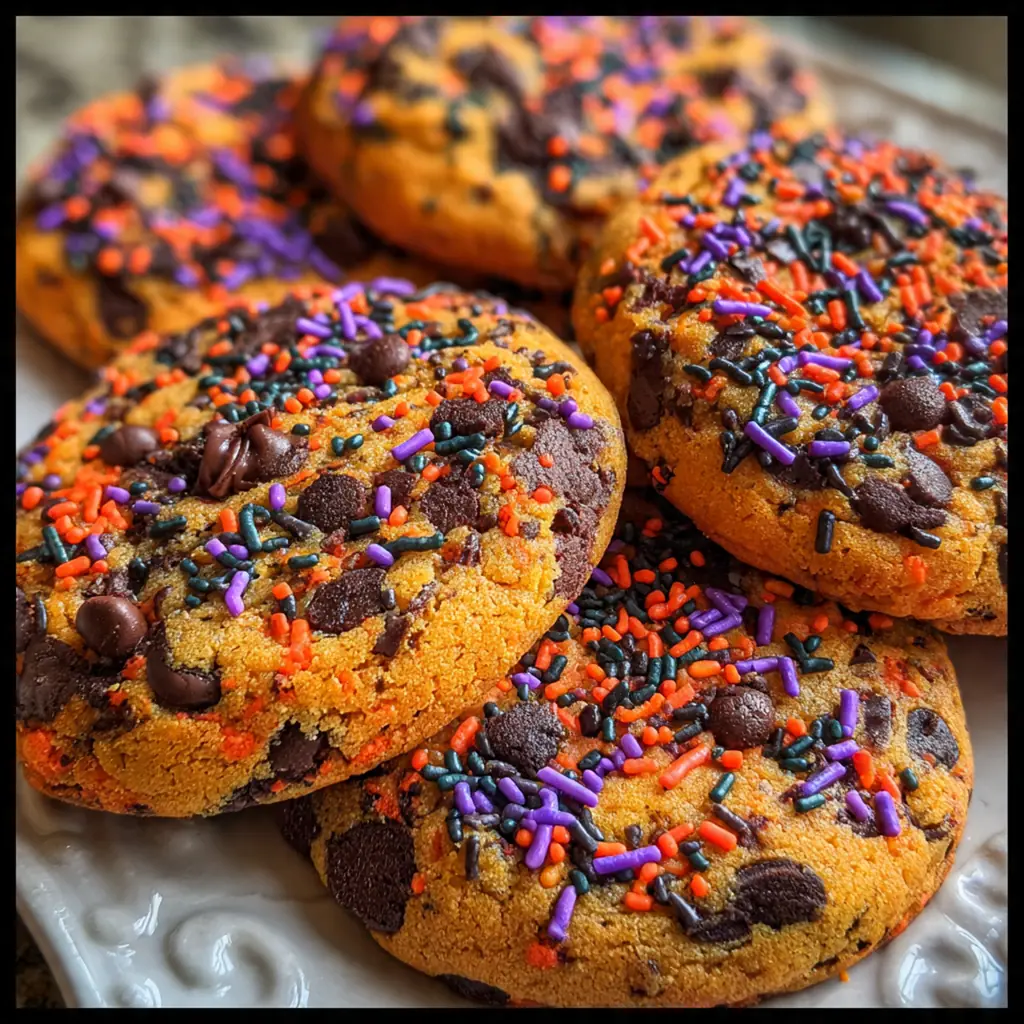
Nothing says Halloween like a fresh batch of spooky Halloween cookies ready for decorating. These classic American sugar cookies are a soft, buttery canvas for all your ghostly and ghoulish ideas. I’ve been making this exact recipe for years because it holds its shape so well, making it perfect for intricate bats and pumpkins. You’ll find the process of baking and decorating these festive treats becomes as much fun as eating them, creating lasting memories with every batch.
Why You'll Love This Recipe
- Perfectly soft and buttery cookies that keep their sharp edges
- An incredibly fun and creative activity for the whole family
- You can make the dough ahead for stress-free holiday baking
- They’re the star of any Halloween party or school event
- My kids ask to make these every single October
Ingredients You’ll Need
- All-purpose flour: This provides the structure for your cookies. I always fluff my flour before measuring to avoid dense, tough cookies.
- Baking powder: This is your leavening agent for a little lift, giving the cookies a soft texture without puffing them up too much.
- Salt: A little bit balances the sweetness and enhances all the other flavors in both the dough and the icing.
- Unsalted butter: Softened butter creams perfectly with sugar for a light texture. I take mine out a good hour before baking.
- Granulated sugar: This sweetens the dough and helps create that tender crumb we all love in a classic sugar cookie.
- Large egg: It acts as a binder for the dough. Make sure it’s at room temperature to mix in smoothly.
- Vanilla extract: Pure vanilla gives that warm, familiar flavor. You can use imitation in a pinch, but the real stuff is best.
- Powdered sugar: The base for your royal icing, it dissolves easily for a smooth, glossy finish on your Halloween cookies.
- Milk: Thins the icing to your desired consistency. Whole milk gives the richest result, but any kind works.
- Almond extract: This optional addition gives a lovely subtle depth. Just a half teaspoon makes a noticeable difference.
- Food coloring gels: Gel colors give you vibrant shades without thinning your icing. I always have orange, black, and green on hand.
- Halloween sprinkles: These add instant festive fun and texture. Look for mixes with bats, pumpkins, and spiders.
- Edible black marker: This tool is a game-changer for drawing precise details like faces on ghosts or spider webs.
How to Make It
Mix Your Dry Ingredients:
Grab a medium bowl and whisk together your flour, baking powder, and salt. This simple step distributes the leavening evenly so every cookie bakes up the same. Setting this aside now makes the process flow smoothly.
Cream Butter and Sugar:
In a large bowl, use your electric mixer to beat the softened butter and granulated sugar. You’ll want to do this for a full three minutes until it’s pale and fluffy. This incorporates air, which is key for that perfect soft texture.
Incorporate Wet Ingredients:
Beat in the egg, vanilla, and almond extract if you’re using it. Scrape down the sides of the bowl to make sure everything is fully combined. Your mixture should look smooth and creamy at this stage.
Combine to Form Dough:
With your mixer on low, gradually add the dry ingredients to the wet. Mix just until the flour disappears and a soft dough comes together. Overmixing here is the enemy of tender Halloween cookies.
Chill the Dough:
Divide your dough into two discs and wrap each tightly in plastic wrap. Chilling firms up the butter, which prevents spreading in the oven. Thirty minutes is the minimum, but you can chill it overnight if needed.
Roll and Cut Shapes:
Preheat your oven and line your sheets with parchment. On a floured surface, roll one disc to a consistent quarter-inch thickness. Use your Halloween cutters firmly and re-roll the scraps until you’ve used all the dough.
Bake to Perfection:
Arrange your shapes on the baking sheets with some space between them. Bake just until the edges show the faintest hint of gold, which usually takes about ten to twelve minutes. Let them cool on the sheet for five minutes before moving them.
Prepare the Icing:
While the cookies cool, whisk powdered sugar, milk, and vanilla together. Add milk slowly until it’s smooth and spreadable. Divide it into bowls and tint with your gel food colorings for those classic Halloween themes.
Decorate and Set:
Once cookies are completely cool, spread on your icing and add sprinkles immediately. Use an edible black marker for the final spooky details. Let the icing harden completely, which takes about an hour, before you stack or serve them.

You Must Know
- Properly softened butter is non-negotiable for easy creaming
- Chilled dough is your secret weapon against cookie spread
- Gel food coloring won’t water down your icing like liquids do
- Always let cookies cool fully before you start decorating
Storage Tips
Once the icing has fully set, store your decorated Halloween cookies in a single layer in an airtight container at room temperature. They’ll stay fresh and delicious for up to five days this way. If you want to get a head start, you can bake the cookies ahead and freeze them undecorated for up to three months; just thaw and ice when you’re ready. I often stash a batch in the freezer for last-minute Halloween events, and they taste just as good as the day they were baked.
Ingredient Substitutions
For a gluten-free version, use a reliable one-to-one gluten-free flour blend in place of the all-purpose flour. If you’re dairy-free, swap the butter for a high-quality vegan butter stick and use your favorite non-dairy milk for the icing. In place of the egg, a commercial egg replacer for baking works well to bind the dough. You can skip the almond extract entirely and just use extra vanilla if you prefer, and liquid food coloring can work if you add it very sparingly to avoid a runny icing situation.
Serving Suggestions
I love setting up a whole decorating station with bowls of different colored icings and sprinkles so everyone can create their own masterpieces. These Halloween cookies are perfect with a cold glass of milk for the kids or a mug of hot spiced apple cider for the adults. They make fantastic treats for classroom parties, a fun activity for a Halloween get-together, or even as a thoughtful homemade gift for your neighbors and friends during the spooky season.
Cultural Context
The tradition of shaped and decorated cookies for holidays runs deep in American baking, with sugar cookies being a particularly beloved blank canvas. Halloween cookie decorating as a family activity really took off in the latter half of the 20th century, coinciding with the holiday’s shift towards more community and child-centric celebrations. The classic pumpkin, bat, and ghost shapes have become iconic symbols of the season, much like the witch and black cat. Making these Halloween cookies is now a cherished October ritual in countless homes, blending the craft of baking with the playful spirit of the holiday.
Pro Tips
- Roll dough between parchment paper to avoid extra flour
- Use an offset spatula for super smooth icing
- Let icing dry between colors for layered designs
- A toothpick can fix small icing mistakes instantly
Frequently Asked Questions
You can, but you should omit the extra 1/2 teaspoon of salt listed in the dough. Using unsalted butter as specified gives you better control over the final flavor, letting the sweet vanilla and buttery notes of your Halloween cookies shine.
Absolutely! The un-iced cookie dough can be made, shaped, and frozen for up to 3 months. Baked cookies (without icing) store well in an airtight container for up to 5 days. For best results, decorate your Halloween cookies with icing the day you plan to serve them.
For a smooth, hard-drying icing, powdered sugar is essential as it dissolves completely. You can’t directly substitute granulated sugar. For a different finish, you could use a simple glaze with less sugar or even thin store-bought frosting, but it won’t set as firmly for stacking your Halloween cookies.
Bake for 10-12 minutes until the edges are just barely starting to turn a light golden brown. The centers should look set and not wet. They’ll firm up as they cool, giving you that perfect soft texture for your Halloween cookies.
These sweet treats pair wonderfully with cold milk, hot apple cider, or a pumpkin-spiced latte. For a party, serve them alongside other American dessert classics like caramel apples or a bowl of Halloween-themed candy for a full festive spread.