

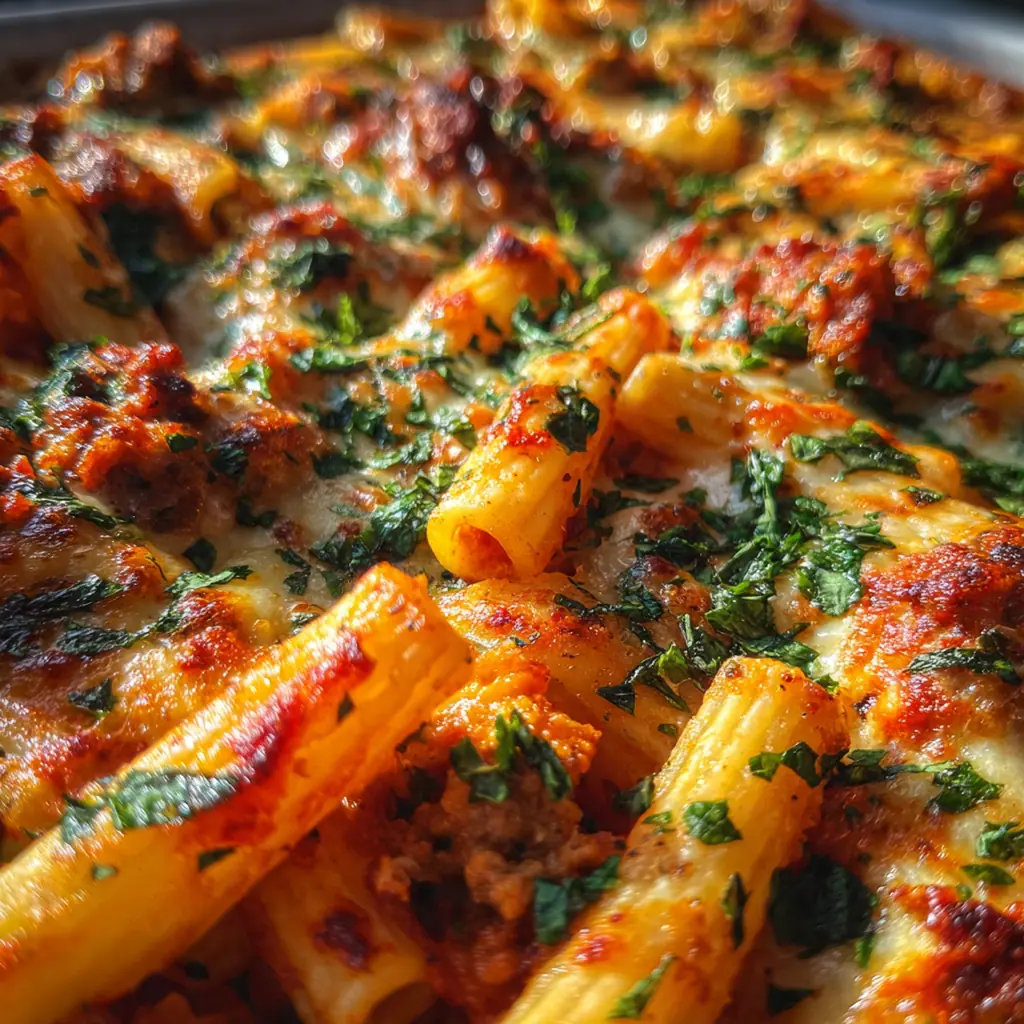
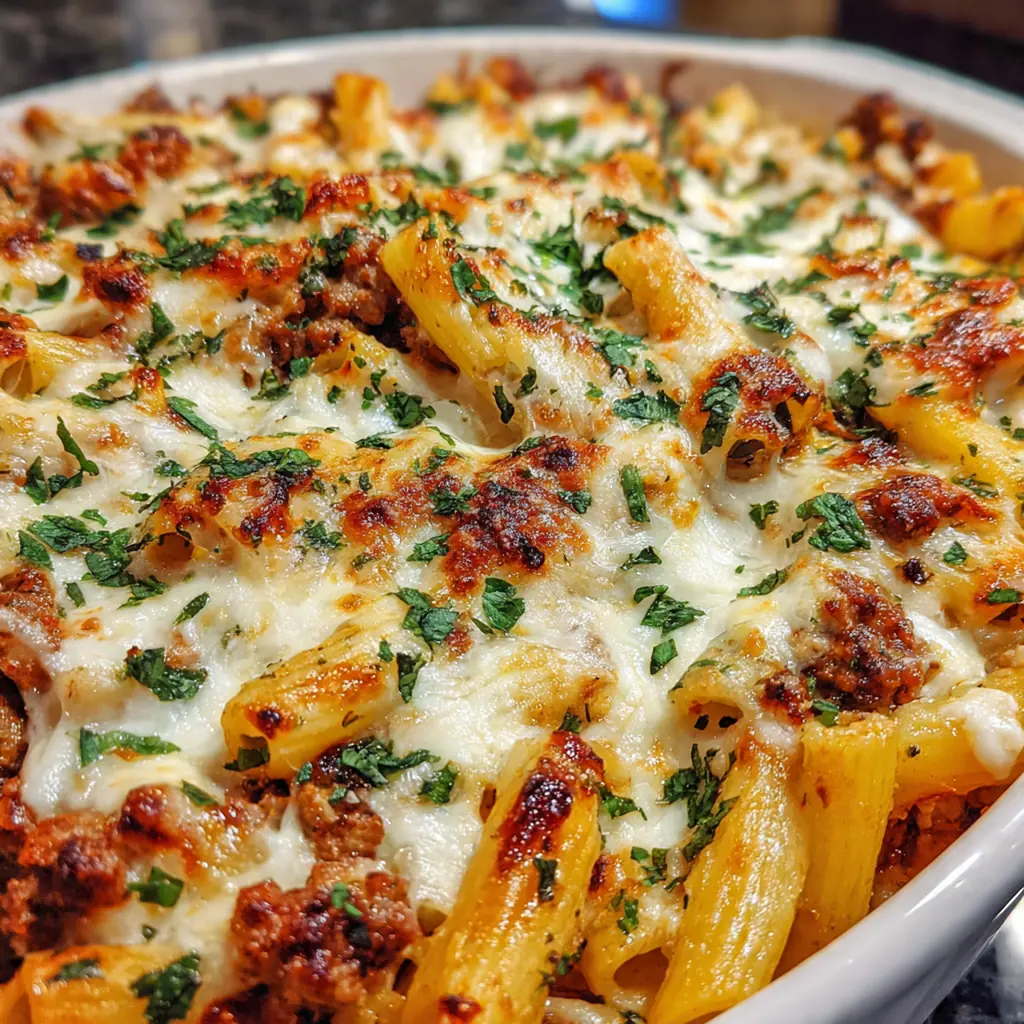
Christmas Cheesy Baked Ziti is the ultimate holiday comfort food for your table. This Italian-American casserole brings together tender ziti pasta, a rich tomato sauce, and a luxurious trio of cheeses for a dish that feels like a warm hug. I love making this for gatherings because it feeds a crowd easily and tastes even better the next day. It’s a festive twist on classic baked pasta that bridges the gap between casual weeknight dinners and special occasion feasts. You’ll appreciate how simple it is to assemble ahead of time, leaving you more moments to enjoy the season.
Why You'll Love This Recipe
- Three cheeses create an incredibly rich and creamy texture that everyone loves
- You can assemble the entire dish a day before baking for stress-free hosting
- It’s a crowd-pleaser that appeals to both kids and adults at holiday parties
- Leftovers are absolutely divine and reheat perfectly for lunch the next day
- My family asks for this every single year, it has become our signature holiday side dish
Ingredients You’ll Need
- Ziti pasta: The perfect tube shape holds onto all that cheesy sauce beautifully; penne works great too if that’s what you have on hand. Look for bronze-cut pasta for a rougher texture that grabs the sauce better.
- Olive oil: Adds a fruity base note to the sauce and prevents sticking; extra virgin offers the best flavor depth. Choose a brand you enjoy drizzling on salads for the best quality.
- Garlic: Fresh cloves provide a pungent, aromatic kick that dried garlic just can’t match. Squeeze them to ensure they are firm and avoid any that feel soft or have green sprouts.
- Crushed tomatoes: Forms the hearty backbone of the sauce with rich, concentrated flavor. A good San Marzano variety brings sweetness and balances the acidity perfectly.
- Dried oregano: Lends that classic Italian herb aroma we all associate with baked pasta dishes. Make sure your jar isn’t old, as dried herbs lose potency over time.
- Salt: Essential for bringing all the flavors together and seasoning the pasta water. I prefer kosher salt for its clean taste and easy control.
- Black pepper: Adds a gentle heat and earthiness that rounds out the tomato flavor. Freshly cracked peppercorns offer a much brighter bite than pre-ground.
- Red pepper flakes: Totally optional, but gives a subtle background warmth that cuts through the richness. Use less if you’re serving spice-sensitive guests.
- Whole milk ricotta cheese: The key to a creamy, dreamy filling that doesn’t dry out during baking. Whole milk varieties offer superior flavor and texture over part-skim.
- Large egg: Acts as a binder for the ricotta mixture, helping it set up nicely when baked. It adds richness and structure to every cheesy bite.
- Fresh mozzarella cheese: Melts into glorious, stretchy pools of goodness on top. Buying it in a block and tearing it yourself prevents excess moisture from making the dish watery.
- Grated Parmesan cheese: Brings a sharp, salty, nutty punch to both the filling and the topping. Freshly grated is always superior to the canned stuff for flavor.
- Fresh basil leaves: Adds a burst of bright, peppery freshness that lifts the heavy cheese and tomato flavors. Look for vibrant green leaves without dark spots.
- Mild Italian sausage: An optional addition that transforms this into a heartier meat lovers’ version. Remove the casings before cooking for the best texture.
How to Make It
Preheat and Prep:
Set your oven to 375°F to get it ready for baking. Bring a large pot of generously salted water to a rolling boil on the stovetop; salting the water is your best chance to flavor the pasta from the inside out.
Create the Tomato Sauce:
Warm the olive oil in a large skillet over medium heat. Add the minced garlic and stir constantly for about a minute until you can smell its aroma, being careful not to let it brown or turn bitter.
Simmer the Sauce:
Pour the crushed tomatoes into the skillet with the garlic. Season with the dried oregano, salt, black pepper, and red pepper flakes if you’re using them. Let the sauce bubble gently for 10 minutes to marry the flavors, stirring it occasionally so nothing sticks to the bottom.
Cook the Pasta:
While the sauce simmers, cook the ziti in the boiling salted water. You want it just shy of al dente since it will finish cooking in the oven. Drain it well and return it to the warm pot.
Mix the Ricotta Filling:
In a medium bowl, combine the ricotta cheese, the egg, and half of the Parmesan cheese. Stir in the chopped fresh basil until it’s evenly distributed throughout the creamy mixture.
Combine Pasta and Sauce:
Pour roughly half of your simmered tomato sauce over the drained pasta and toss to coat every piece. Add the ricotta mixture to the pot and stir gently until everything is beautifully combined and creamy.
Assemble the Casserole:
Spread the remaining tomato sauce evenly across the bottom of a 9×13 inch baking dish. Spoon the cheesy pasta mixture on top of the sauce in an even layer. Arrange the torn fresh mozzarella over everything and sprinkle the remaining Parmesan cheese on top.
Bake to Perfection:
Cover the baking dish loosely with aluminum foil and bake for 20 minutes. Remove the foil and continue baking for another 10 to 15 minutes until the cheese is melted, bubbly, and golden brown in spots.
Rest and Serve:
Remove the dish from the oven and let it sit for 5 to 10 minutes before digging in. This resting period allows the ziti to set up, making it much easier to scoop out neat servings. Garnish with extra basil or parsley if you like, then serve it warm.
You Must Know
- Undercook your pasta by a minute or two to prevent mushy ziti
- Letting the casserole rest is crucial for clean, easy serving
- Fresh mozzarella tears better than it slices and melts beautifully
- I always make extra for next-day sandwiches, it’s that good
- If using sausage, brown it first for maximum flavor
Storage Tips
Leftover Christmas Cheesy Baked Ziti stores beautifully for up to four days in the fridge when covered tightly with foil or plastic wrap. To freeze, wrap the entire unbaked or baked dish first in plastic wrap, then a layer of heavy-duty foil to prevent freezer burn; it will keep for up to three months. When you’re ready to enjoy it, bake from frozen or thawed. I find reheating individual portions in the microwave works well for a quick lunch, but a low oven (around 300°F) for 20 minutes keeps the texture just right.
Ingredient Substitutions
If you can’t find ziti, any medium-sized tube pasta like penne or rigatoni will work perfectly fine. For a gluten-free version, simply swap in your favorite GF pasta and follow the package directions for cooking time. Ground beef, turkey, or chicken can easily stand in for the Italian sausage if you want a different protein or don’t eat pork. You can use cottage cheese instead of ricotta if you prefer, just be sure to drain it really well to avoid a watery texture. If fresh basil isn’t available, a tablespoon of dried basil mixed into the sauce works in a pinch.
Serving Suggestions
This Christmas Cheesy Baked Ziti is hearty enough to be the main event, but it also shines as a rich side dish alongside a simple green salad with a sharp vinaigrette to cut through the richness. Warm, crusty garlic bread or buttery knots are non-negotiable in my house for soaking up any extra sauce on the plate. Roasted vegetables like broccoli, Brussels sprouts, or asparagus make fantastic, colorful accompaniments that round out the meal beautifully. For a lighter touch, a simple antipasto platter with olives, cured meats, and marinated artichoke hearts starts the Italian feast off right.
Cultural Context
This Christmas Cheesy Baked Ziti is a perfect example of Italian-American cuisine, a distinct style of cooking that developed as immigrants adapted their traditional recipes to the ingredients available in the United States. While baked pasta dishes exist in Italy, particularly in the south, the hearty combination of ziti, three cheeses, and a robust tomato sauce is truly a stateside invention born out of resourcefulness and a love for comforting food. It became a staple for holiday gatherings, church suppers, and Sunday dinners because it is economical, feeds many, and satisfies a universal craving for warm, cheesy carbohydrates. Making this dish connects you to a long tradition of family-centric celebrations and the joy of sharing a homemade meal.
Pro Tips
- For extra flavor, brown some Italian sausage and mix it into the sauce during step 2
- Use low-moisture mozzarella for the best melt and a perfectly golden crust
- Assemble the dish a day ahead, refrigerate, and bake it right before your guests arrive
- Don’t skip letting it rest for 10 minutes after baking for the perfect slice
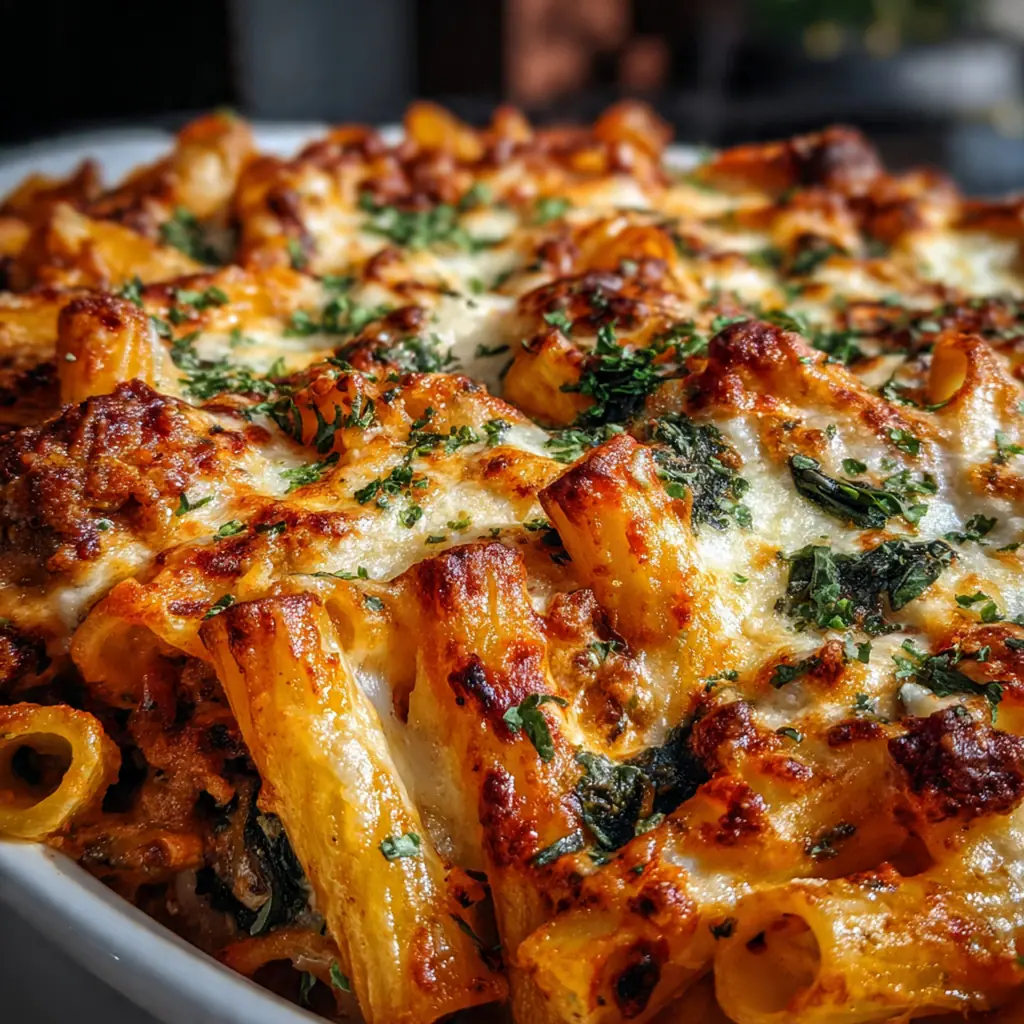
- I like to add a layer of spinach for extra nutrition and color
- I’ve found that using a glass baking dish helps you monitor the bottom browning perfectly.
Frequently Asked Questions
While the name calls for ziti, you can easily substitute penne if that’s what you have on hand. Both tubular pastas hold the rich tomato sauce and melted cheese beautifully. The most important tip is to slightly undercook the pasta (about 1-2 minutes less than package directions) since it will continue to cook in the oven, ensuring a perfect al dente texture.
Absolutely! This dish is perfect for making ahead. You can assemble the entire casserole, cover it tightly, and refrigerate it for up to 24 hours before baking. When you’re ready to cook, you may need to add an extra 10-15 minutes to the bake time since it will be starting from cold. You can also freeze the assembled, unbaked ziti for up to 3 months.
If you don’t have fresh mozzarella, low-moisture mozzarella blocks work well and will give you excellent melt and stretch. For the ricotta, cottage cheese is a decent substitute, though the texture will be slightly different. You could also use a creamy béchamel sauce in place of the ricotta mixture for a different but equally delicious take on this Christmas Cheesy Baked Ziti.
Your ziti is perfectly cooked when it’s bubbling around the edges and the cheese on top has melted into a gorgeous golden-brown crust. The internal temperature should reach about 165°F. If the top is browning too quickly before the middle is hot, loosely tent it with aluminum foil for the final 10-15 minutes of baking.
To balance the richness of this cheesy casserole, serve it with a crisp green salad tossed in a light vinaigrette and some garlic bread for soaking up the sauce. Roasted vegetables like broccoli or Brussels sprouts also make a great side dish. This hearty main course pairs wonderfully with a glass of Chianti or Sangiovese.